
For as long as I can remember, I have wanted the ultimate computer setup at home that looked like all the awesome setups that you see on YouTube. While my current setup is functional, I am not happy with a few things. Firstly, my computer is positioned in the way that it can easily get knocked. Secondly, my cable management is messy. Lastly, I lack extra desk space for taking product photos as well as storage space, which I really need.
The solution was to first get a new desk, then a new computer setup and finally a few accessories. I didn’t exactly follow this order but I still built the Ultimate Computer Setup at the end of the day.
The Desk
I have had my current desk for about 12 years and while it has served its purpose, it does not fill the space in my room. There is space that I have left on the right of the desk which could be used. My desk is also pretty weak and will not hold the weight of my old or new computer. My brother’s desk which doesn’t have much on it broke and fell over so I am definitely not risking it with a computer, display and more on it.
Here is how my desk looked before:
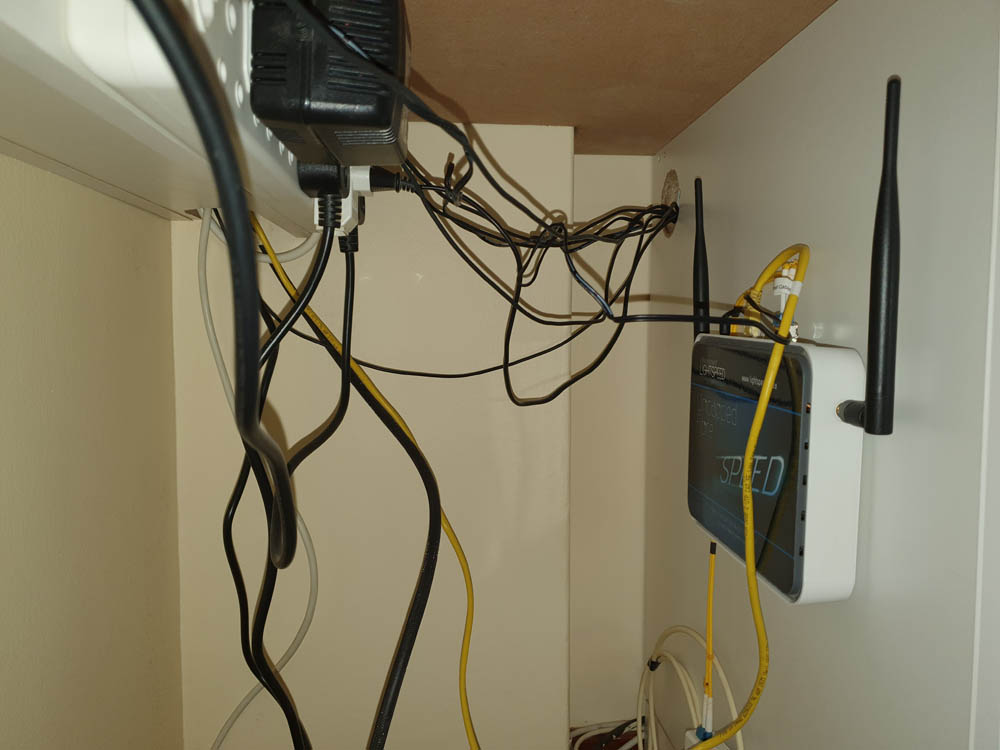
This is my cable management:
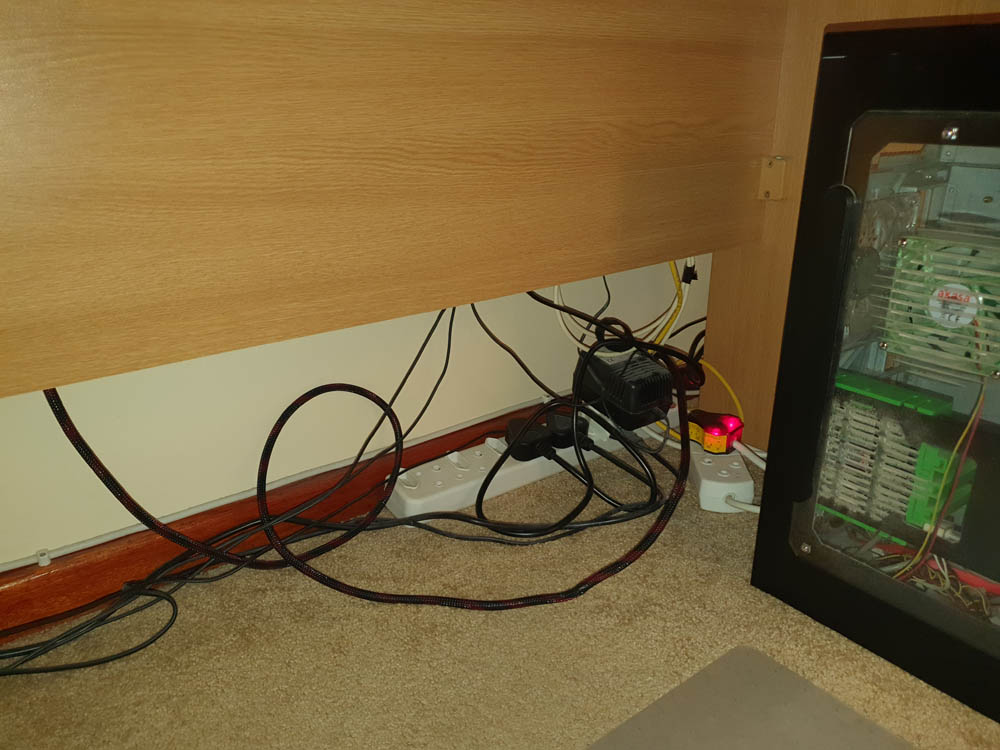
I originally had planned to mount the multiplug but that never happened and I always had cables on the carpet.
I wanted a desk that was stronger, bigger and had loads of storage space. I decided that the only way to get exactly what I wanted was to have a desk custom made for my requirements. I received a recommendation from a neighbour of mine on who to contact. Measurements were taken and about 3 weeks later I had my desk installed.
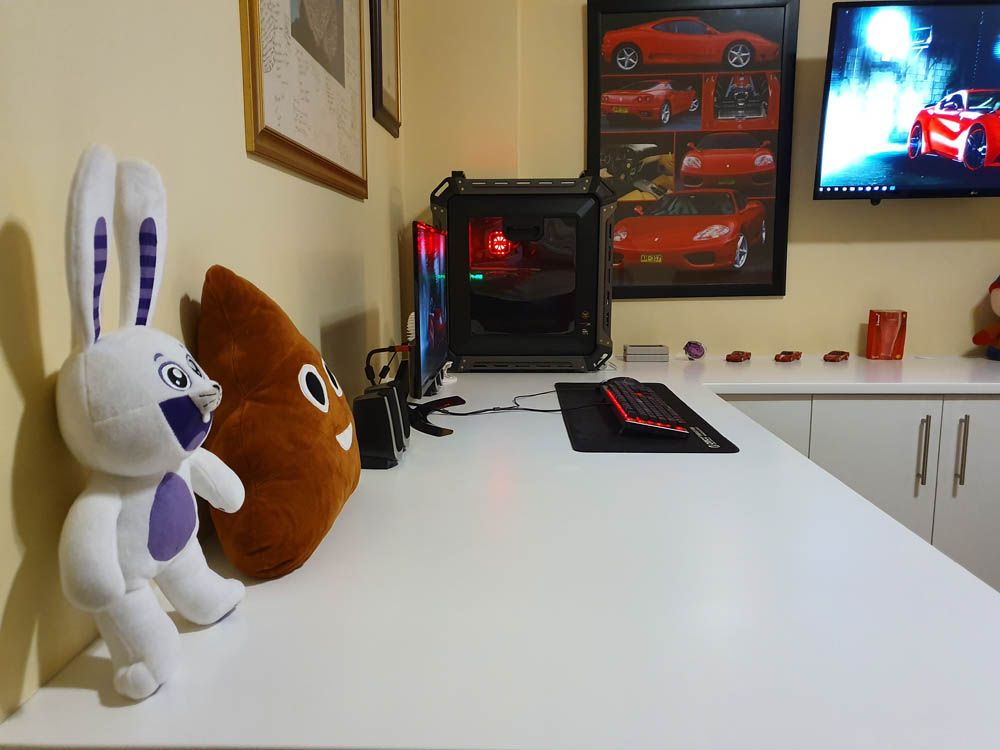
The new desk: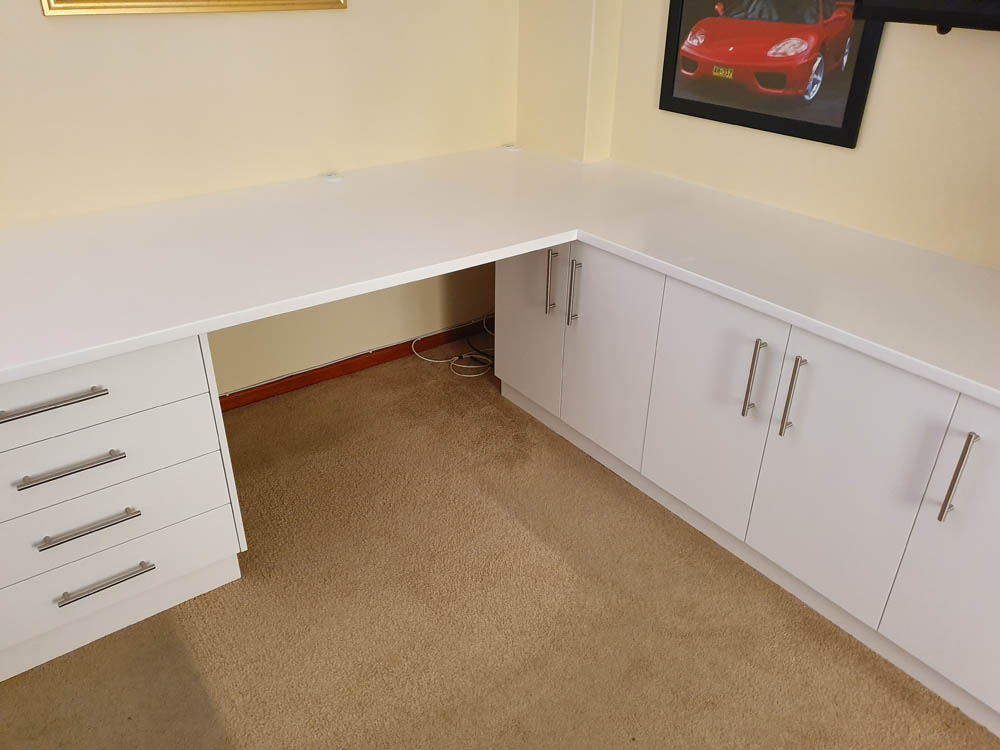
I chose white as it gives a clean look and it also looks great as a background for my product photos/videos! My favourite part of the desk is how much storage space I get! I chose a really wide desk so I could stretch my legs out far under the desk!
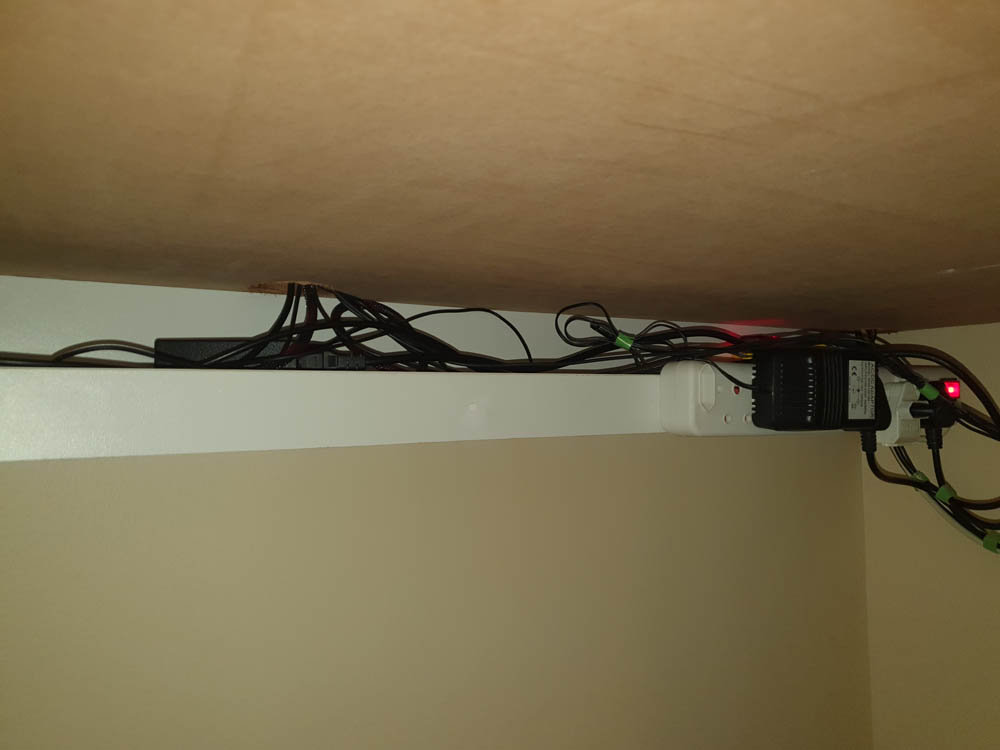
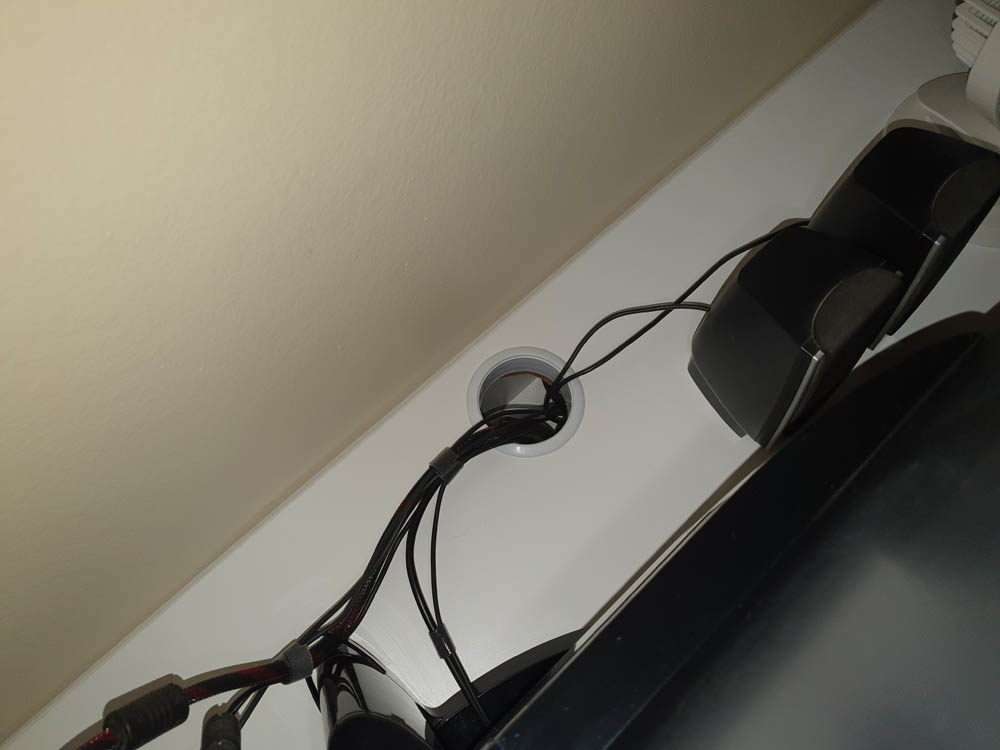
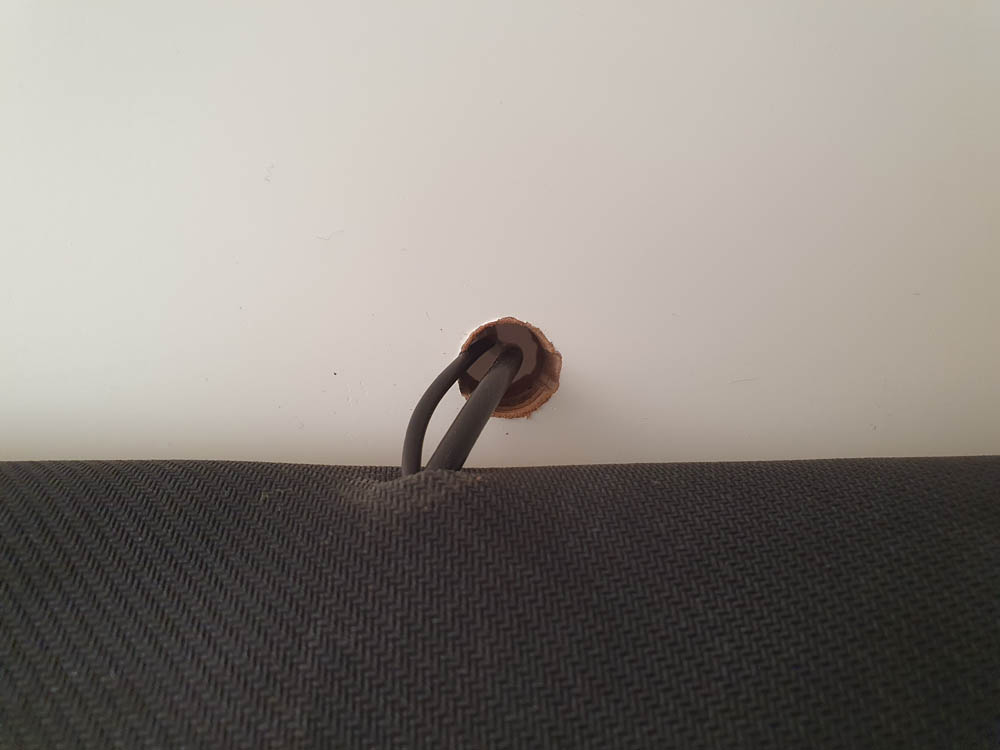
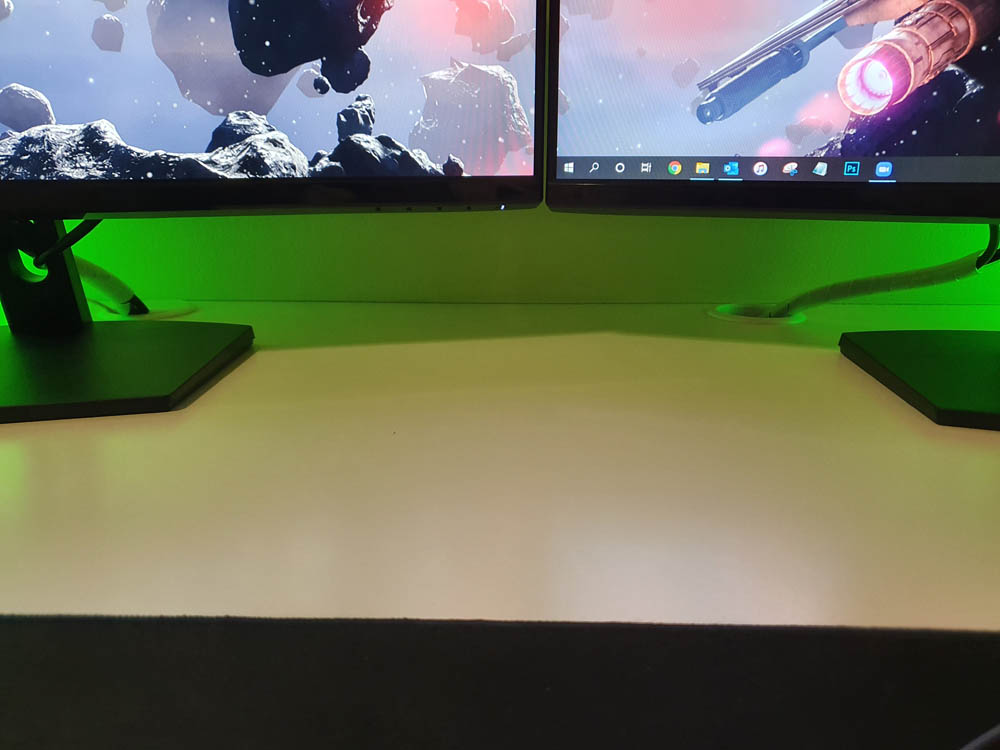
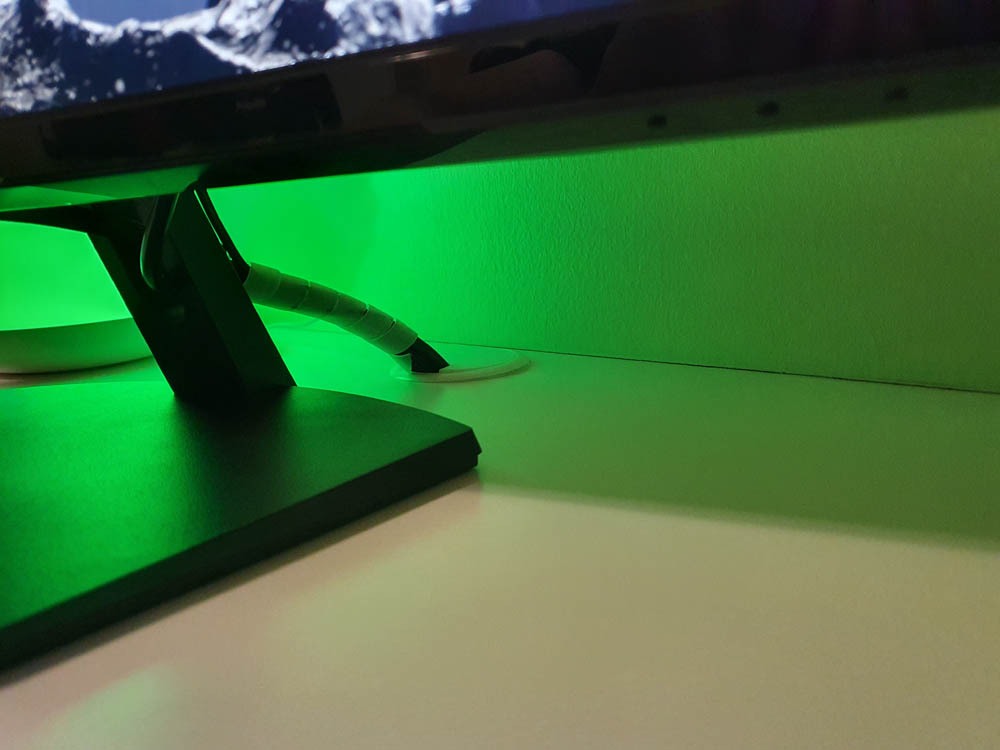
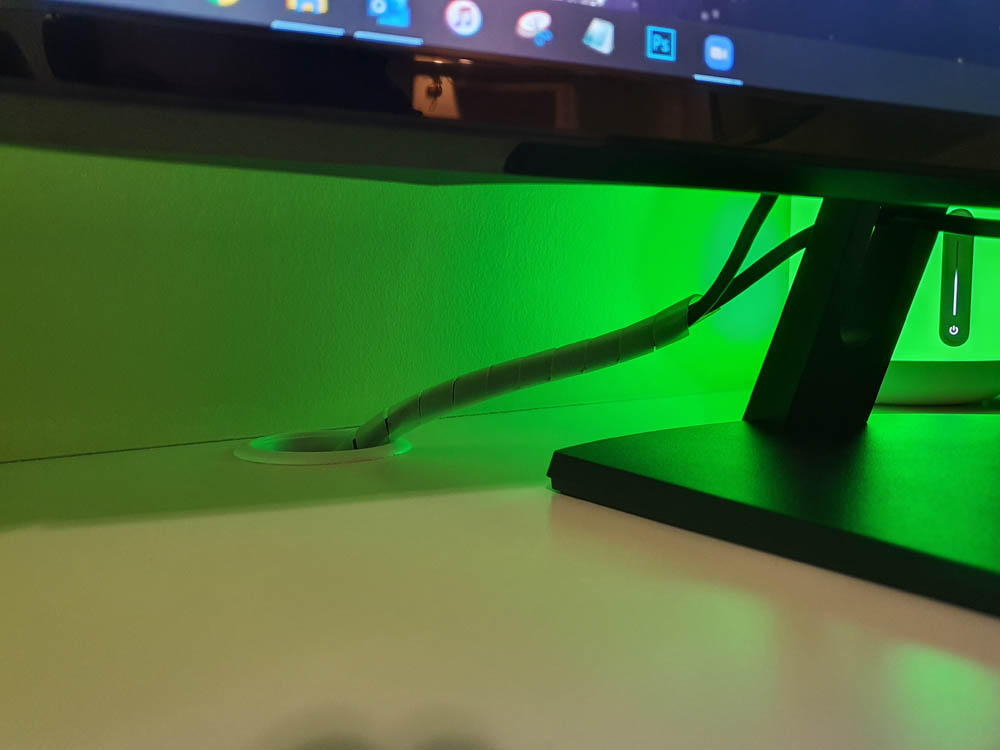
The desk also has a compartment for my cables to run as well as holes on the desk to route cables:
Cable Management Upgrades:
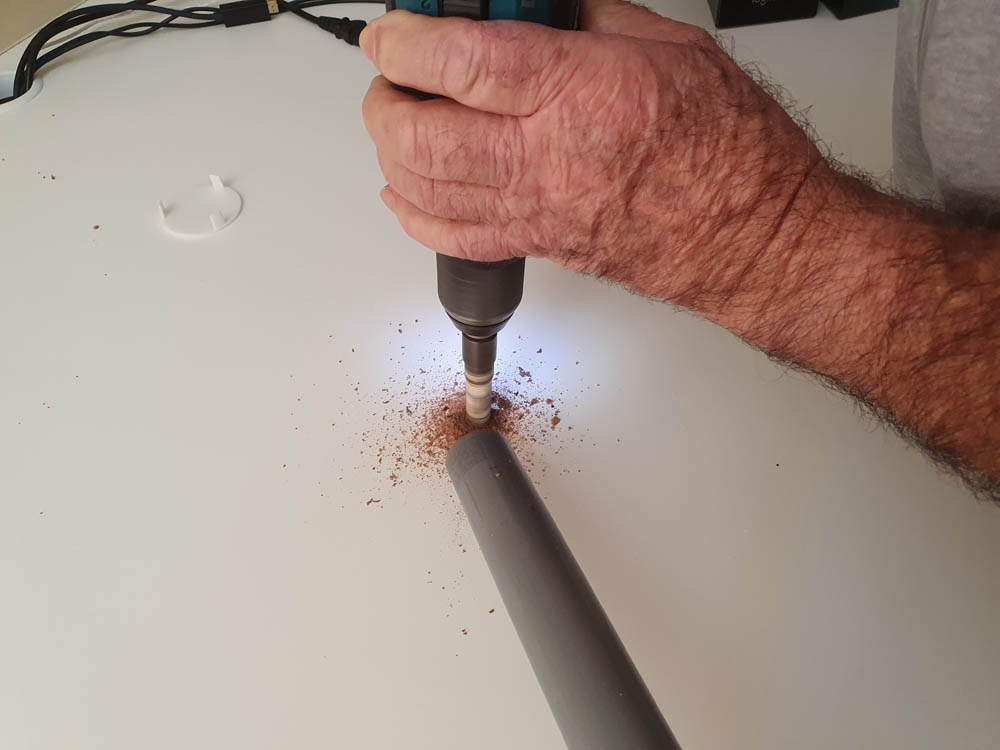
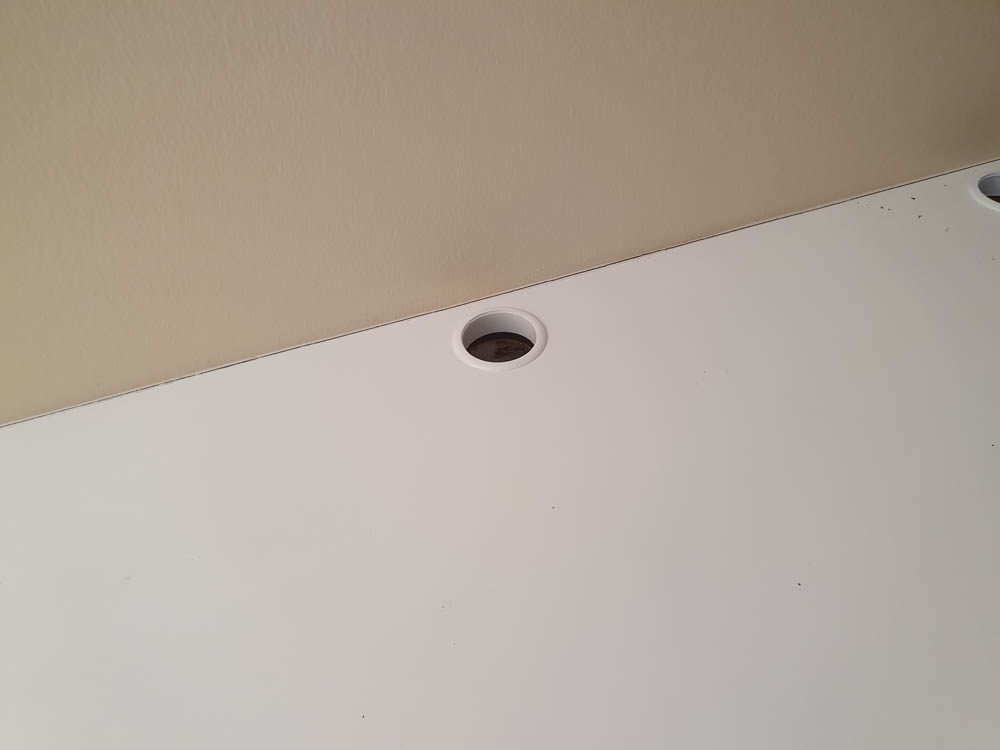
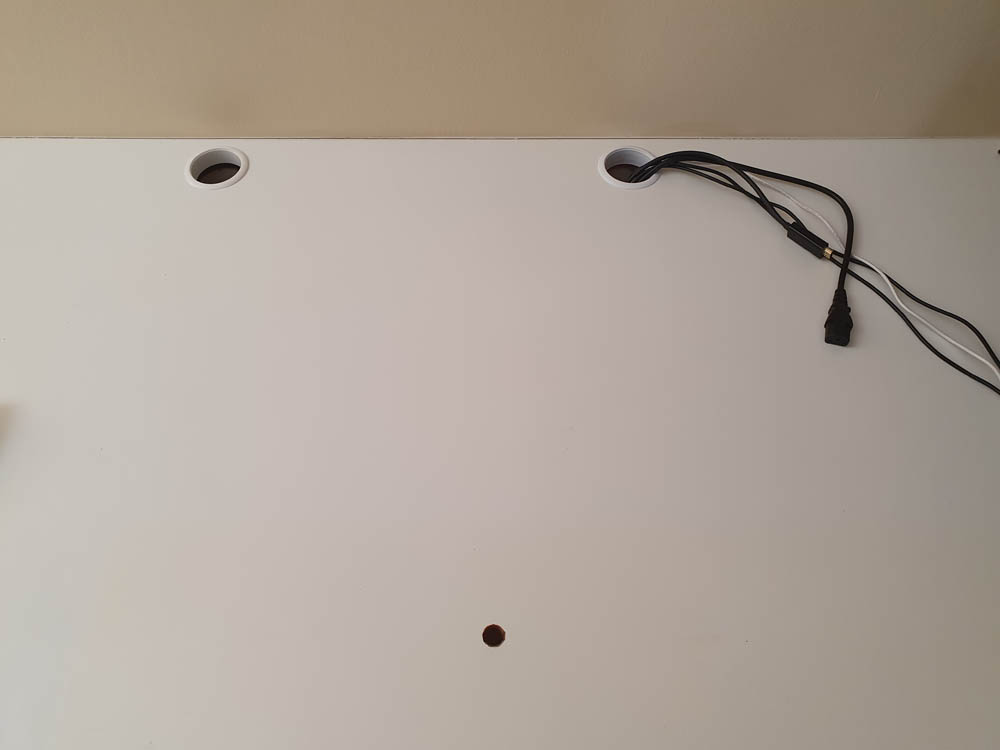
I added in two new holes. One for more cables that lead up to my monitor and speakers. And the second to route my keyboard/mouse cables under my desk:

The Chair:
When you are at your desk, you are sitting on a chair of some sort. So it is vital to have a comfy chair. For years, I always had a normal office chair and I always used to slouch in the chair, which hurt my back and neck.
This is the chair I used to use:

The Upgrade:
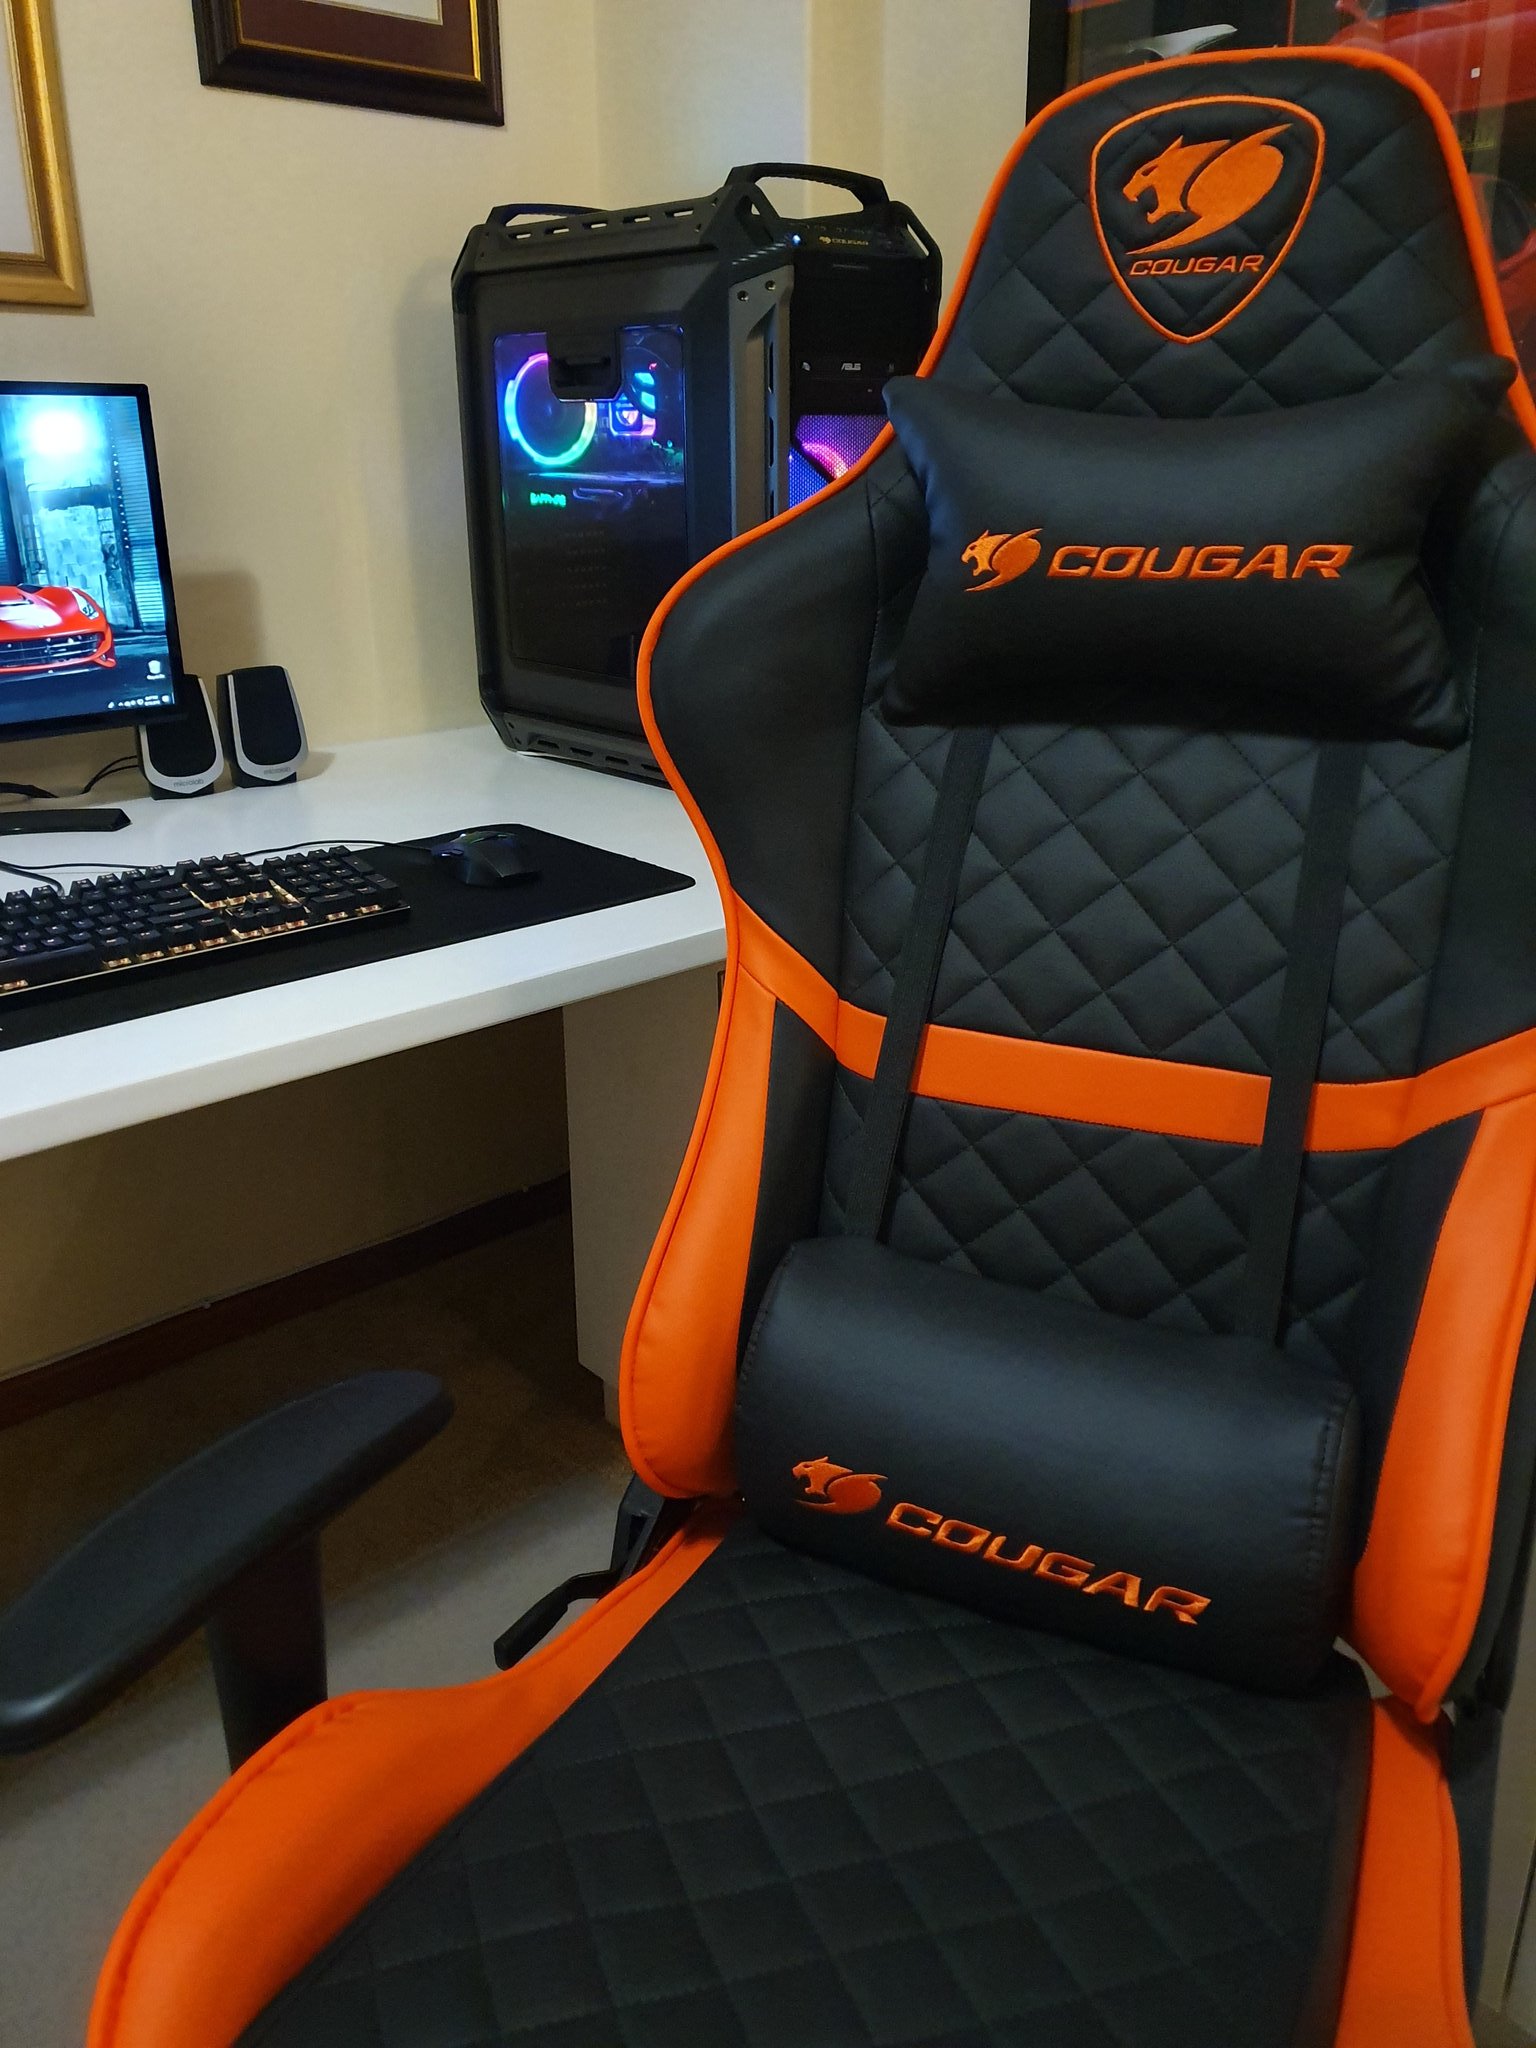
I decided it was time to upgrade and got myself a Cougar Armor One gaming chair and I am so happy I did. The chair is really well made, has a pillow to support your neck and a pillow for your lower back. It can recline to 180 degrees and has adjustable armrests:
How nice does my setup look with the Cougar Armor One Gaming Chair from @CougarGamingSA? See how I made my home setup here: https://t.co/heM7Tb2Hrg pic.twitter.com/Y72nrutDCh
— Cape Town Guy (@TheCapeTownGuy) August 1, 2019
The computer:
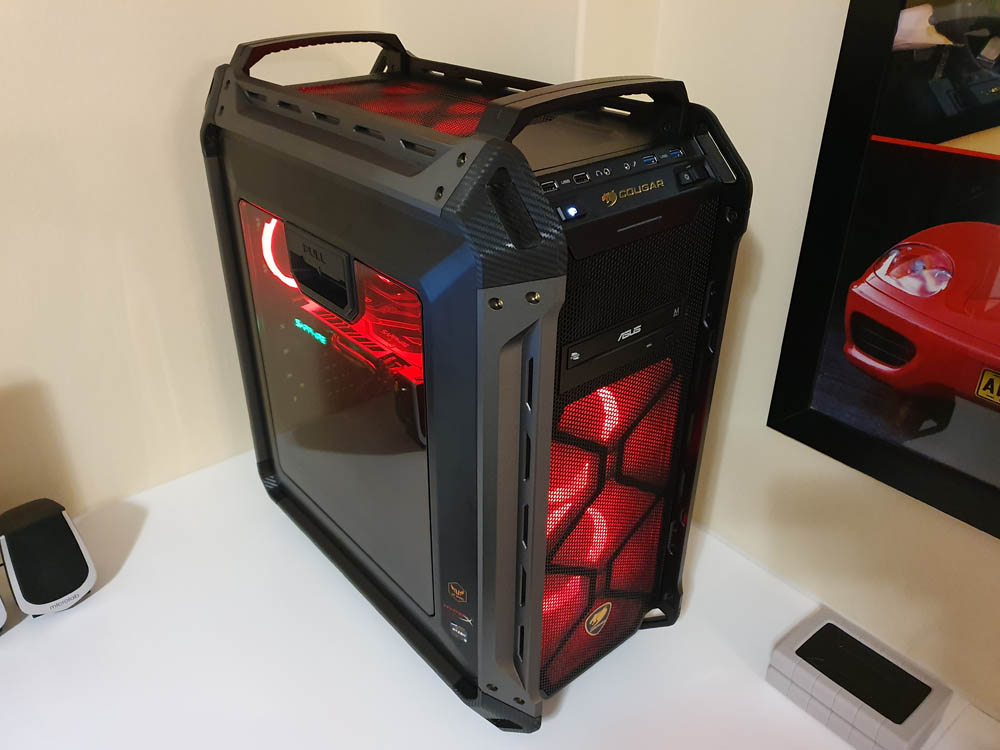
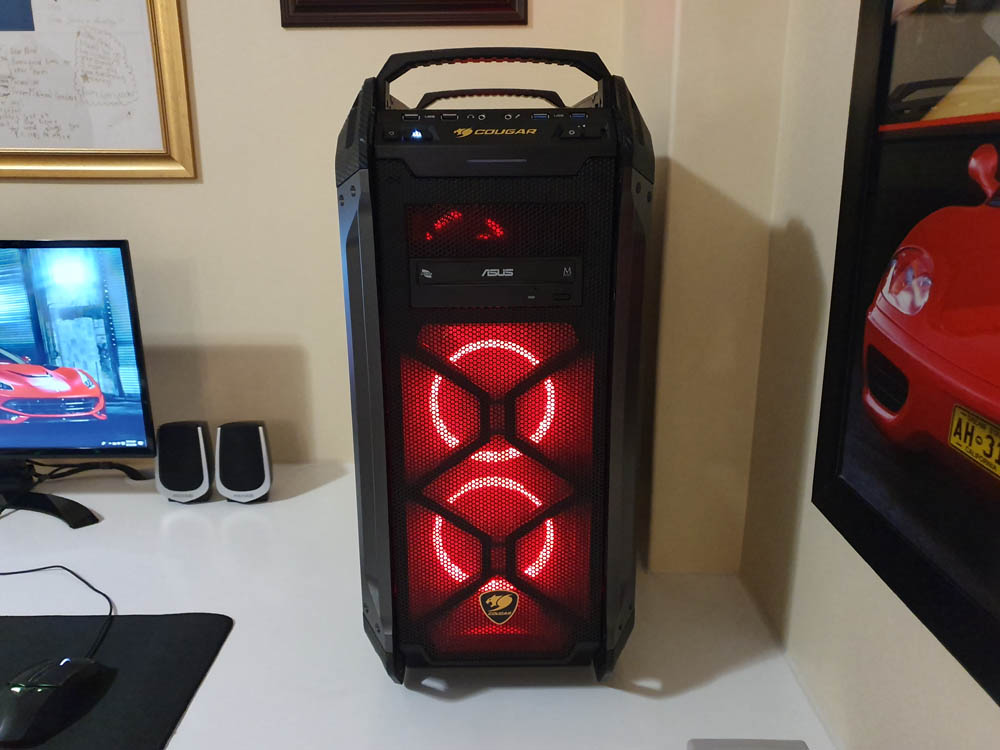
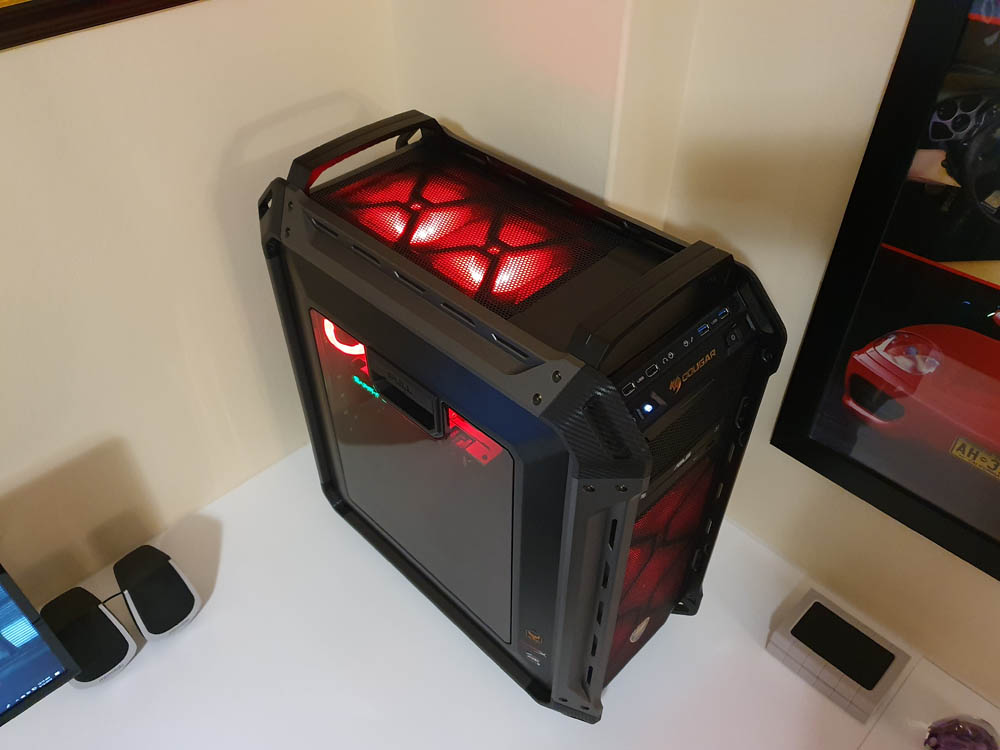
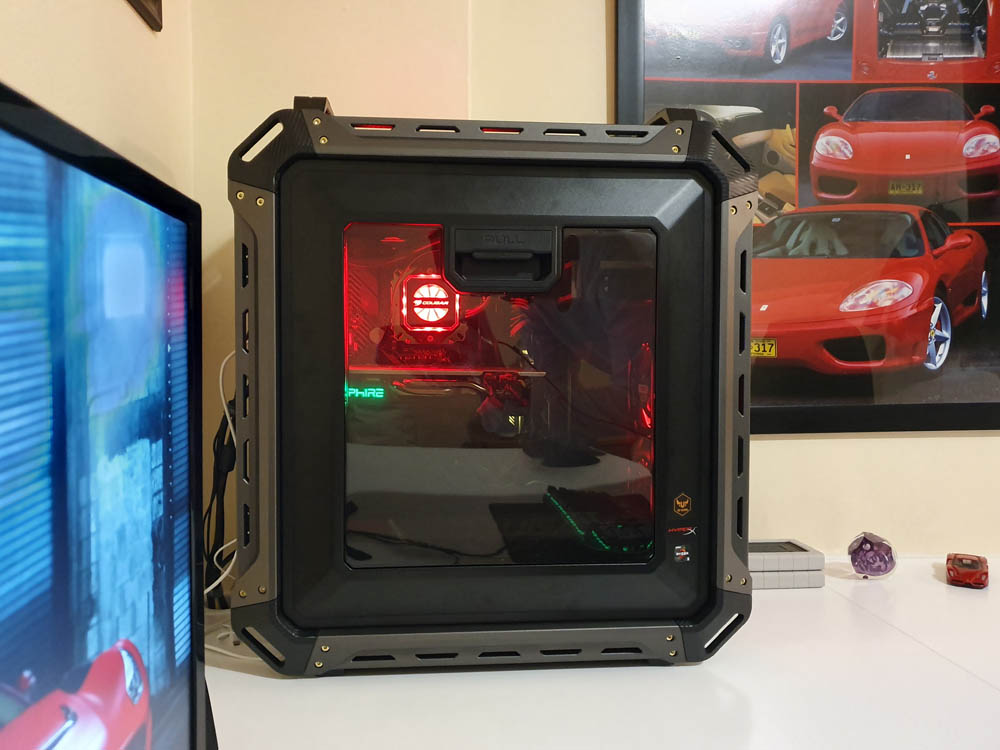
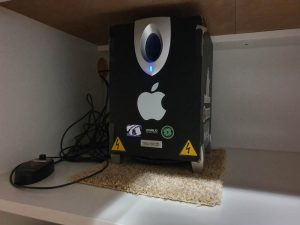
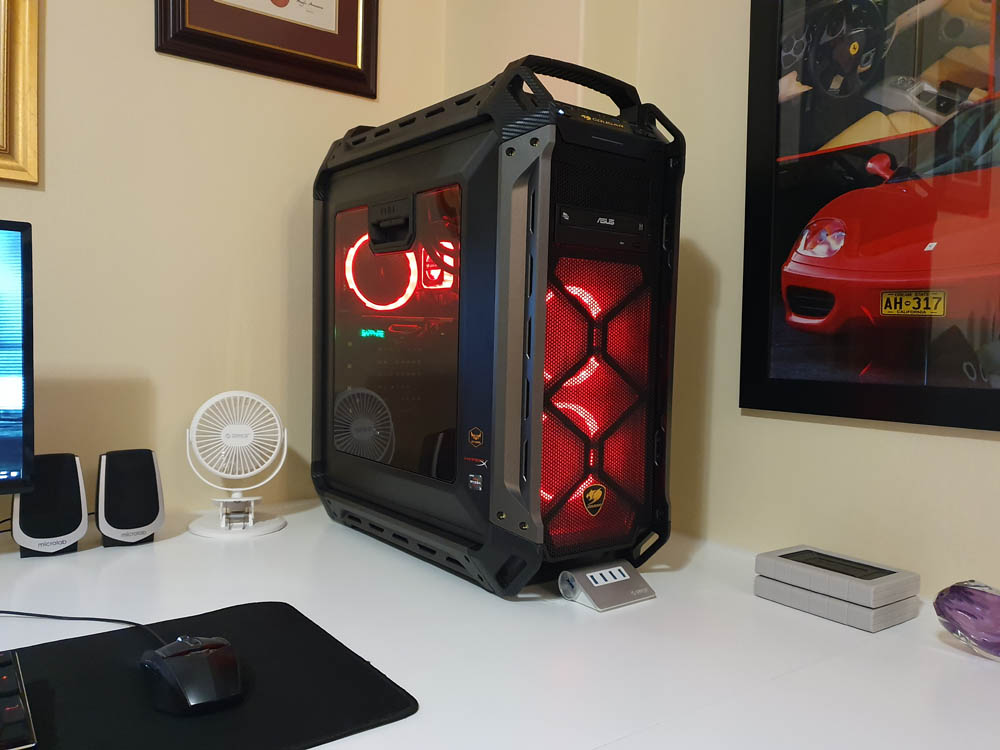
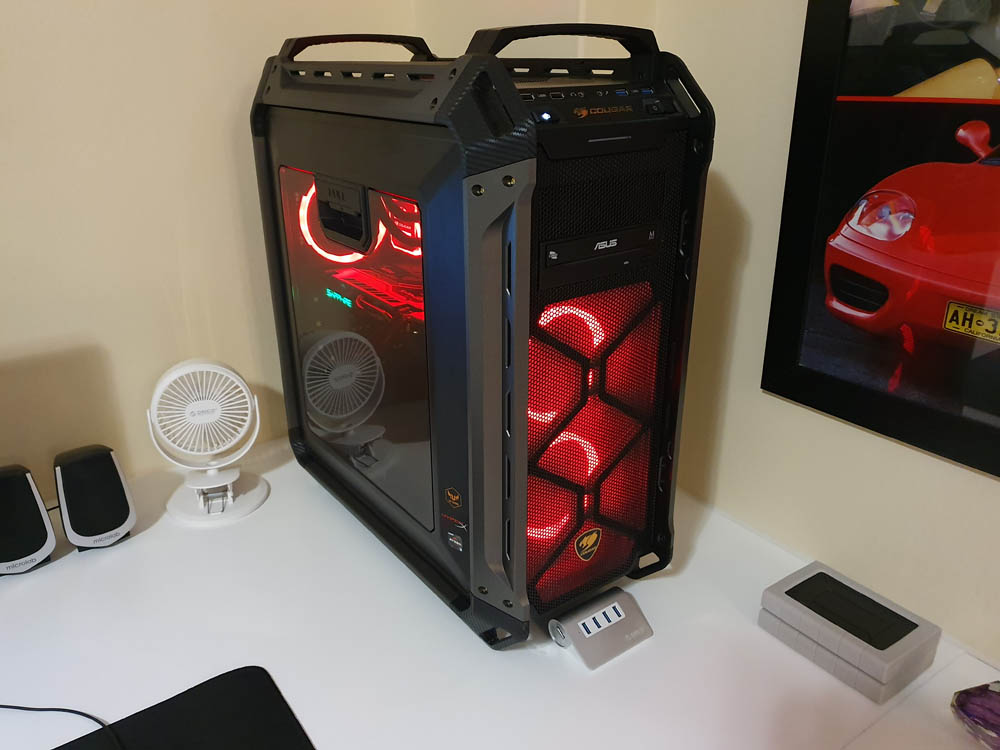
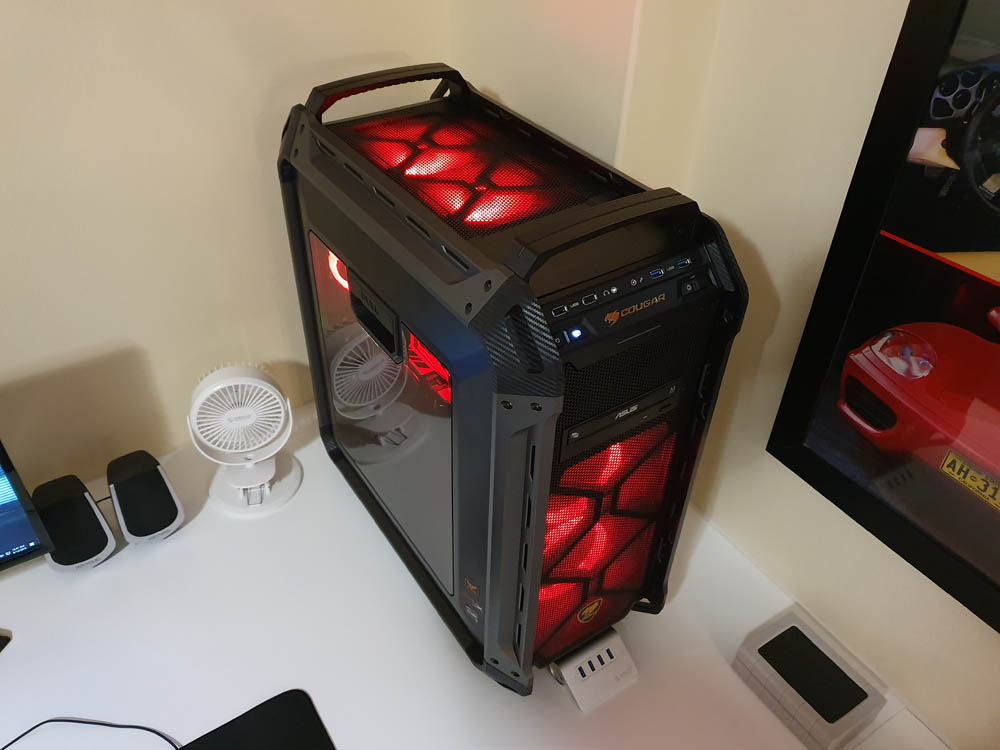
I first built my own computer in about 2010 and since then I have had the same Raidmax Smilodon case with multiple part changes. My case didn’t have great cable management or protection against dust getting in so I decided it was time to get myself a new computer case.

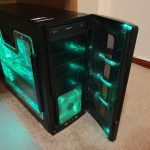
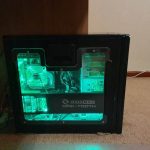
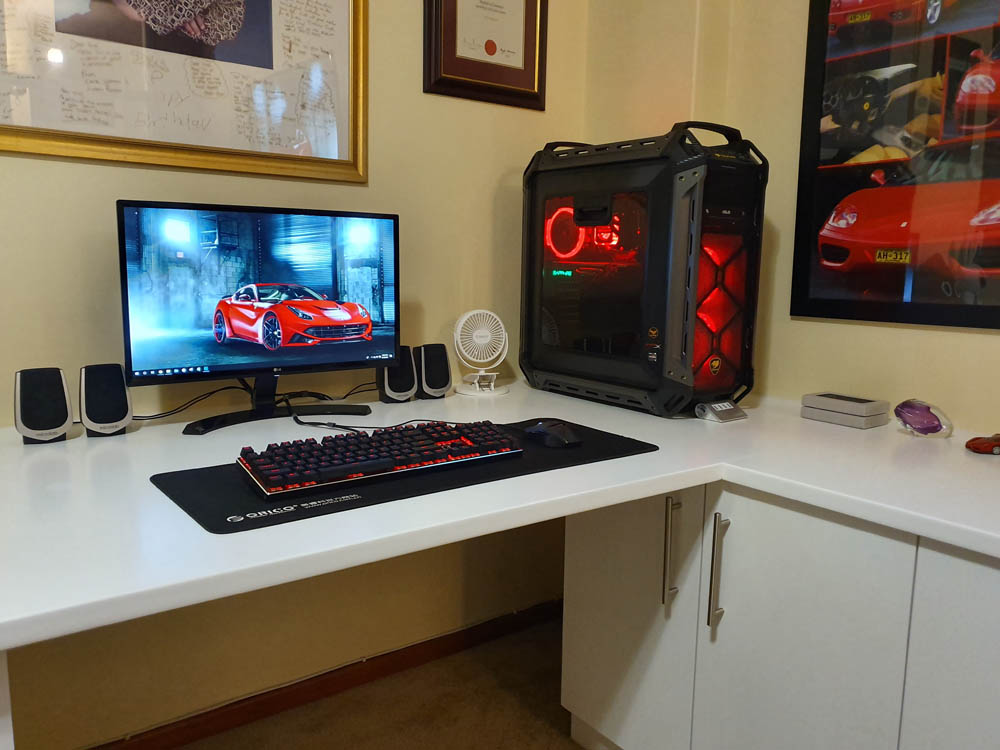
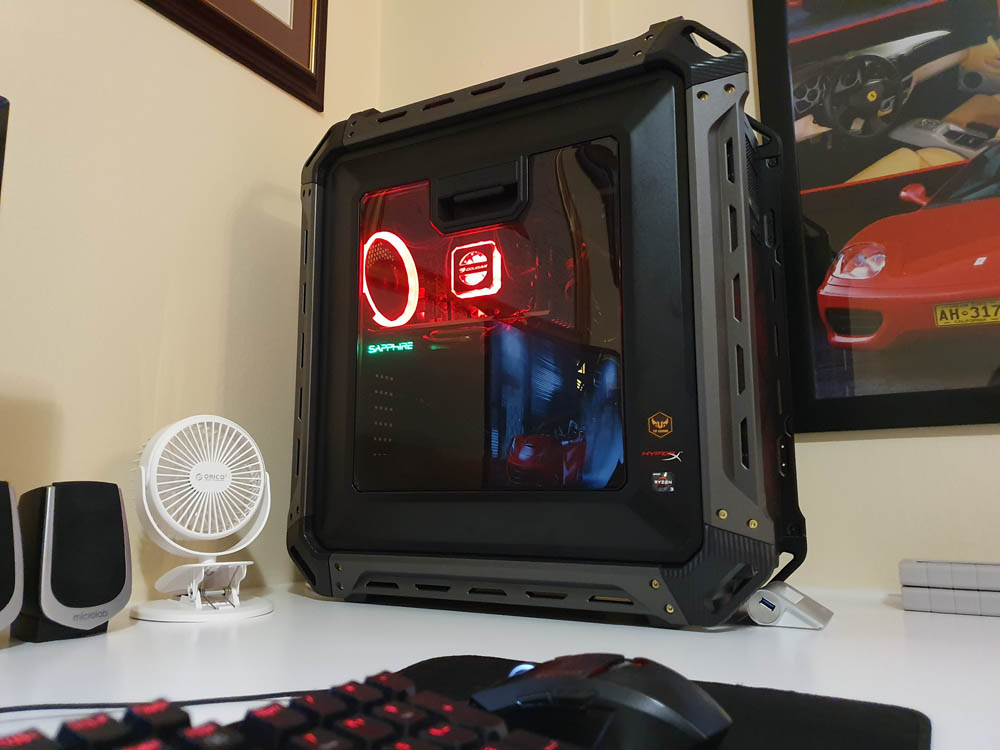
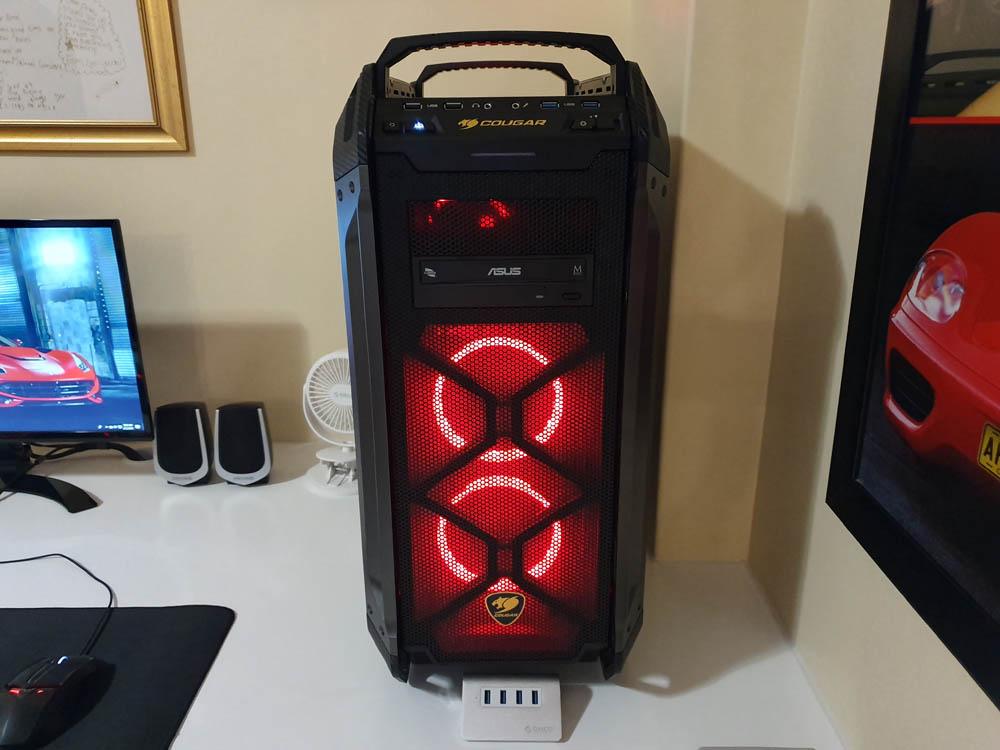
I chose the Cougar Panzer Max case as it has excellent cable management, has filters for all the fans and just looks so mean! Here is the case mid build:
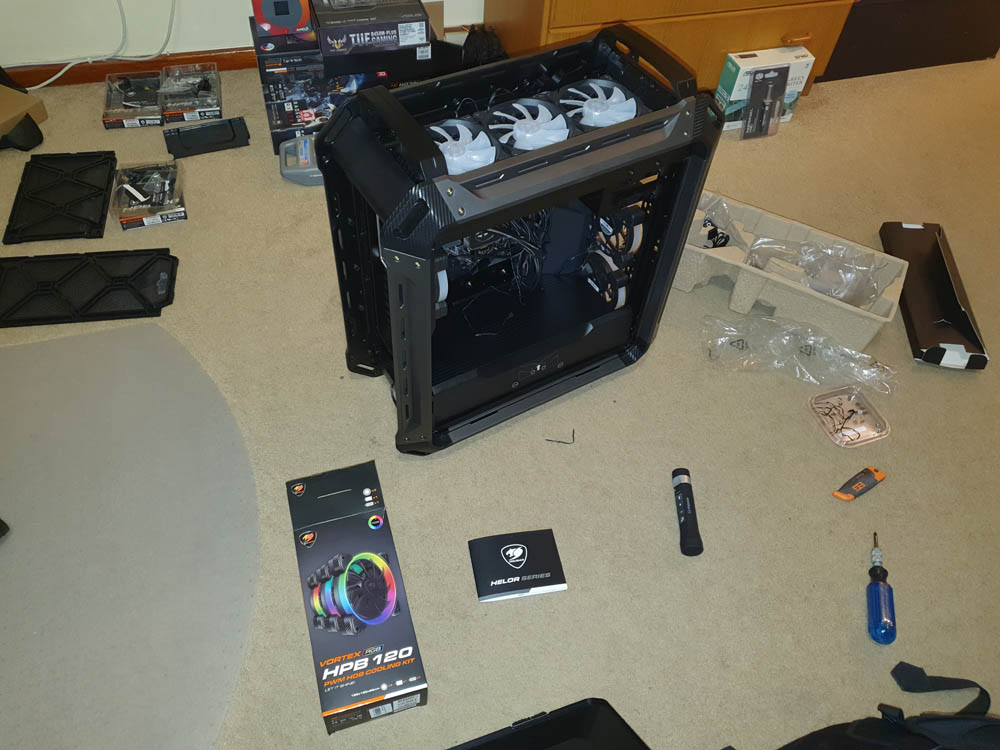
With my brand new case, I decided it was time to also upgrade my parts. My computer was not performing too well and my graphics card crashed many times. So I was definitely due for an upgrade! I sourced my parts from Cougar, Wootware, Evetech and Takealot:
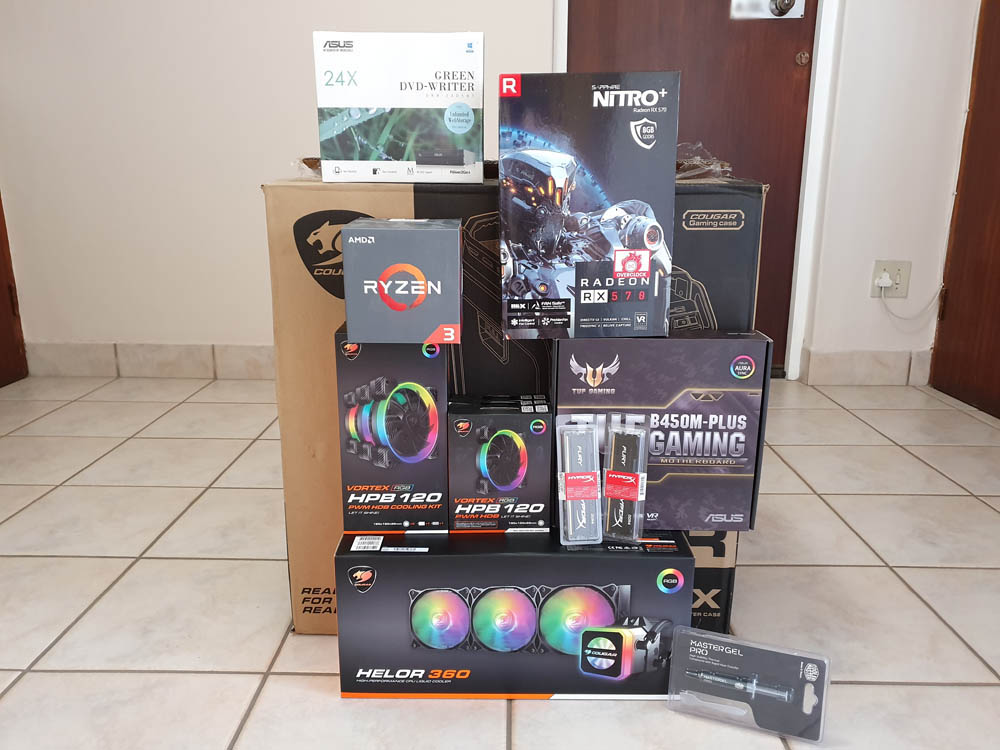
Inside my new computer, you will find:
- Asus TUF B450M-PLUS GAMING AMD B450 Ryzen Socket AM4 Micro-ATX Desktop Motherboard
- Kingston HyperX FURY 16GB DDR4 2666MHz Desktop Memory X 2
- AMD Ryzen 3 1300X Quad-Core Processor (3.5GHz)(AM4)
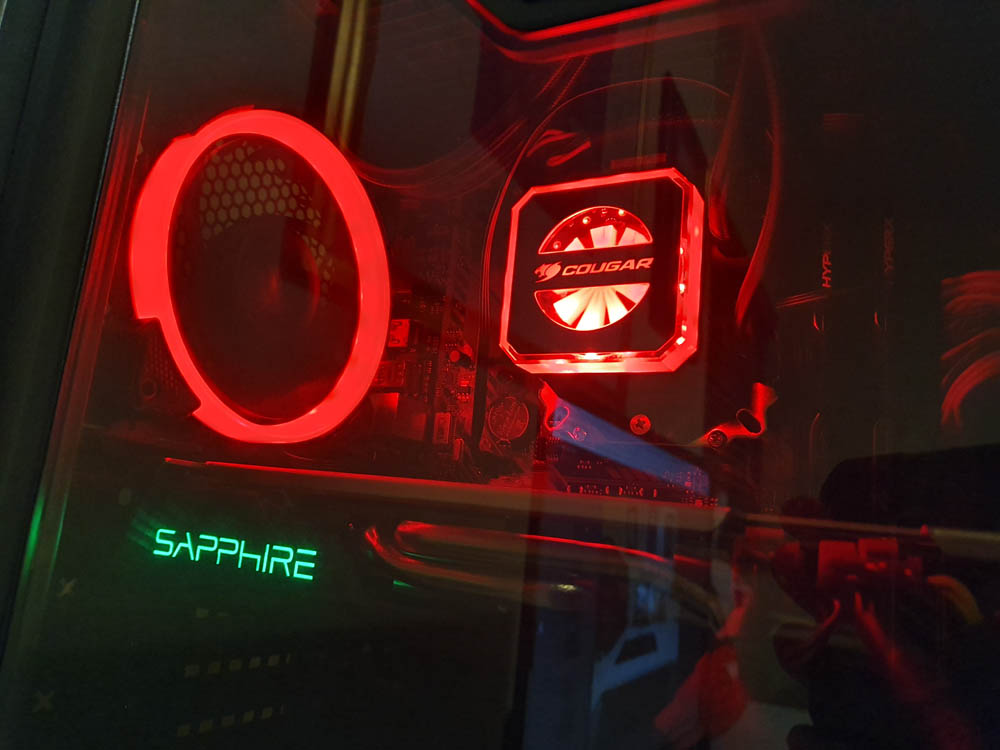
- Sapphire Radeon RX 570 Nitro+ 8GB GDDR5 256-bit PCI-E 3.0 Desktop Graphics Card
- Cougar Panzer Max
- Cougar Vortex HPB RGB PWM Cooling Kit
- Cougar Vortex HPB RGB 120 Fan
- Cooler Master MasterGel Pro CPU Thermal Compound
- Cougar Helor 360 Water Cooler
- 2 x 2 TB Hard drives
- Adata XPG SX8000 512GB SSD (Read my review)
- RaidMax 730W PSU 135mm Blue LED Fan
In 2023, I made some upgrades of some parts:
- Asus TUF B450M-PLUS GAMING AMD B450 Ryzen Socket AM4 Micro-ATX Desktop Motherboard
- Kingston HyperX Predator RGB 16GB DDR4-3200 x 2
- AMD Ryzen 5 5500 6-Core 3.6GHz CPU Processor
- Sapphire Radeon RX 570 Nitro+ 8GB GDDR5 256-bit PCI-E 3.0 Desktop Graphics Card
- Cougar Panzer Max
- Cougar Vortex HPB RGB PWM Cooling Kit
- Cougar Vortex HPB RGB 120 Fan
- Cooler Master MasterGel Pro CPU Thermal Compound
- Cougar Helor 360 Water Cooler
- 3 x 2 TB Hard drives
- Adata XPG SX8000 512GB SSD (Read my review)
- RaidMax 730W PSU 135mm Blue LED Fan
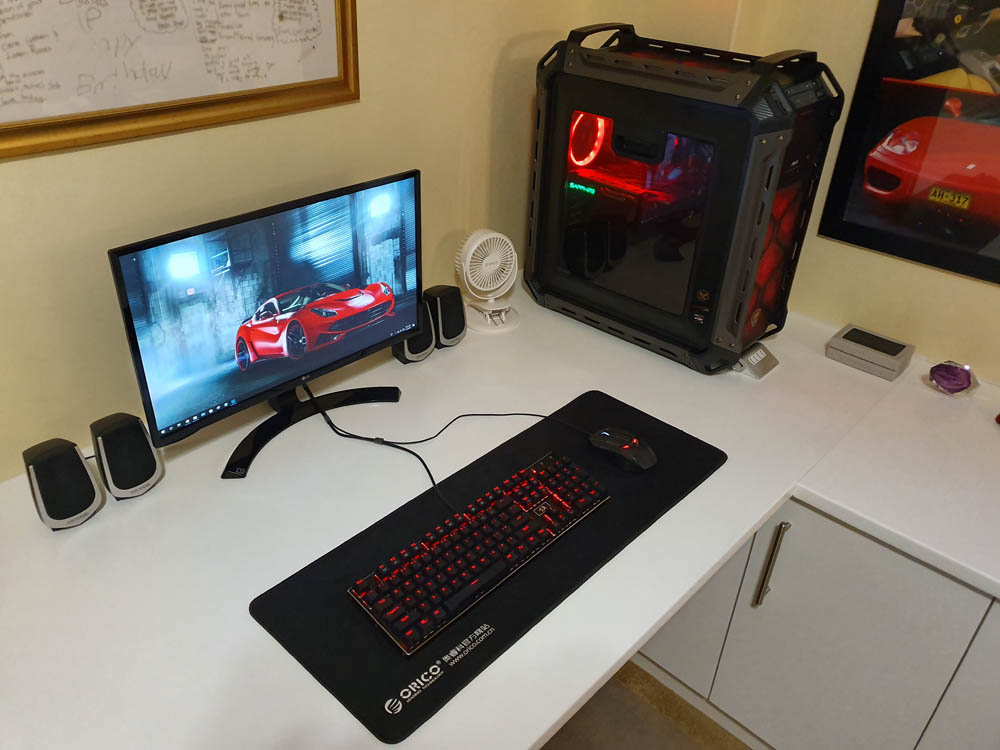
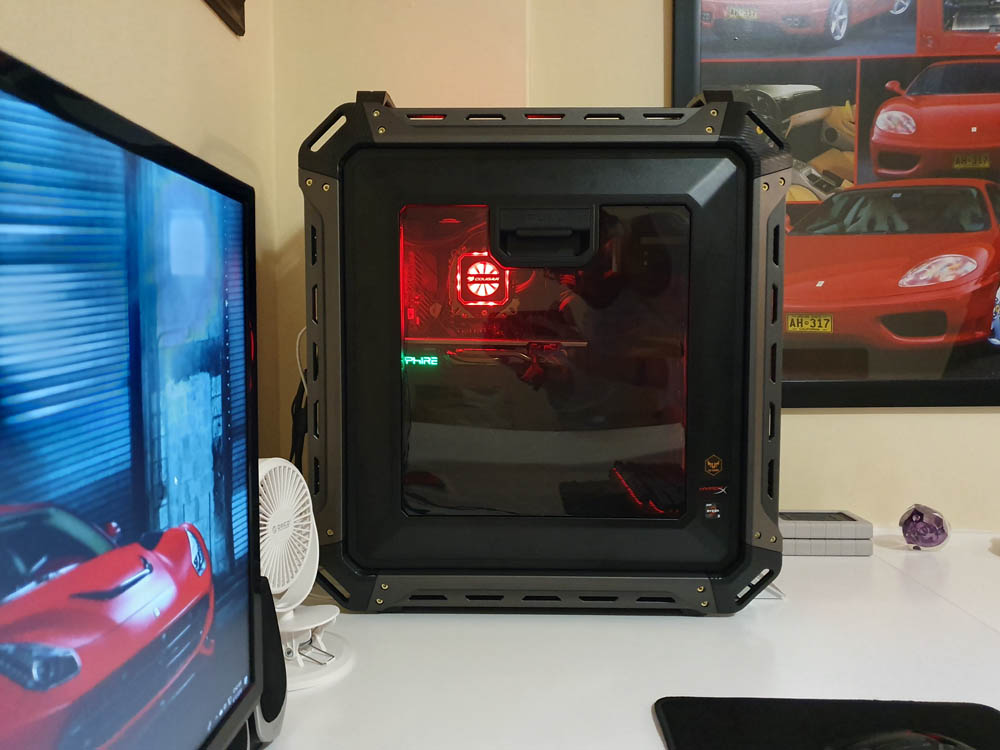
My new computer looking super cosy at his new home:
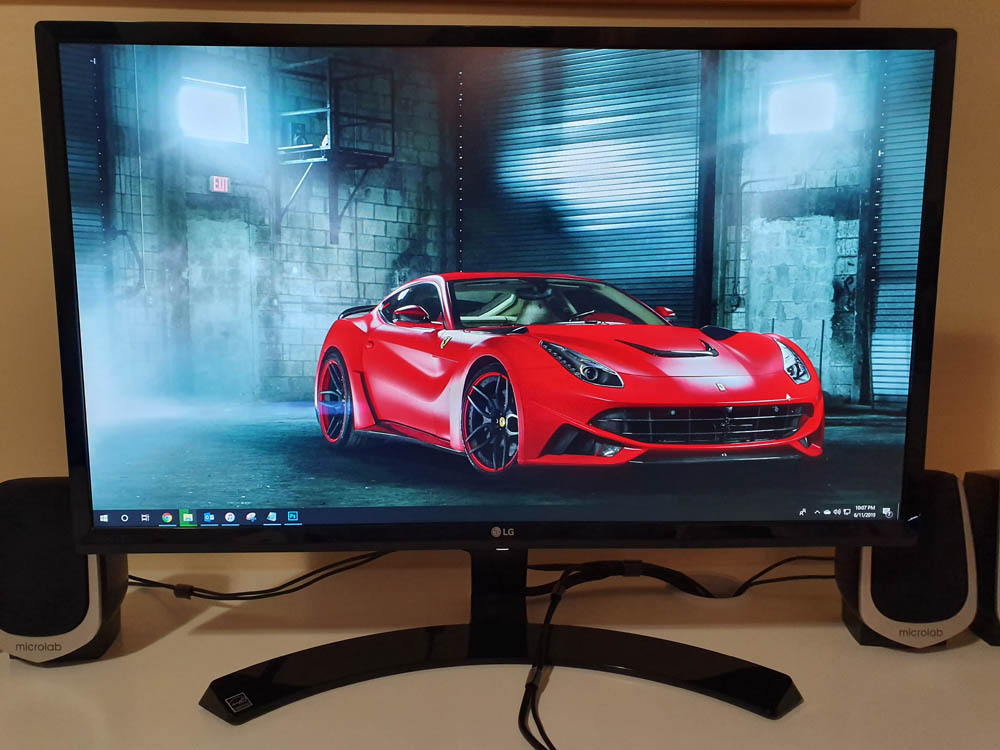
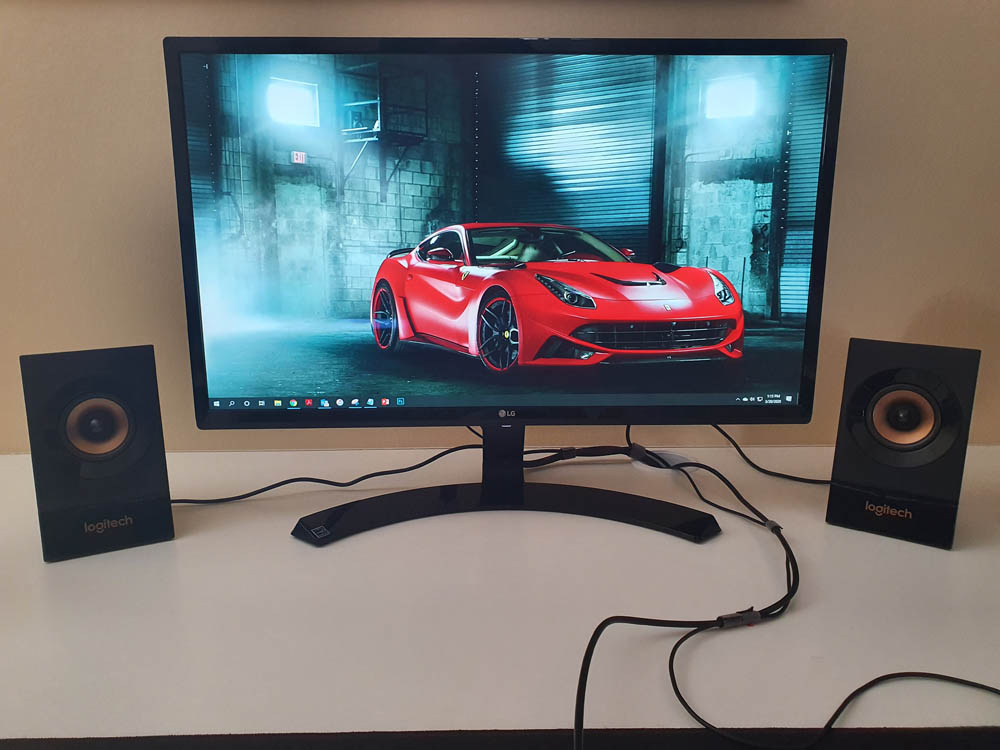
Monitor:
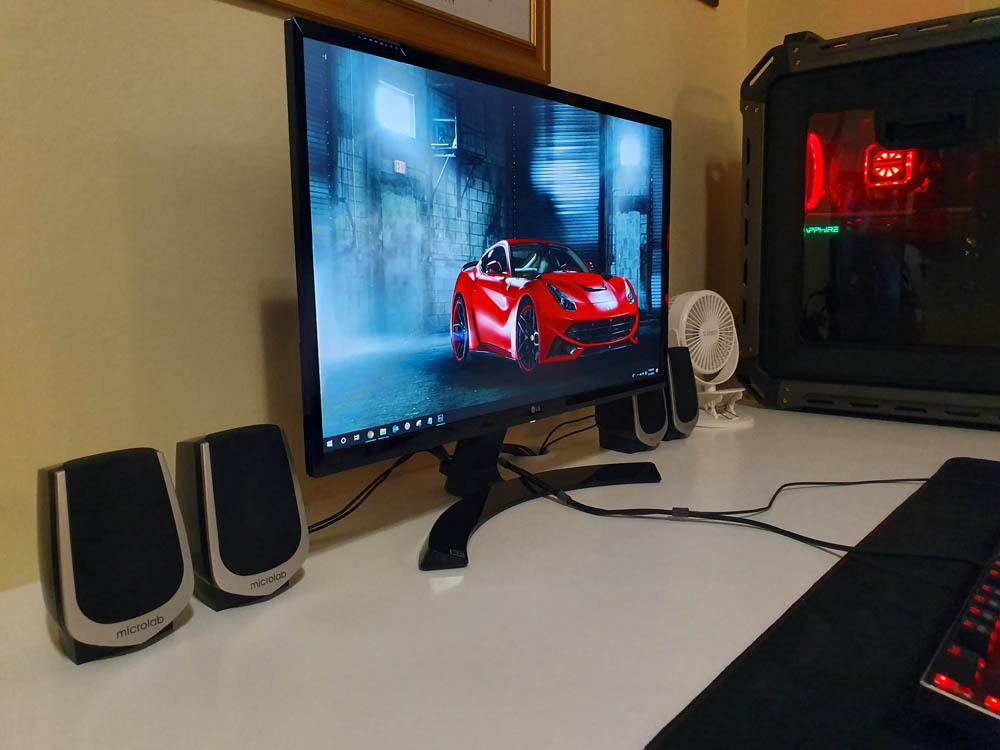
My monitor is a 24 inch LG IPS Display which I have had for about 2 years and I am still happy with it so opted to keep it. I actually would like a second monitor but unfortunately, my display is not for sale anymore. See below, I finally got a second monitor!
The Upgrade:
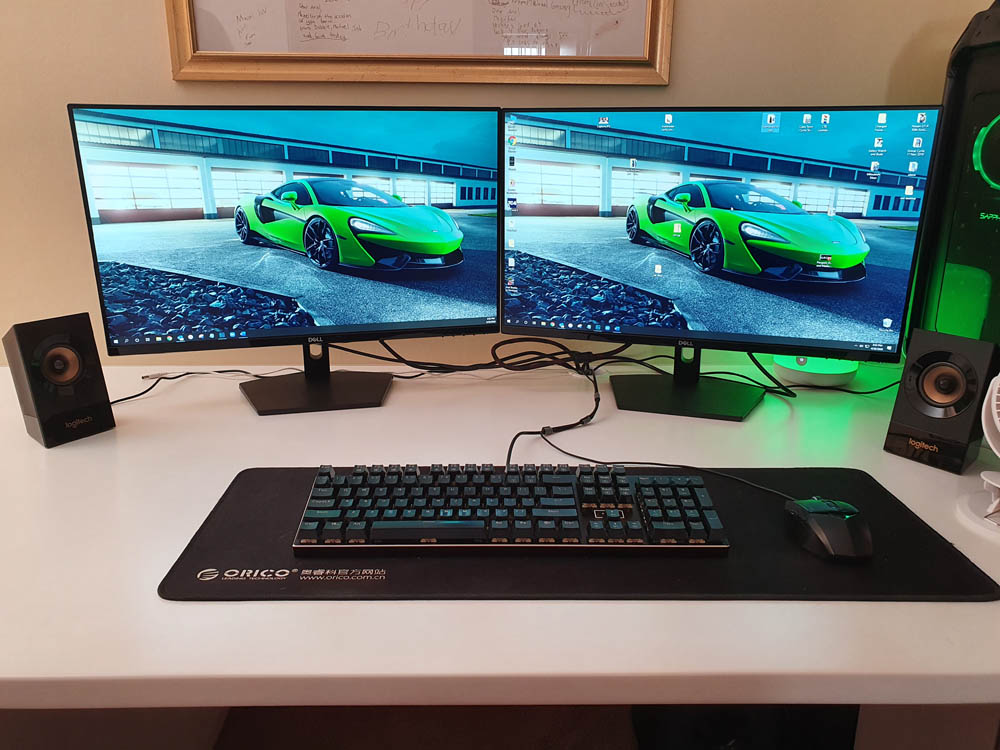
Since I have been working at home a lot, I decided it was time to get a dual-monitor setup. I opted for two Dell SE2719H 27″ Full HD Monitors as they were decent in spec but not expensive.
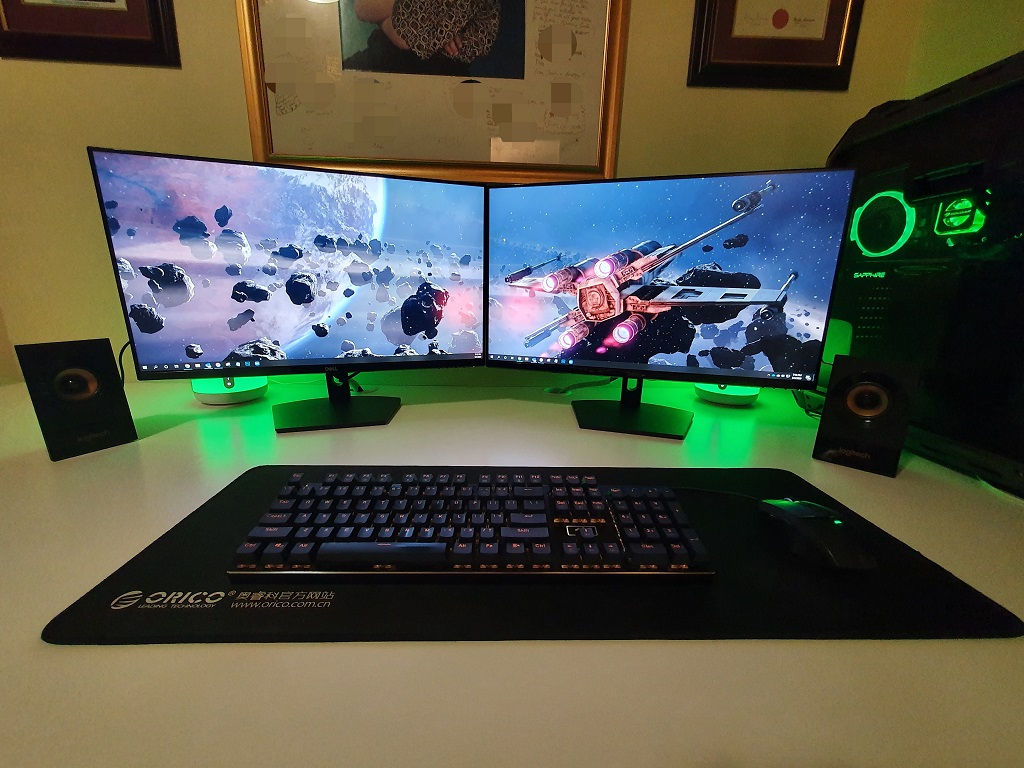
In 2022, I built myself a monitor stand to raise my monitors and create space for display pieces:
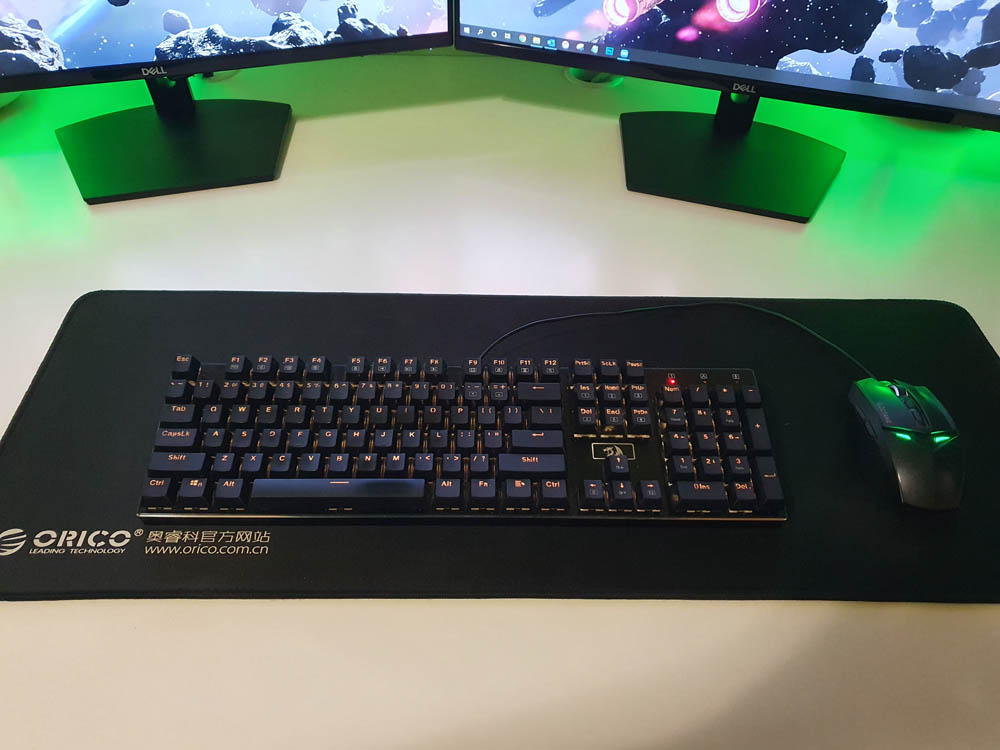
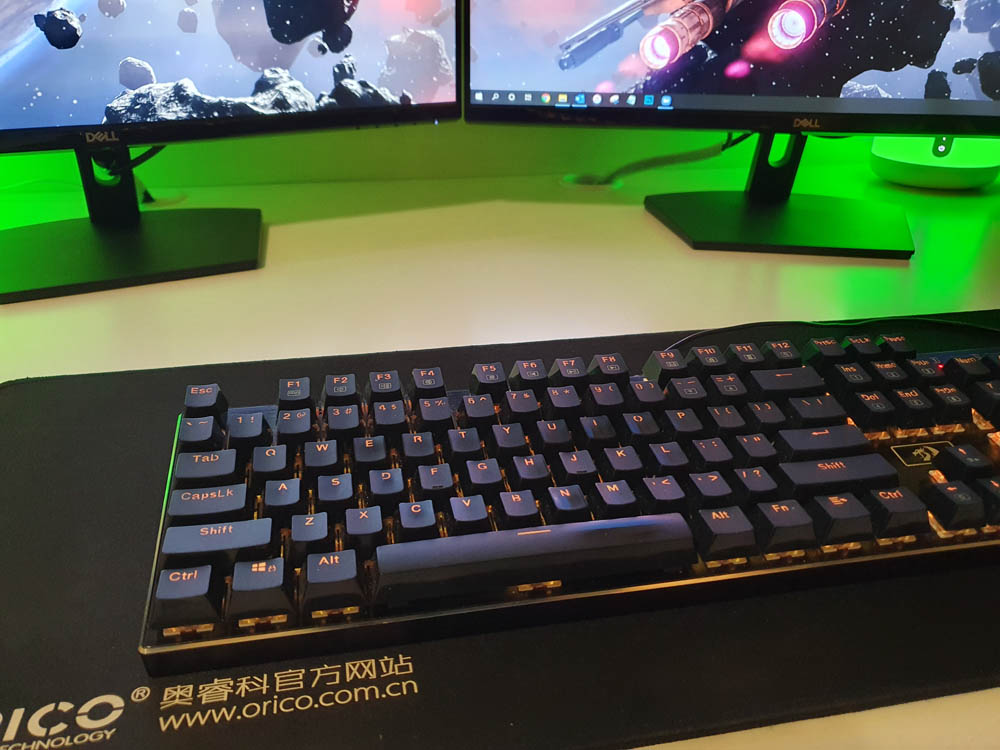
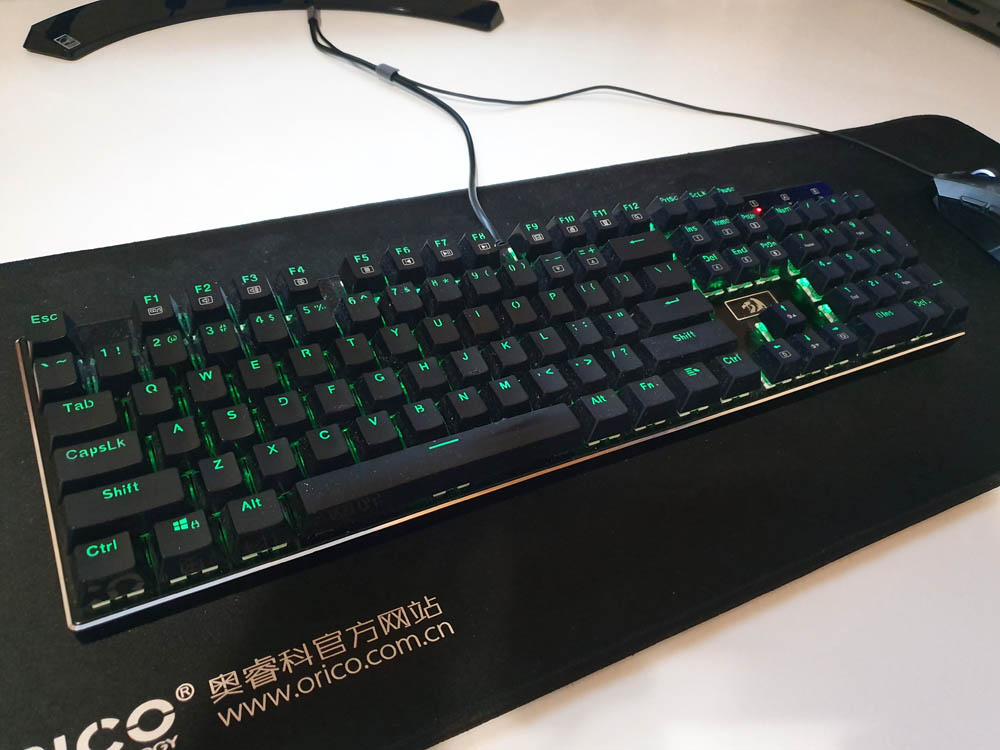
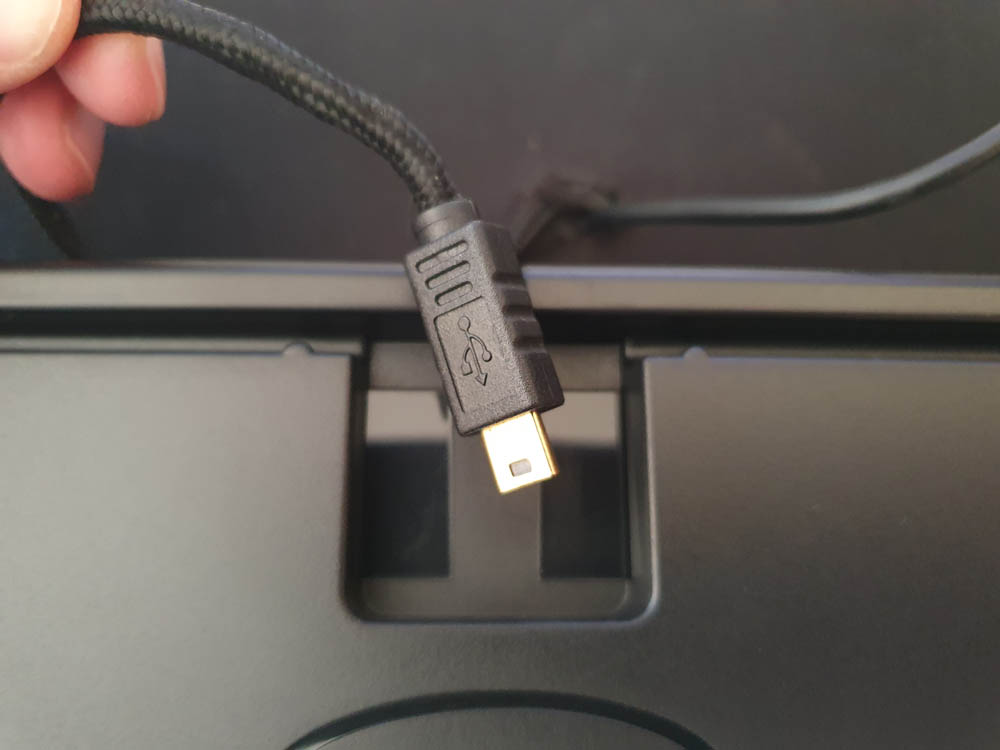
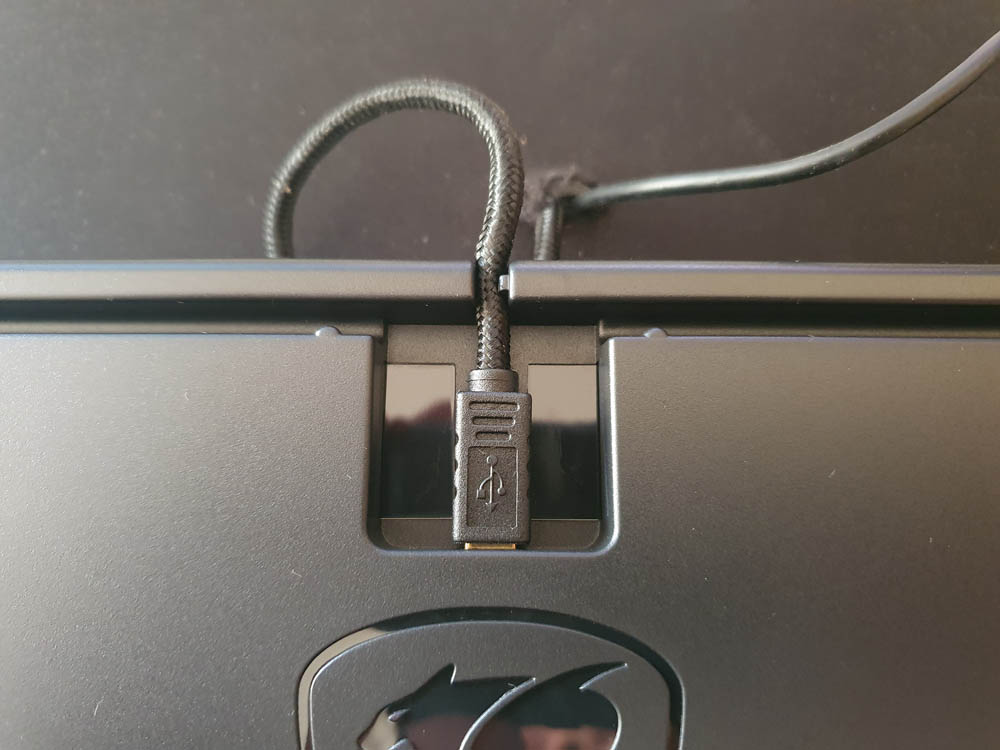
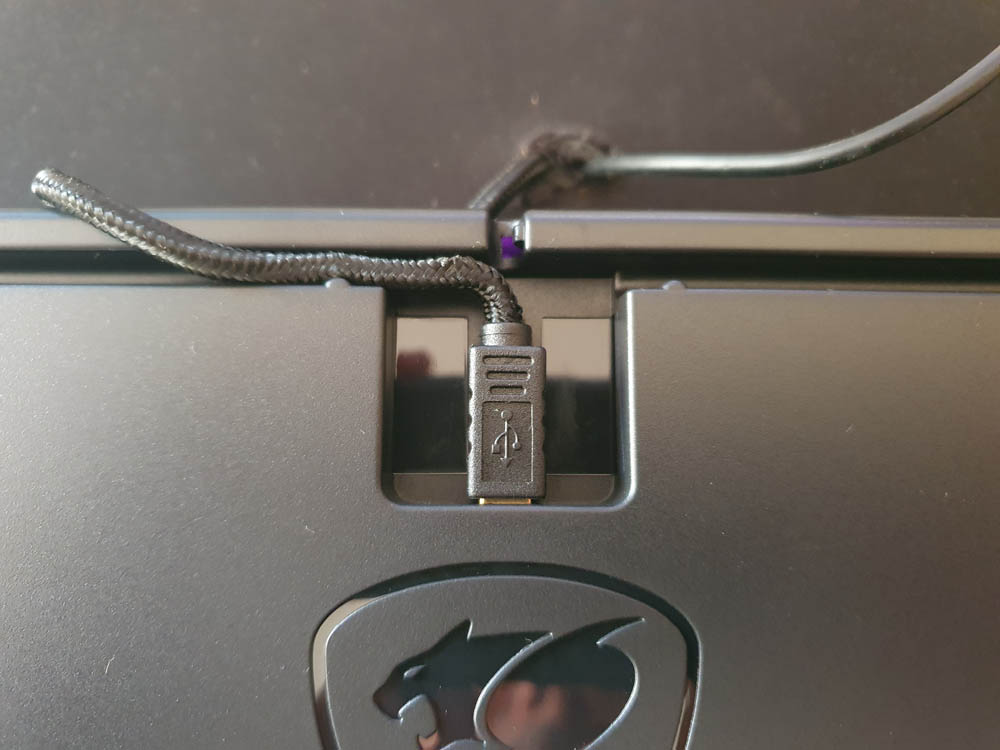
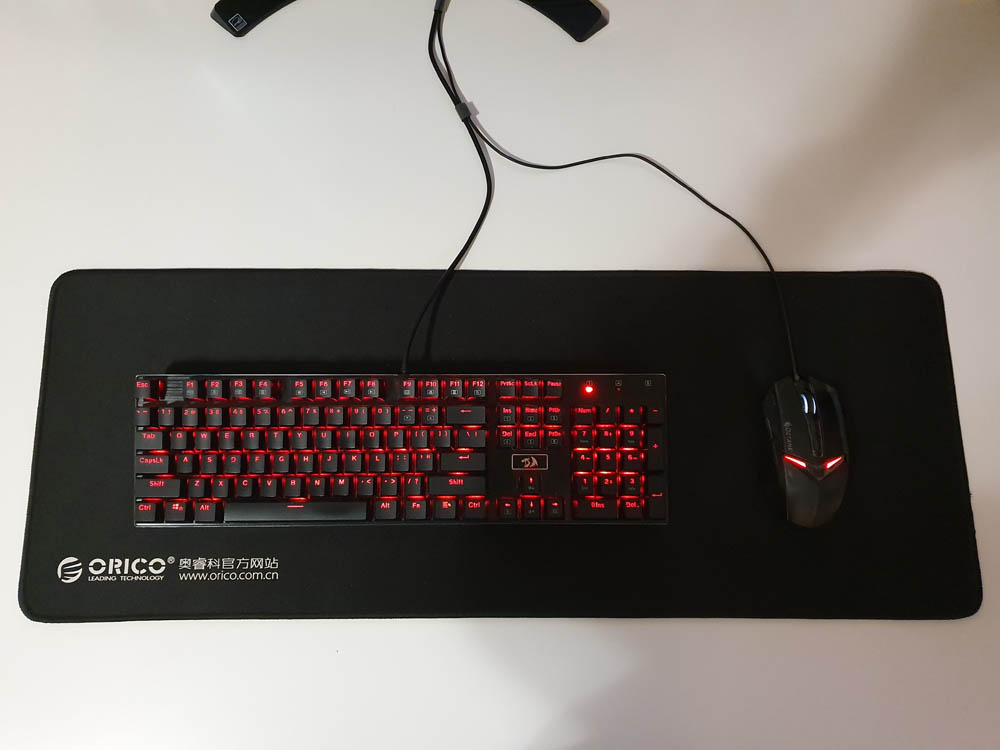
Keyboard & Mouse:
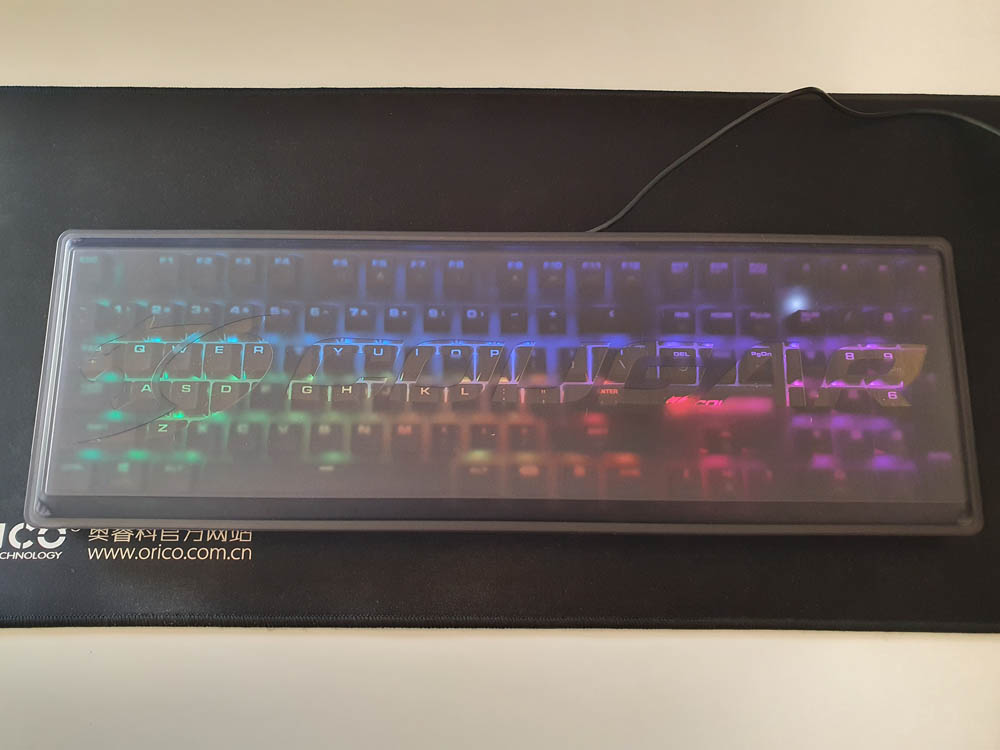
I use a Redragon Devarajas K556 RGB Mechanical keyboard which I am really happy with. It is made of metal, has clicky keys and loads of different lighting modes.
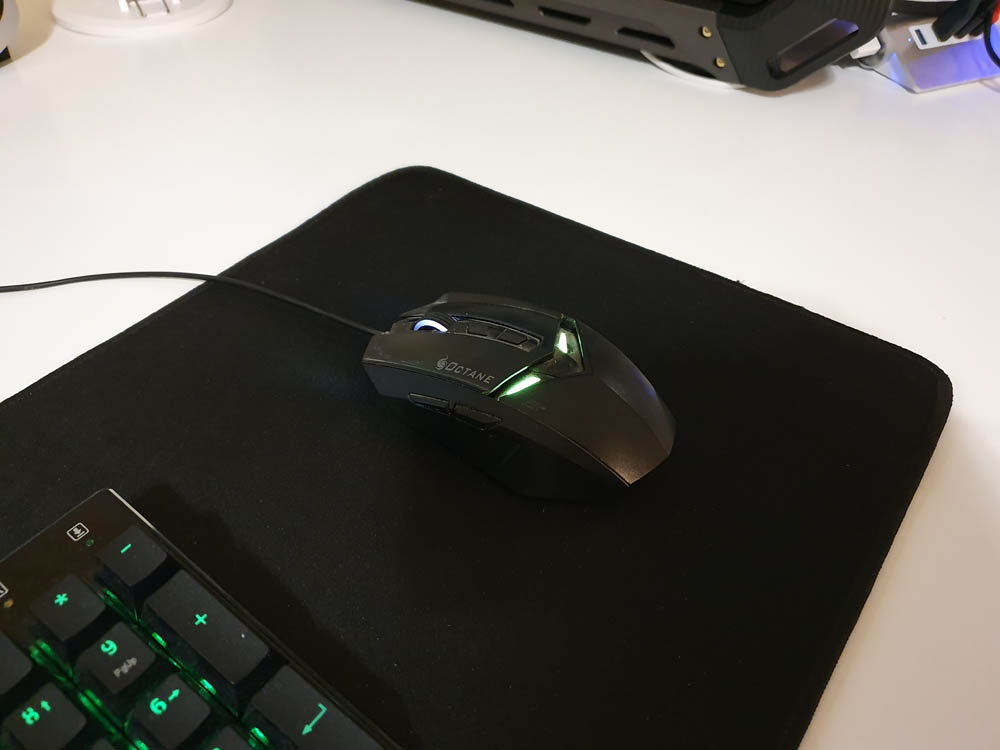
My mouse came as part of a combo. It is a Cooler Master Octane and it is probably the cheapest decent mouse I have used. The keyboard has since died hence my upgrade but the mouse is still going strong. I think at some point I’ll get a new mouse!
The Update:
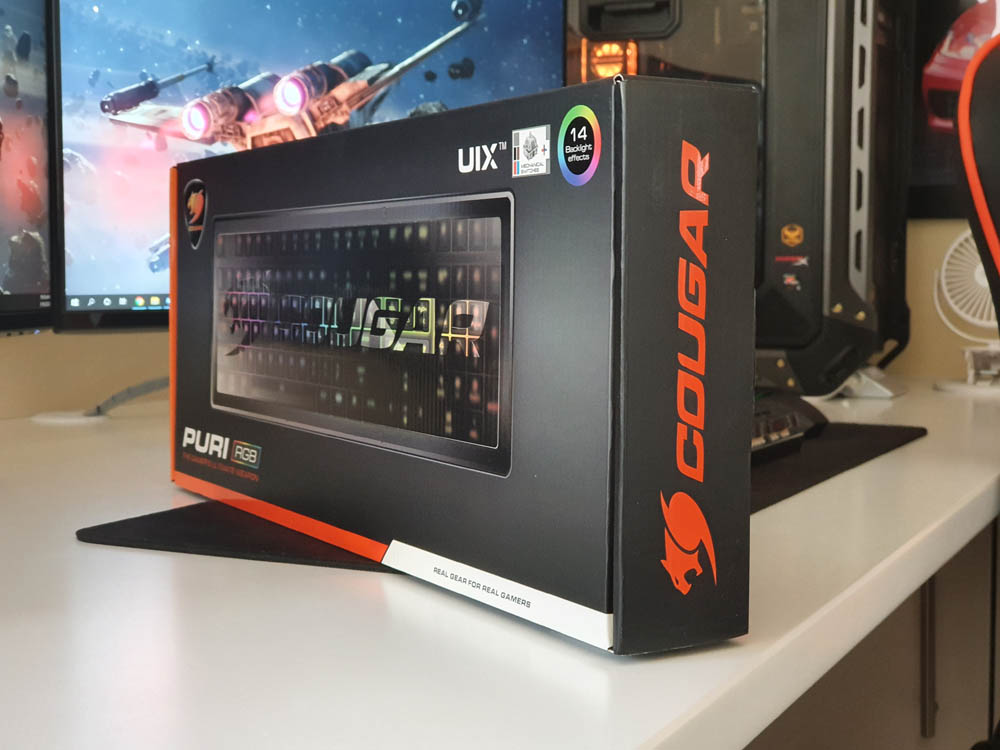
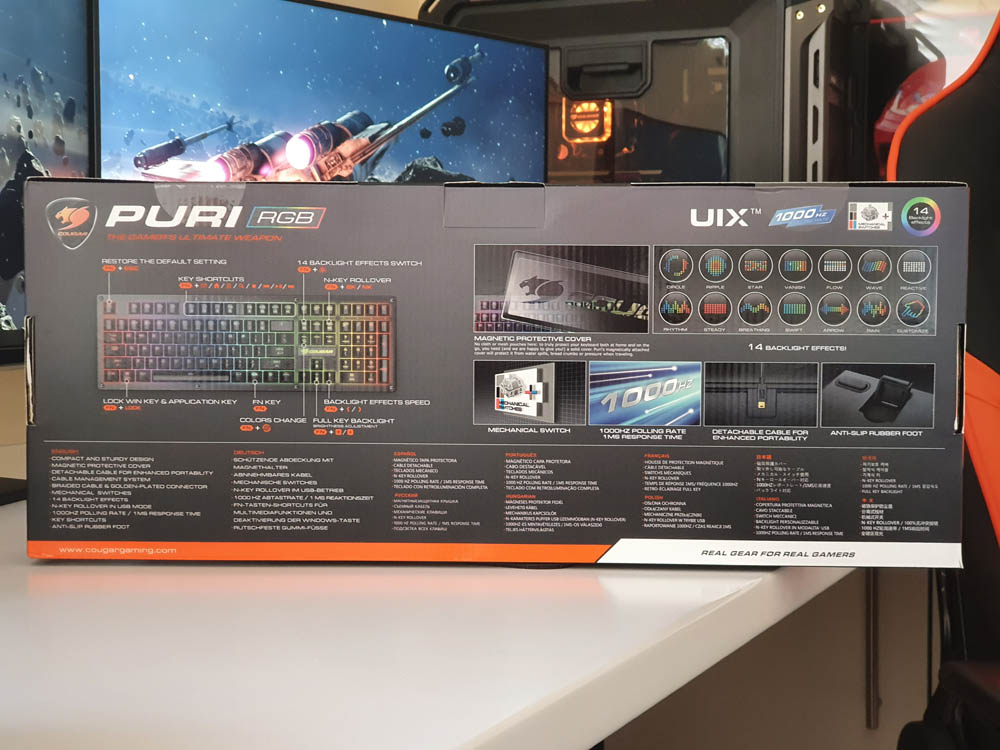
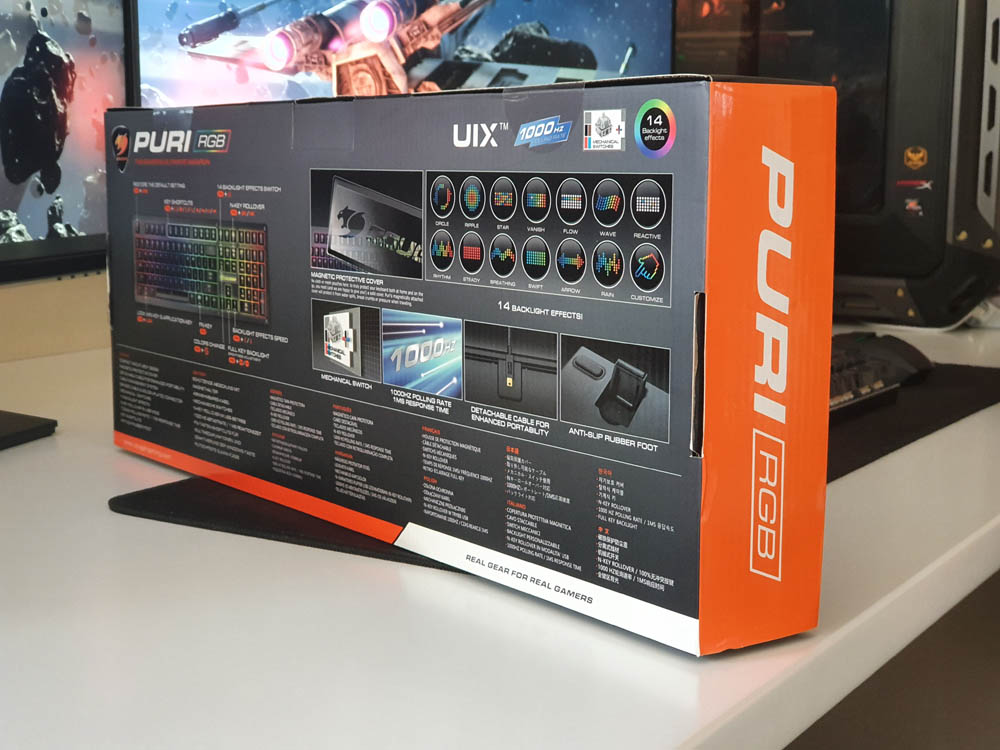
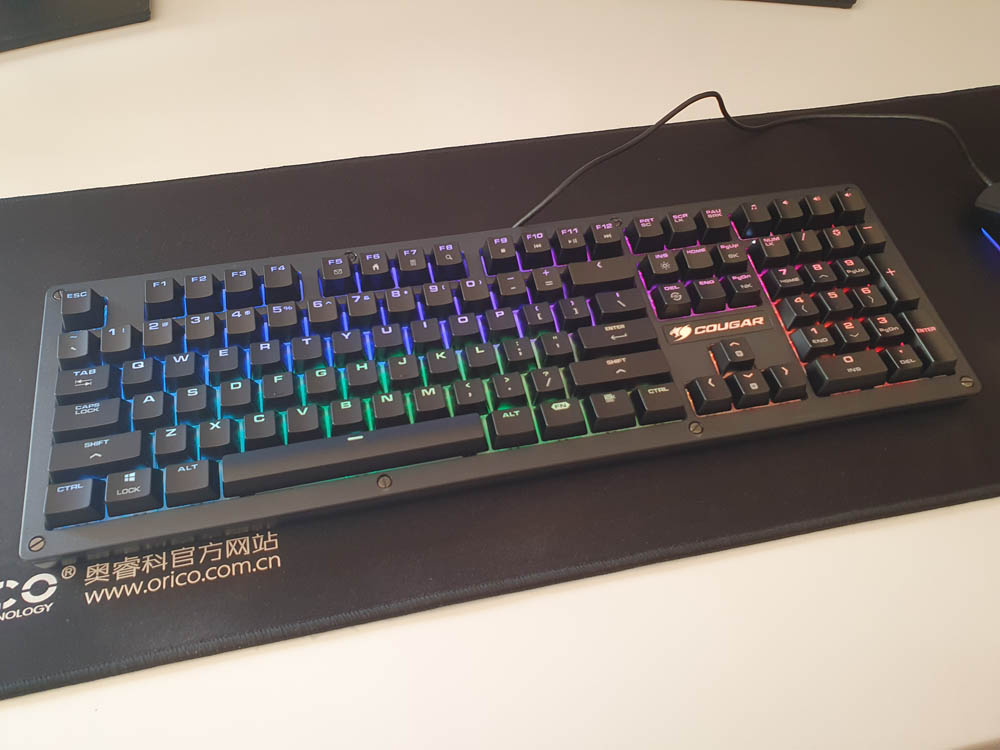
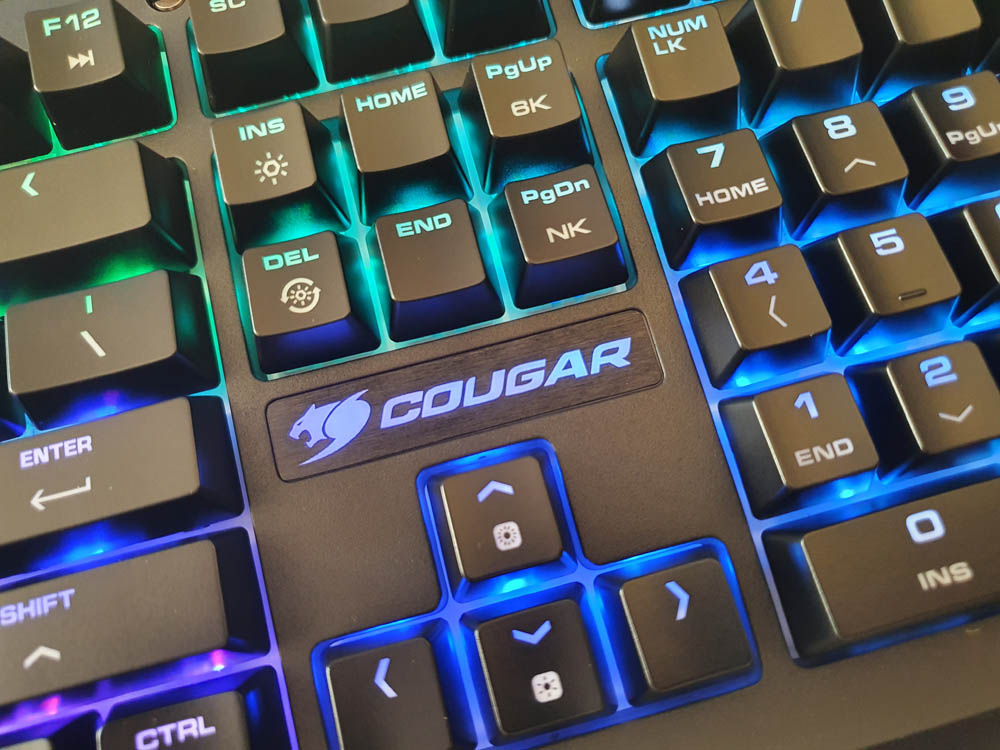
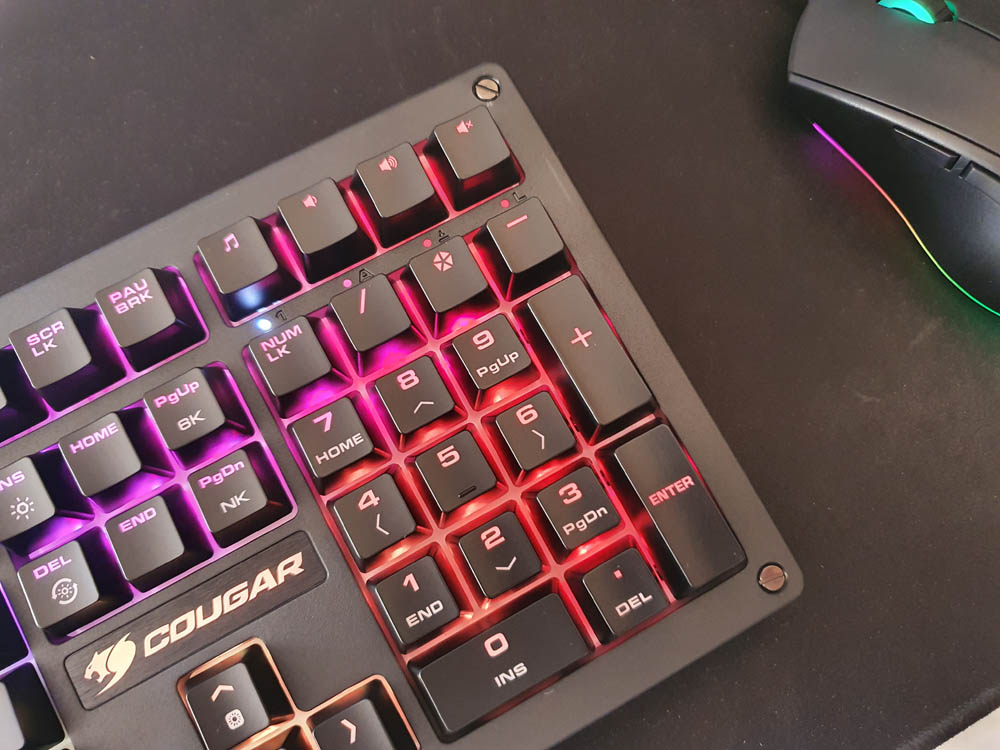
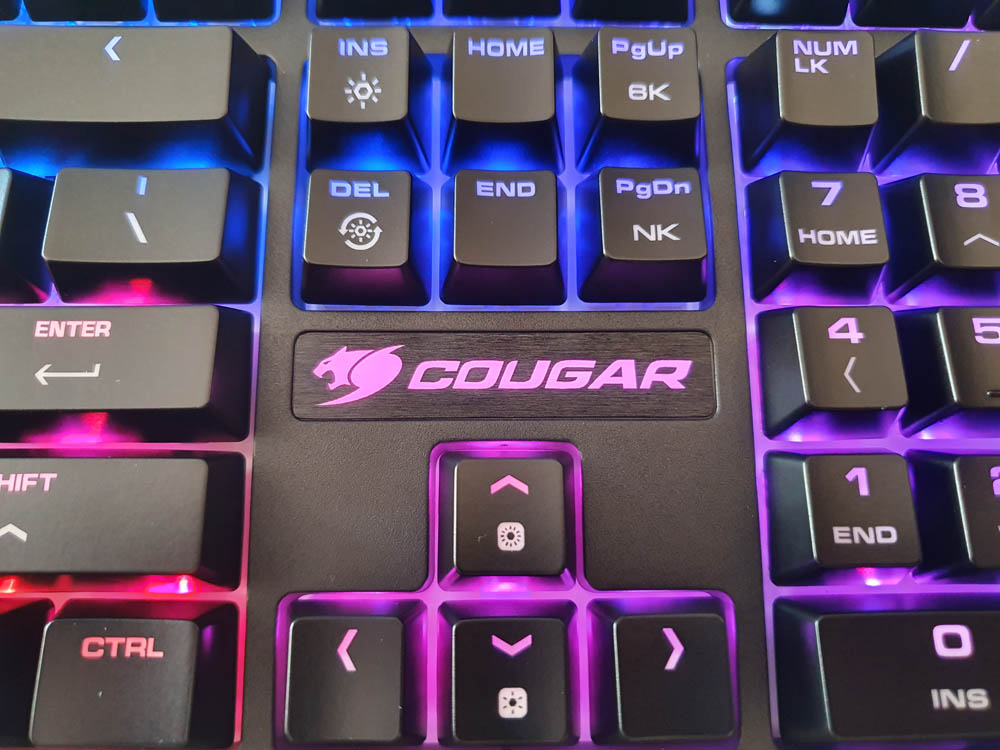
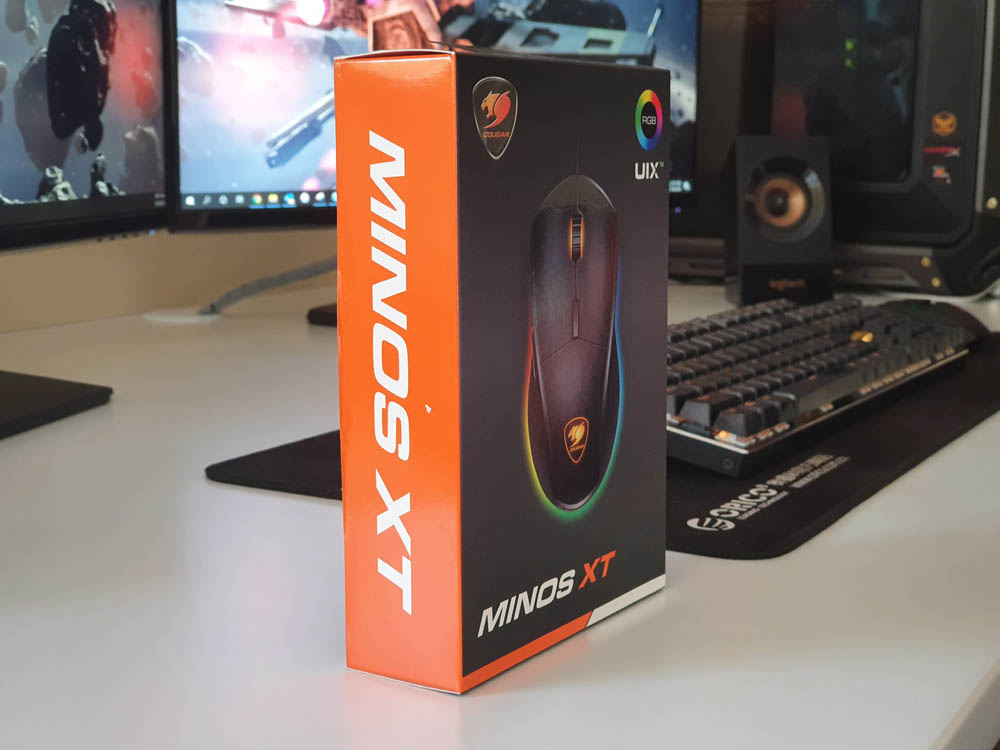
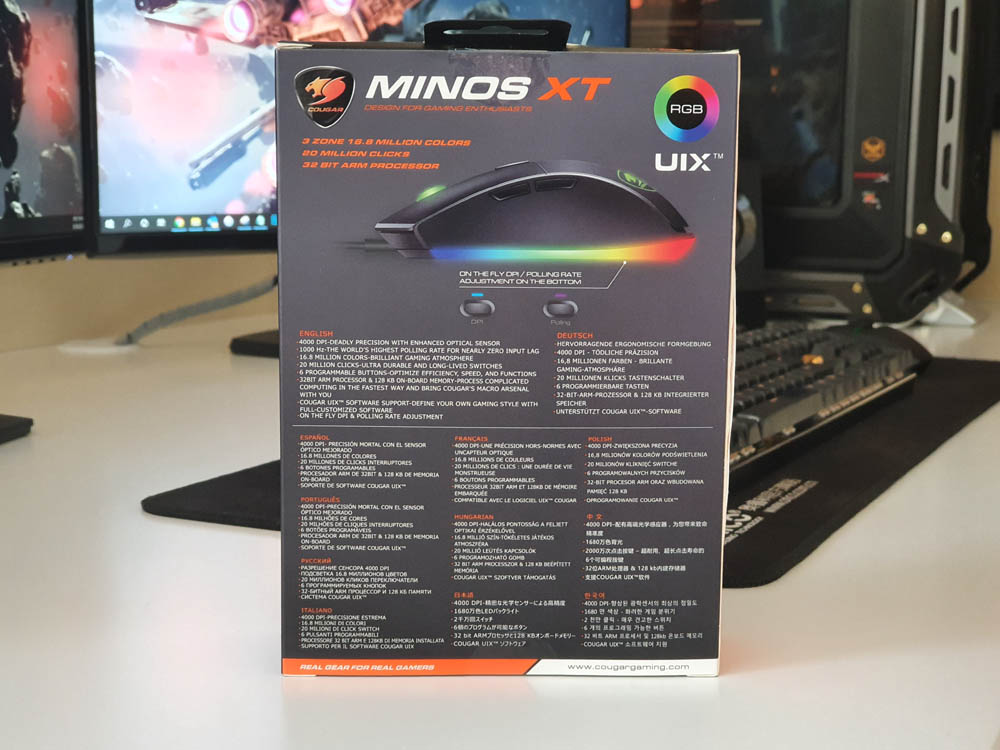
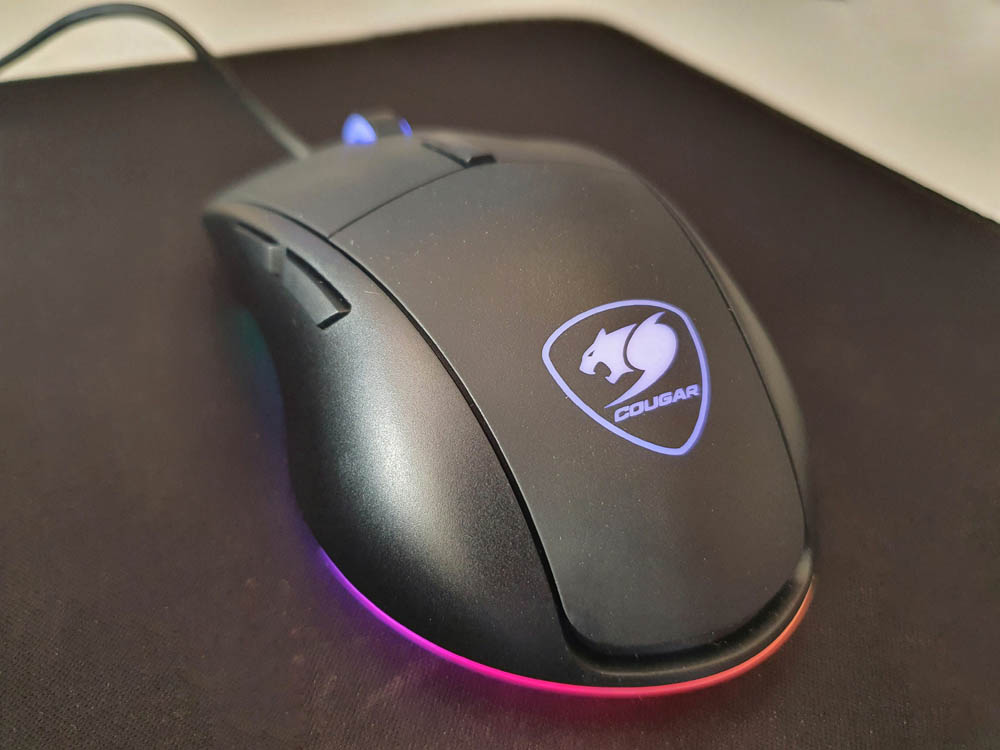
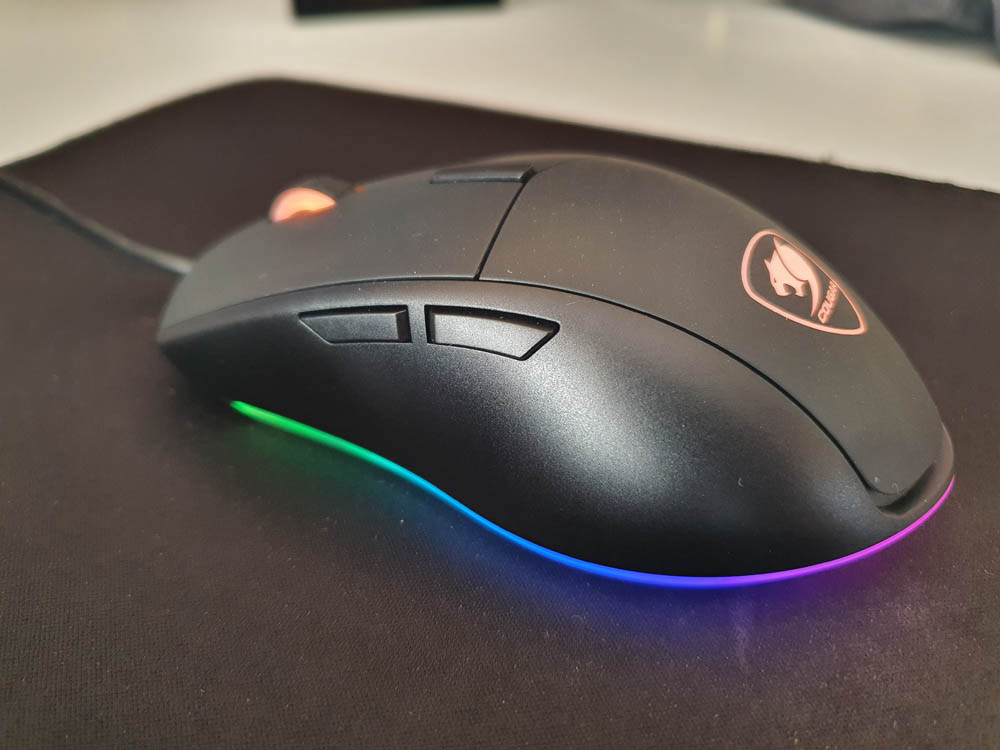
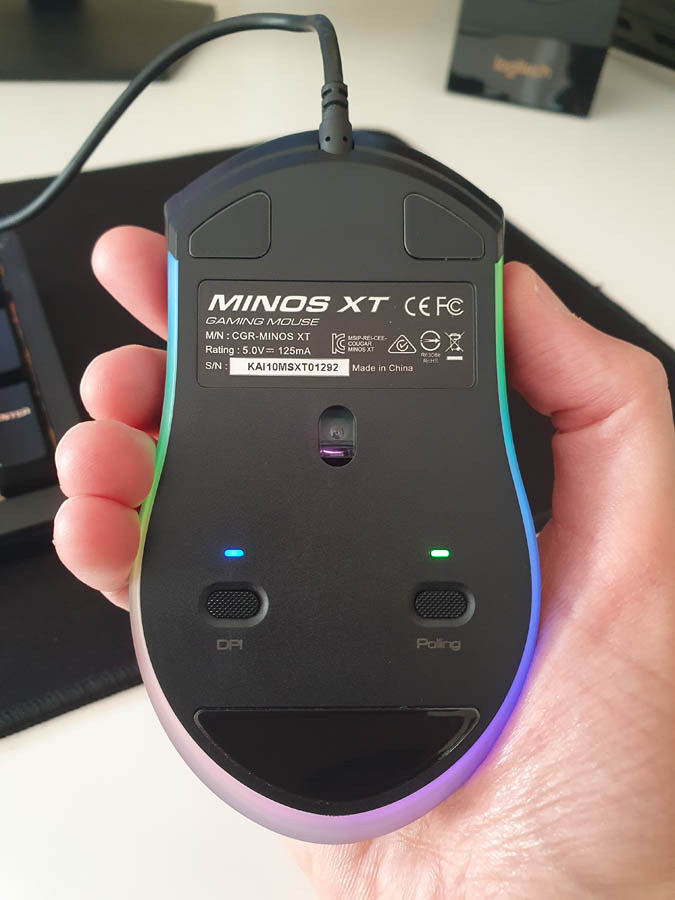
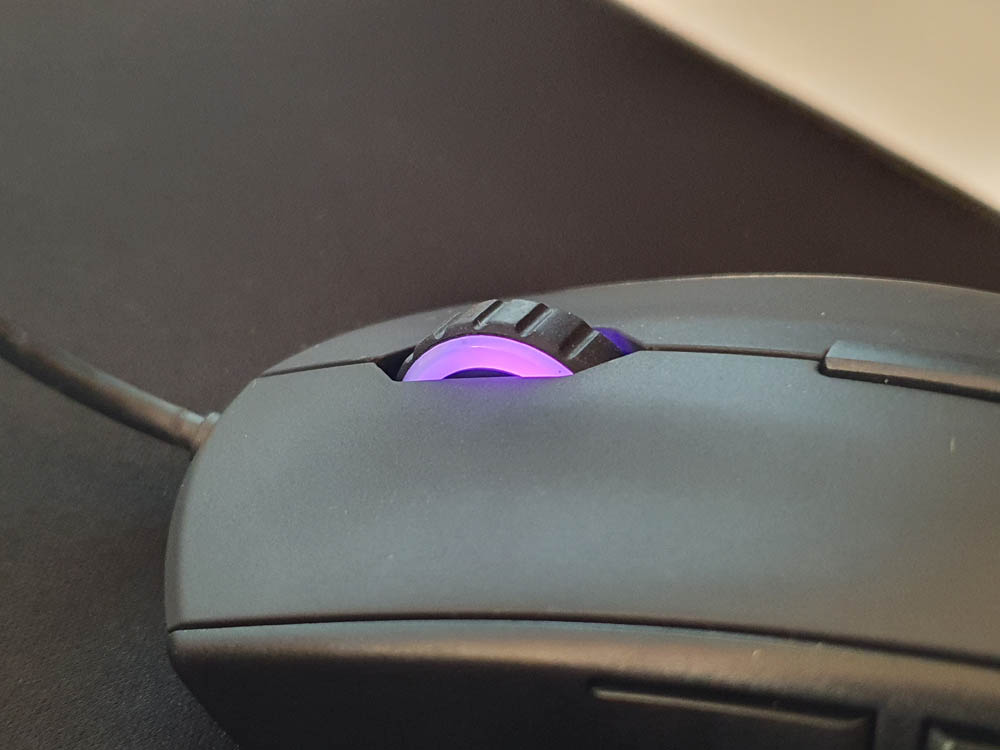
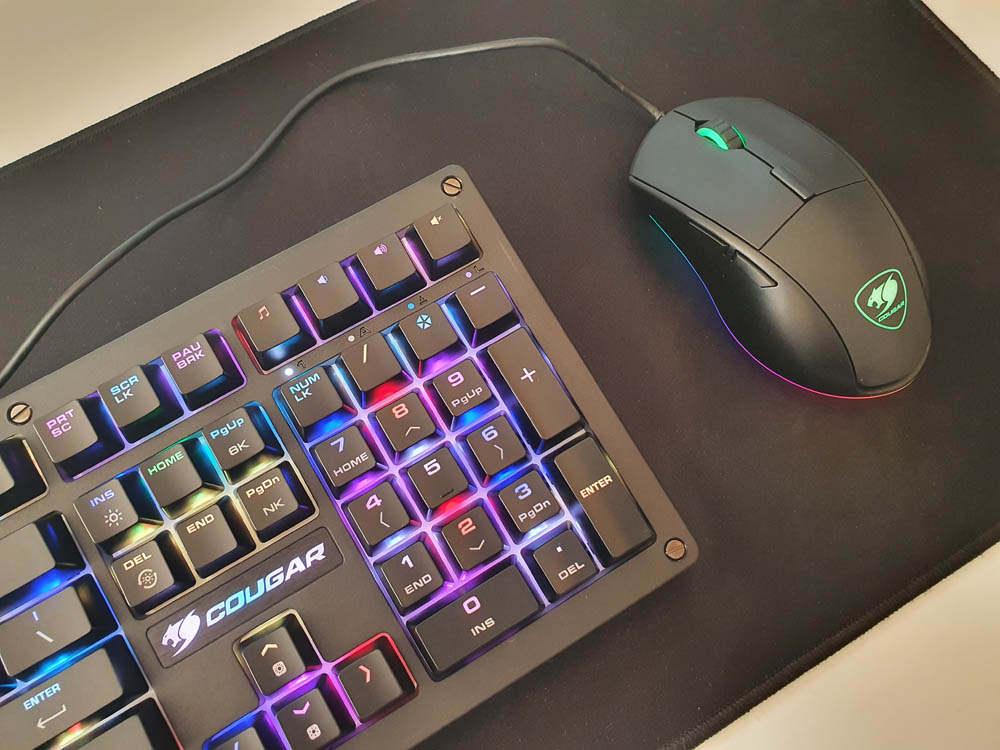
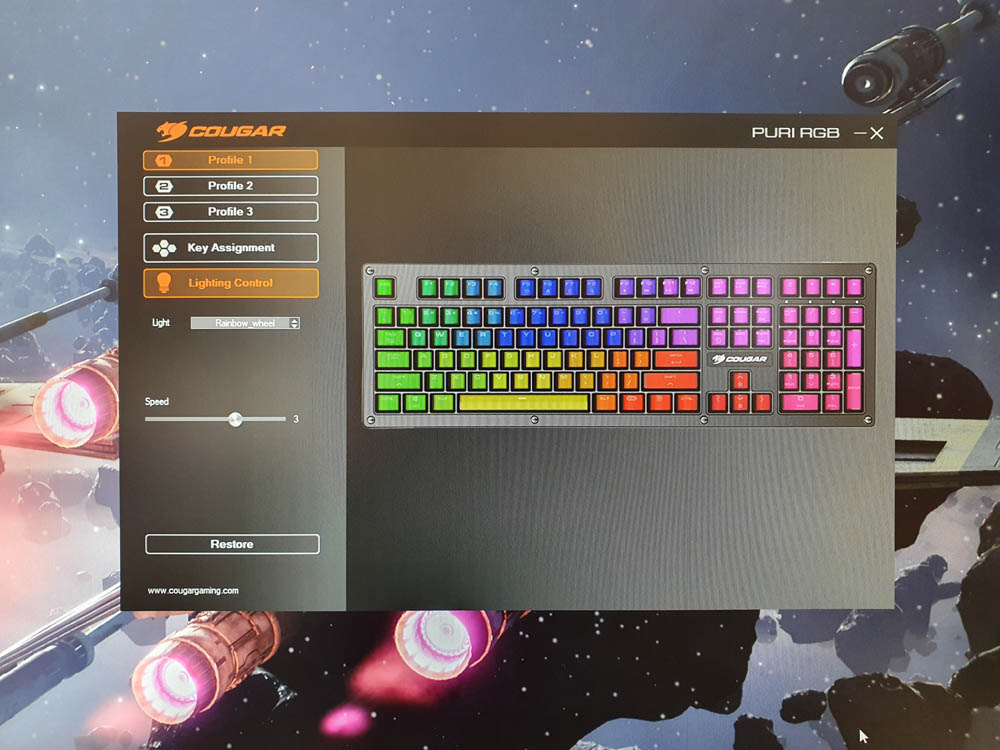
The guys at Cougar saw that I wasn’t using a Cougar Keyboard or Mouse so they sent me over the Cougar PURI RGB and the Cougar MINOS XT.
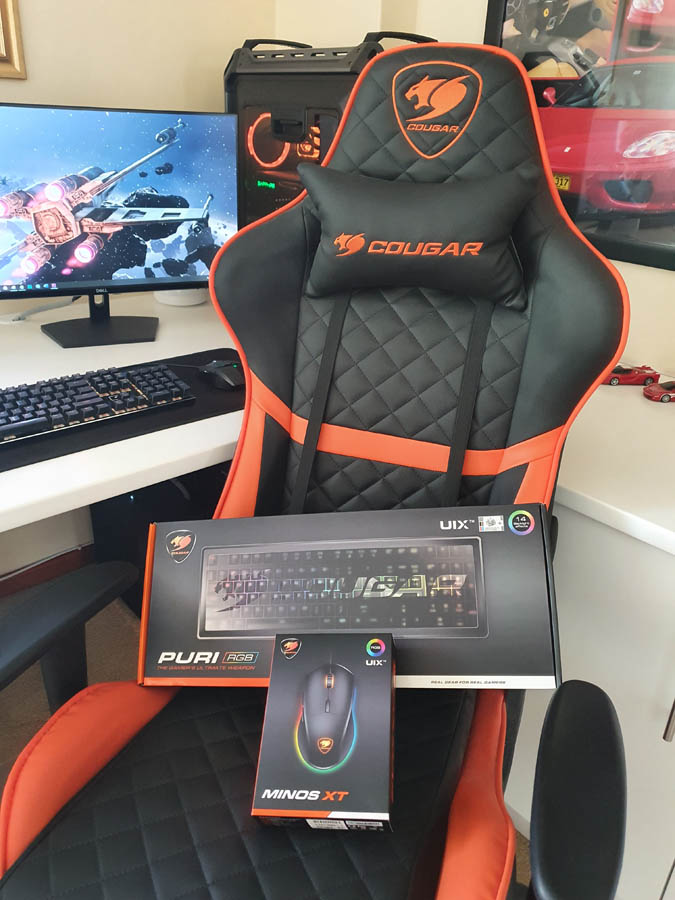
I am really impressed so far with the keyboard. The keys are really soft, silent, clicky and it is so easy to type on. There are many different light combinations as well!


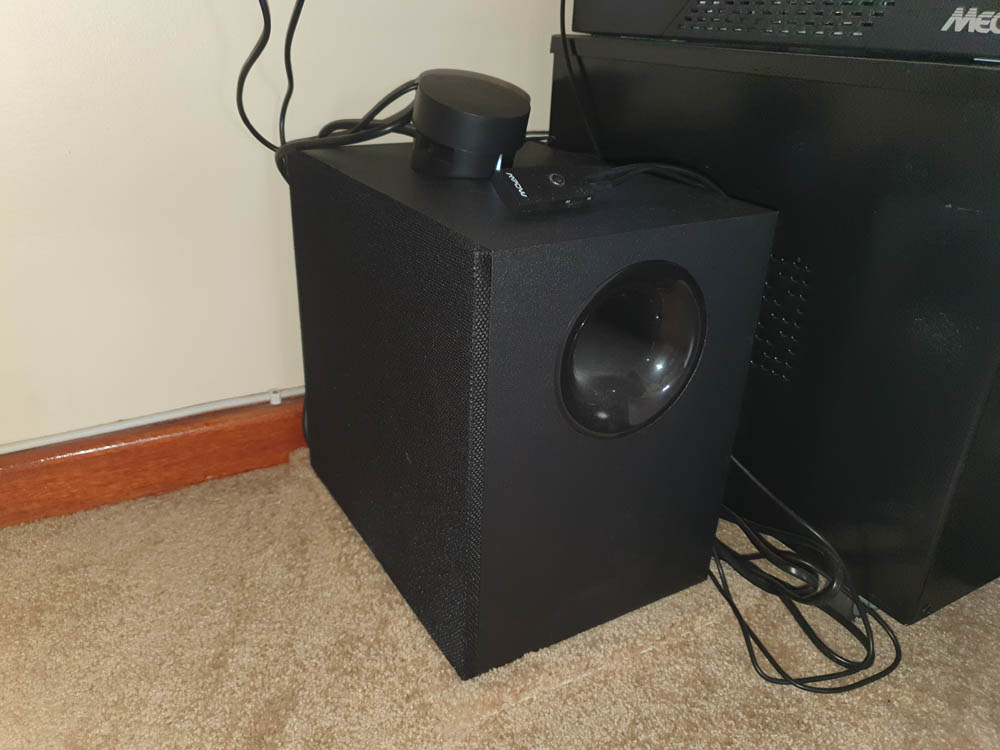
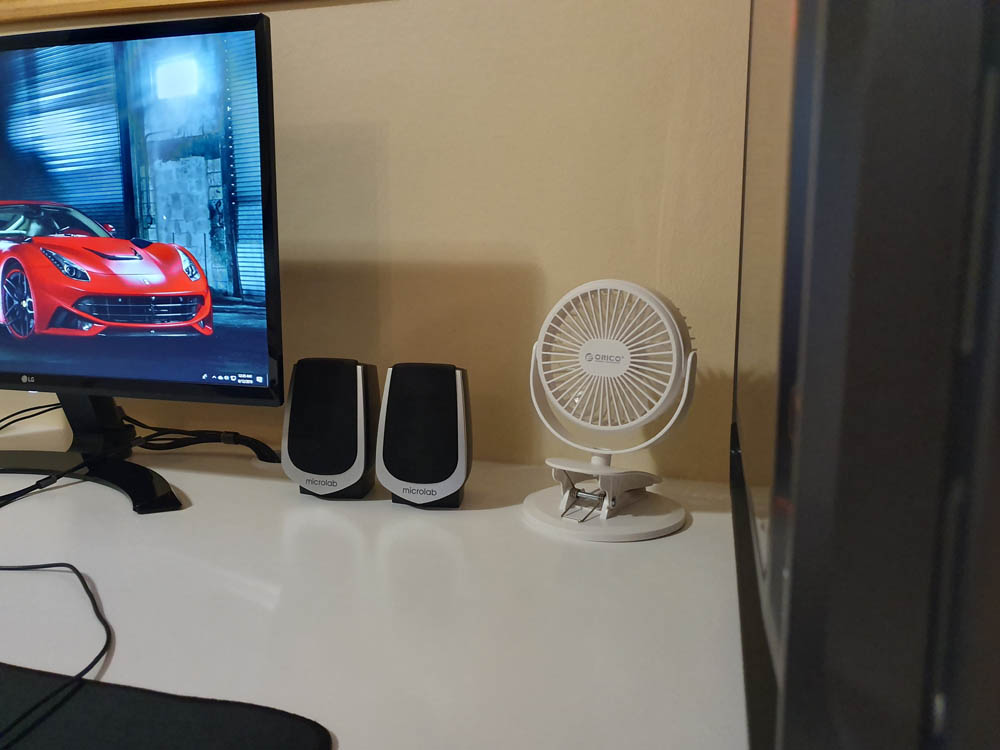
Speakers:
I have had my speakers from around the time I got my old desk. They are made by Microlab and have a subwoofer with 4 speakers. While they still work, I find at higher volumes the subwoofer buzzes, so I will upgrade when I find the right replacement. Any suggestions, tweet at me please!

The Upgrade:
I finally found a set of speakers that I was happy with. I nearly went with a 5.1 but decided I don’t want speakers all over my desk. So I chose the Logitech Z533 Multimedia 2.1 Speaker System. It is compact and has really nice sound. I added a Bluetooth adapter I had so I can play music on my speakers even when my computer is off. Neat!

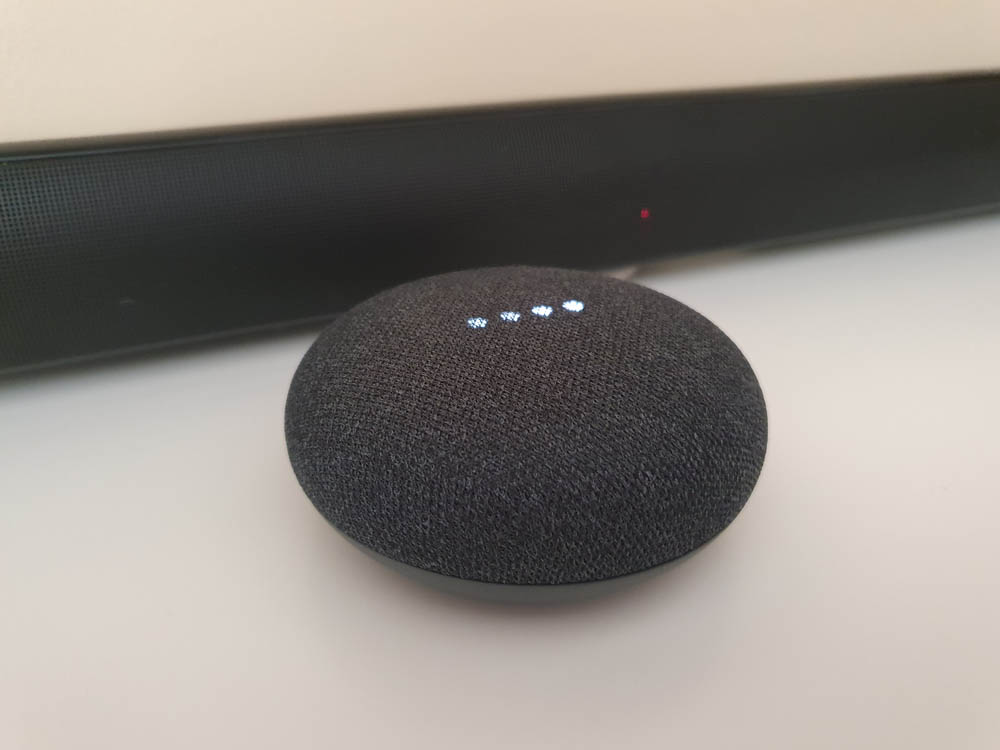
Smart Desk:
I also added in a product to make my desk smart. I was sent a Google Home Mini to review. I can ask Google to play me music or ask a question. Check out my review to find out more.
Television:
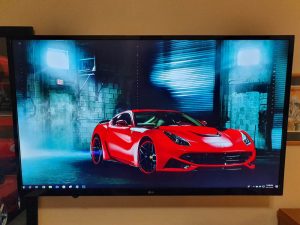
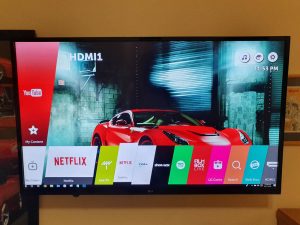
I have had my television for about 2 years now. It is an LG 43″ UHD Smart TV. I have it mounted on a movable mount so I can move my TV or tilt as I please. I like that I can watch YouTube and Netflix straight on my TV without needing an Android stick, which I used to use for many years. My TV has great picture quality and decent sound considering I don’t have a sound bar. I have run a 5M HDMI cable from my TV to my computer (all hidden) so I can use my TV as a second computer screen if I wish.
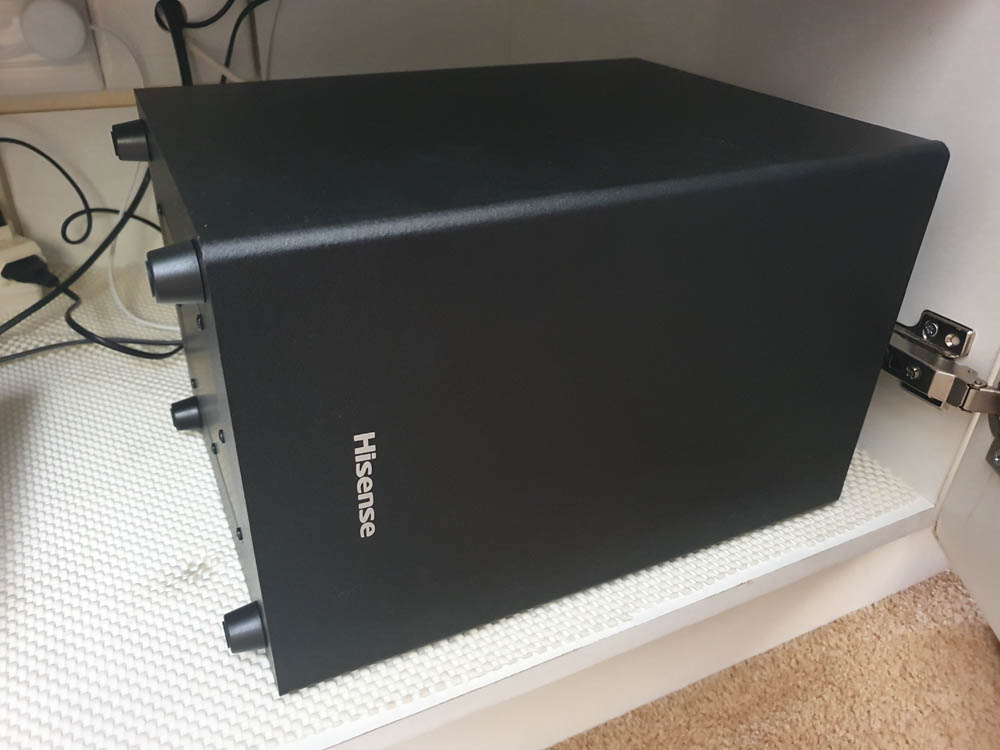
The upgrade:
I decided I was missing out on volume and bass, so I picked up a Hisense 2.1 Sound Bar! Really happy with it so far 🙂

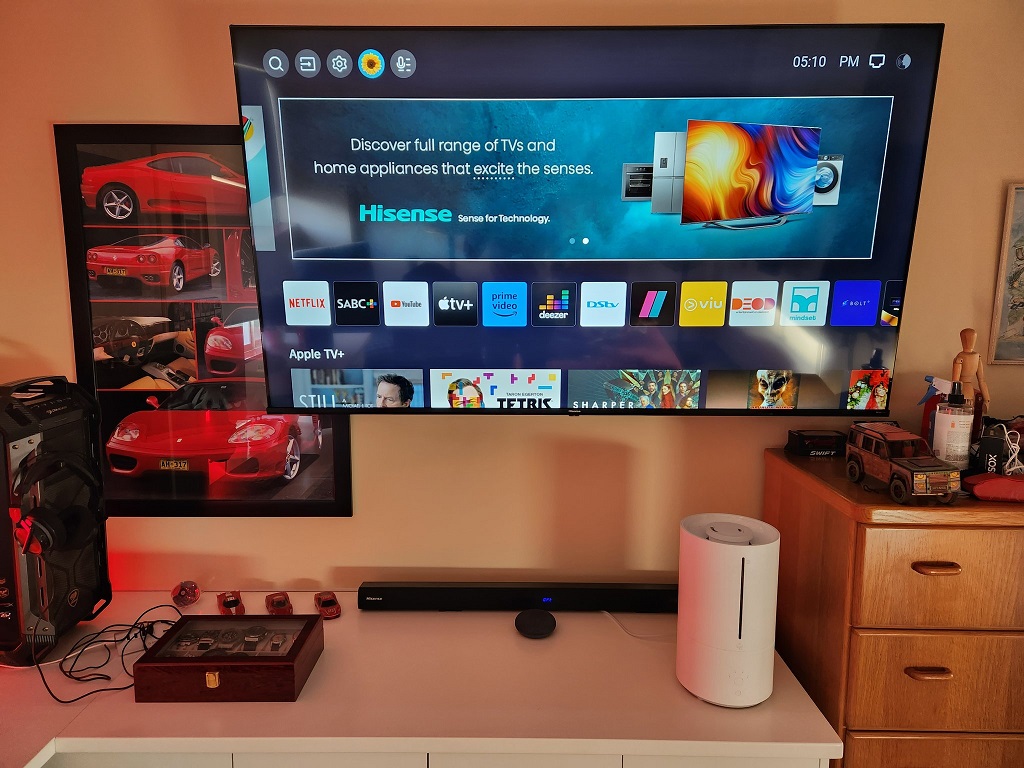
New TV in 2023:
I decided it was time to get a larger tv, so I got myself the Hisense 65″ A6H 4K UHD Smart TV with HDR & Dolby Digital. Love its quality and size!
Kitting out my desk:
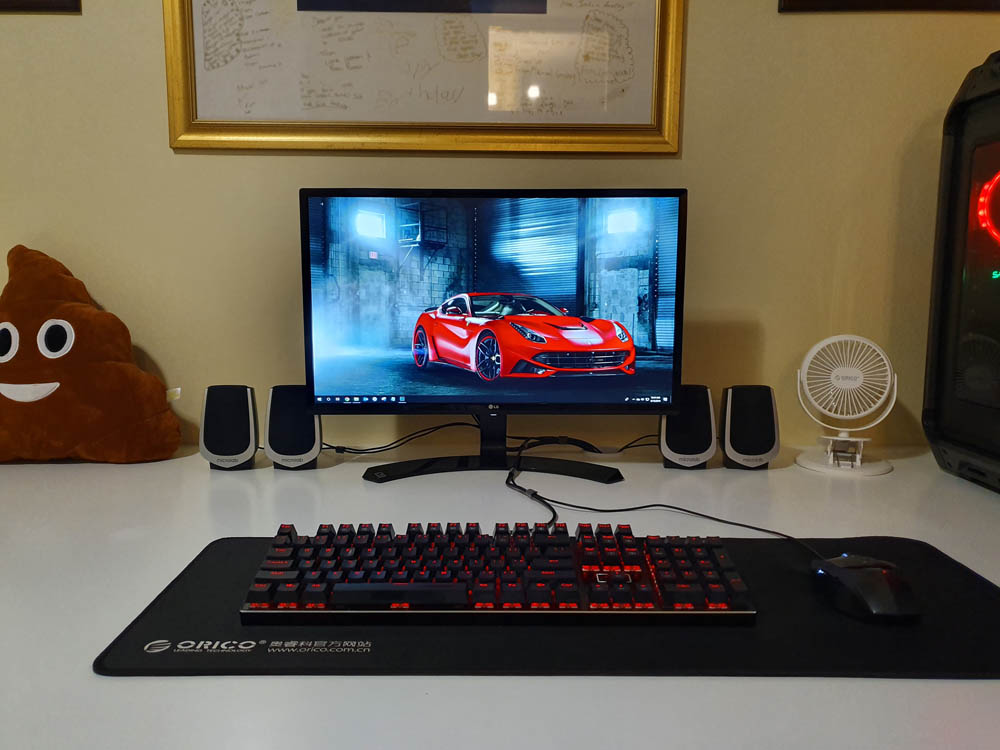
Now that I have my desk installed with all my peripherals set up, it is time to make my “Ultimate Computer Setup”!
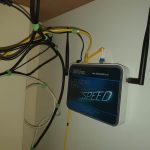
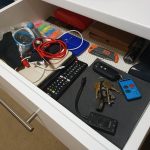
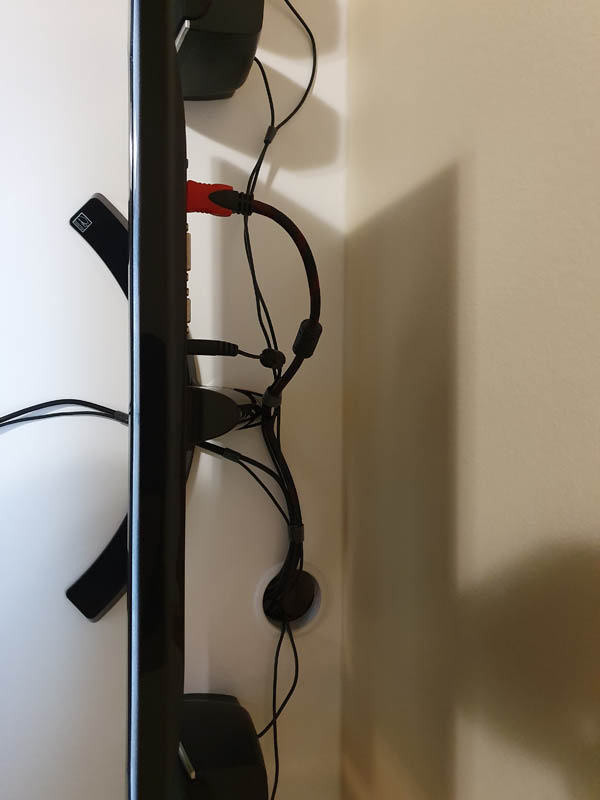
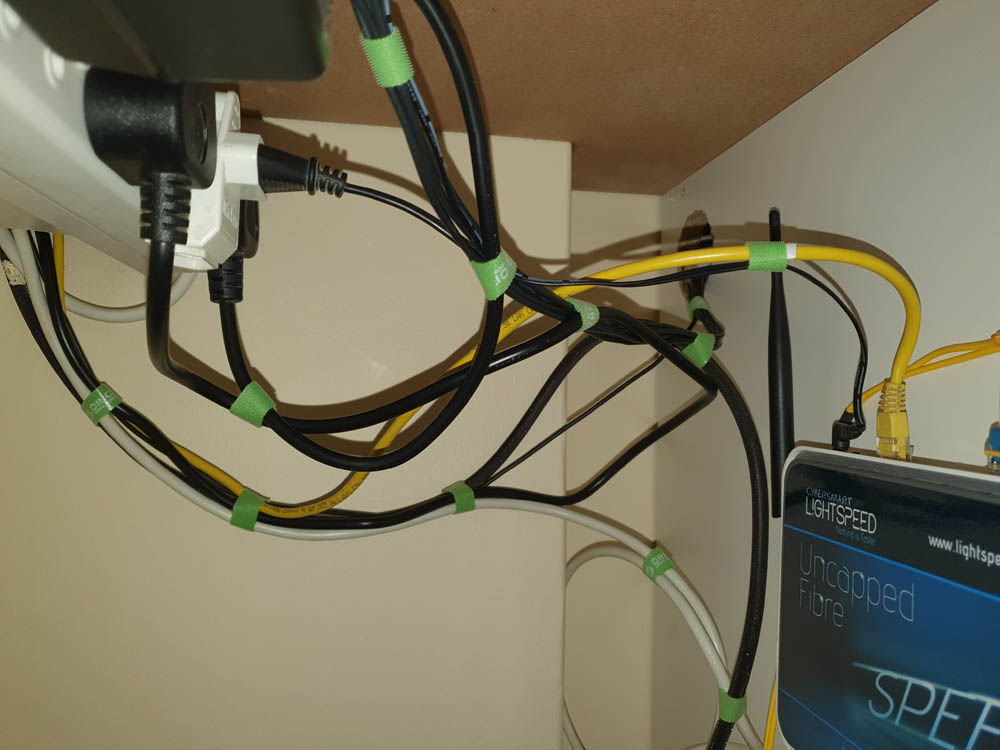
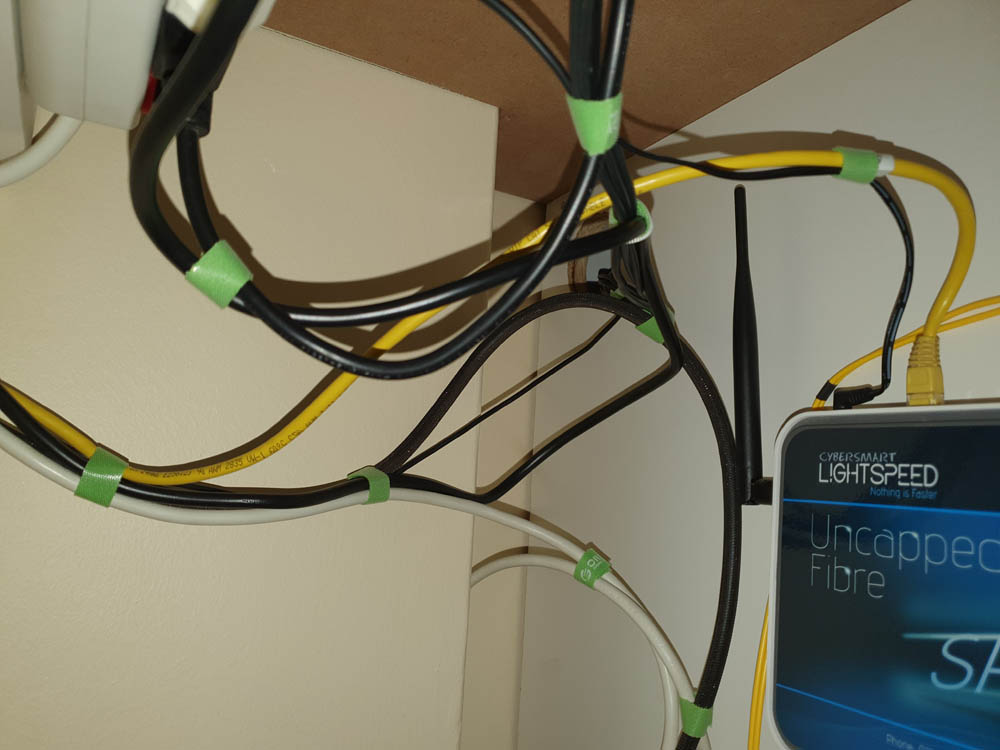
For starters, I wanted to remove all the unnecessary clutter that was on my desk. I decided to mount my router under my desk to save space. I removed some items from my desk and placed them in my drawers, where they are easily accessible.
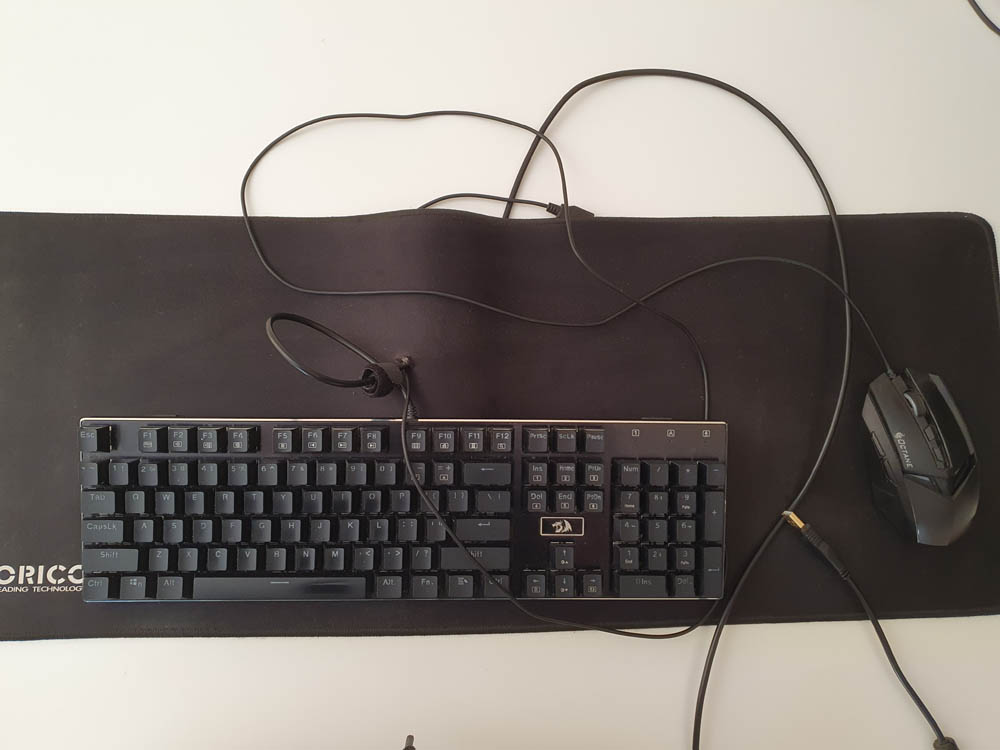
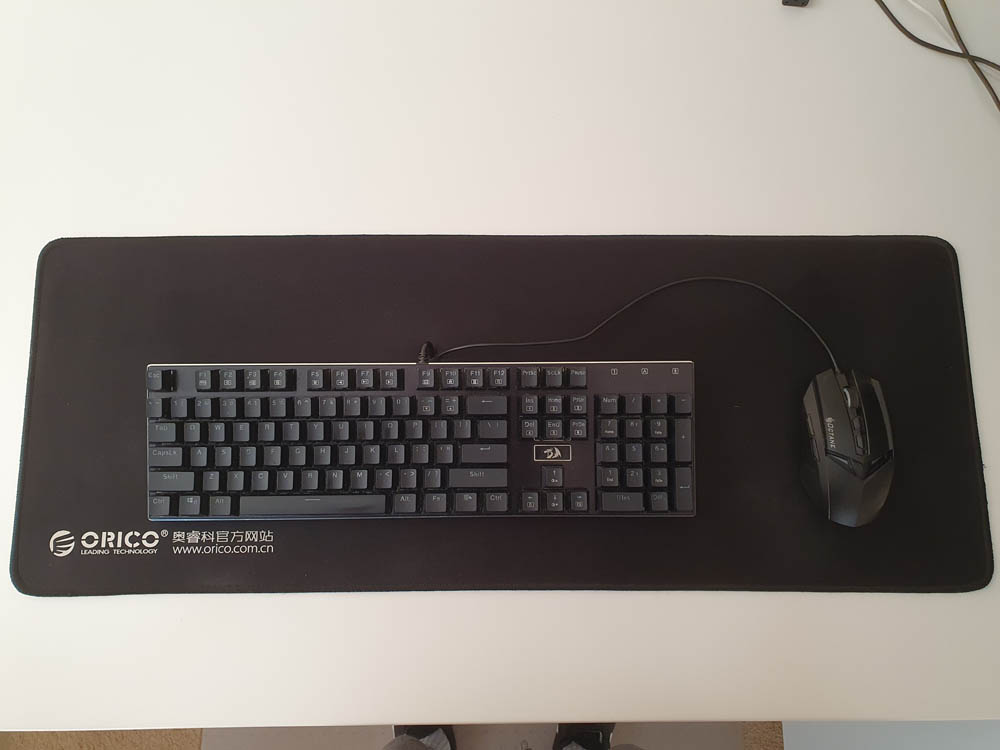
While my desk was being built, I went to China Town (Canal Walk branch) and found a large keyboard and mouse pad. A while after, I was on YouTube watching a video made by Hayleigh, a local tech reviewer, and she was showing off her products that she received from a company by the name of ORICO to make her desk more functional. As I watched the video, I was trying to work out why the ORICO brand was so familiar and then I remembered I had bought an Orico mouse/keyboard pad. After seeing the products that Haley had received, I got in touch with Syntech, the distributor of ORICO in South Africa, to ask if they would like to work with me to make my desk better. And they said yes!
Here is each Orico product that I received and how I have used it:
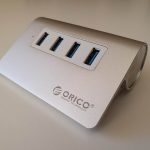
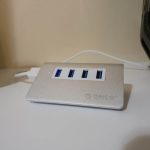
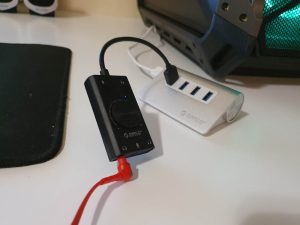
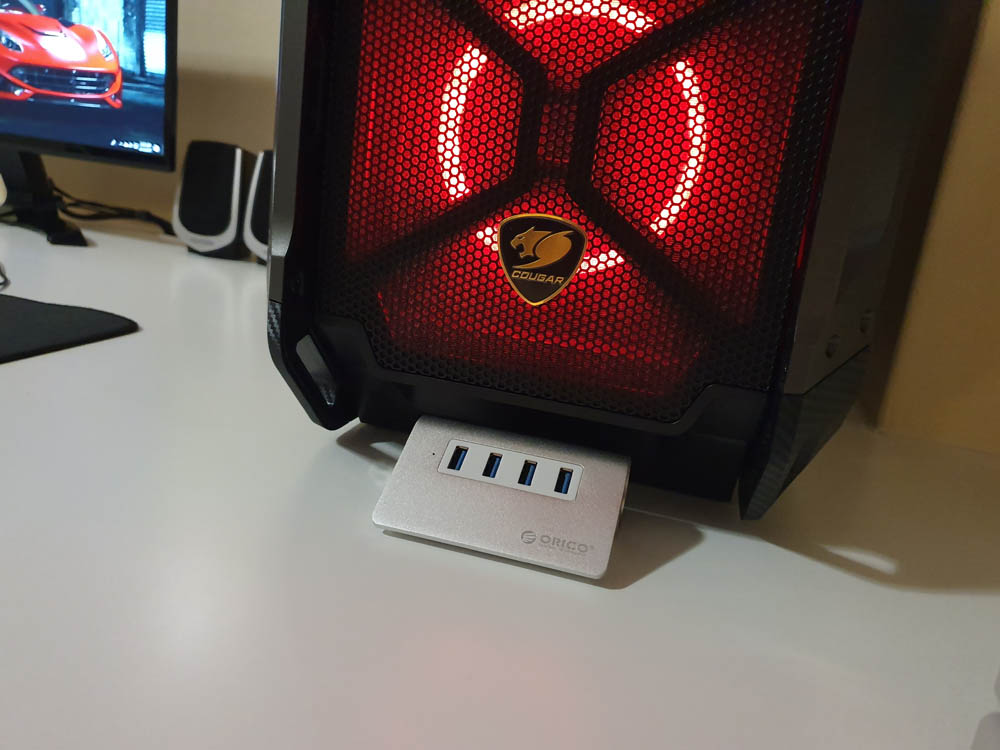
Orico 4 Port USB3.0 HUB Aluminium:
My computer sits pretty high on my desk and reaching the front USB ports is a bit of a mission. With the Orico USB hub, I have access to 4 USB 3.0 ports without needing to even stretch. All the ports are USB 3.0 which is perfect as I have many devices that support USB 3.0. The hub is also backwards compatible with USB 2.0. The hub also supports a max transfer rate of 5Gbps, so transferring files will be super fast. The hub is made from aluminium, so it is durable and looks great! More info


Orico USB External Sound Card:
The Orico sound card gives you 2 audio outputs (headphone and headphone with mic) and 1 microphone input, just like you would get at the back of your desktop computer, but all on a USB device. With support for simultaneous listening, you can output to both headphone jacks at the same time. There is also a dial to change volume and buttons to mute input/output. I don’t want to run a cable from the top of my computer when plugging in headphones so the sound card allows me to plug my headphones into the USB hub. The device does not require any drivers to be installed and is completely plug and play. View the product here.


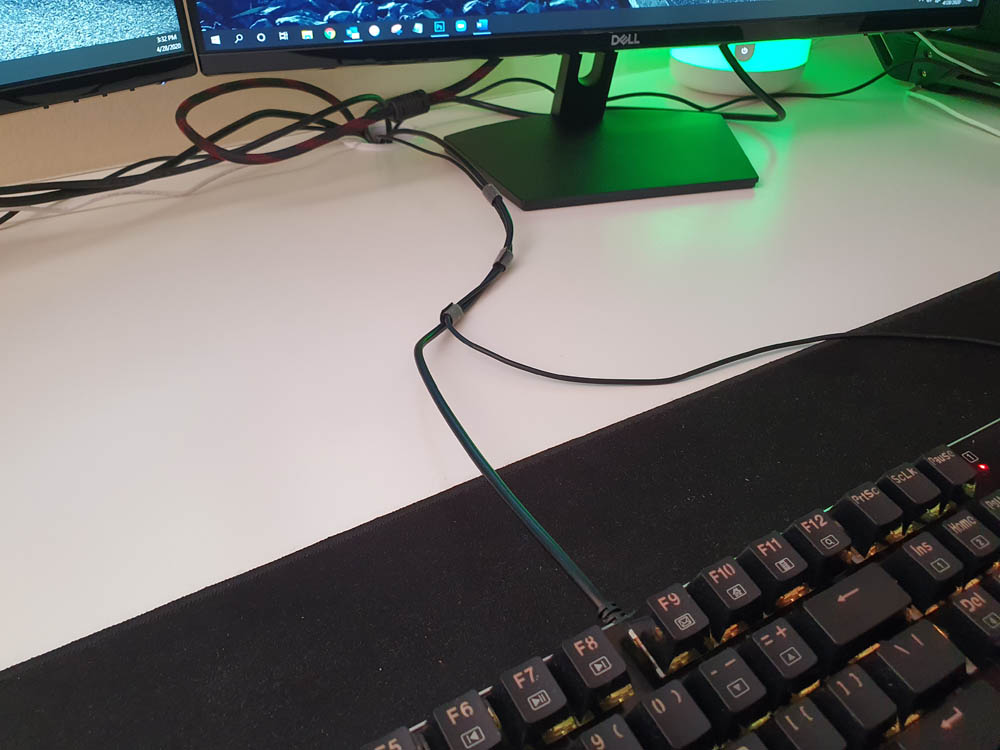
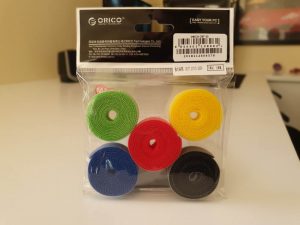
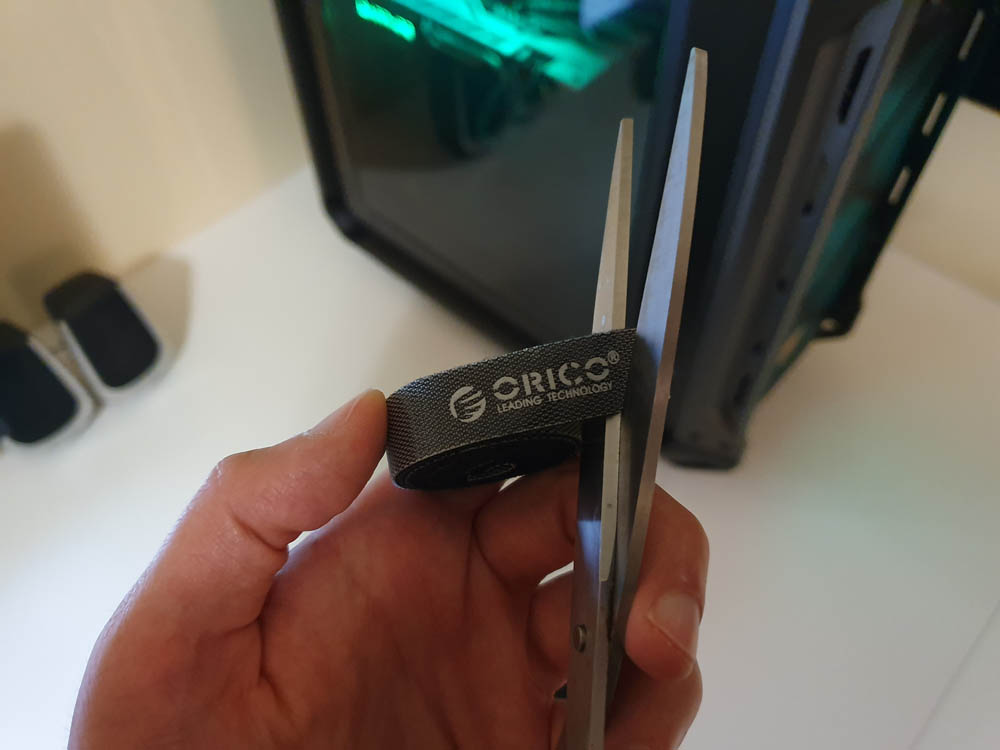
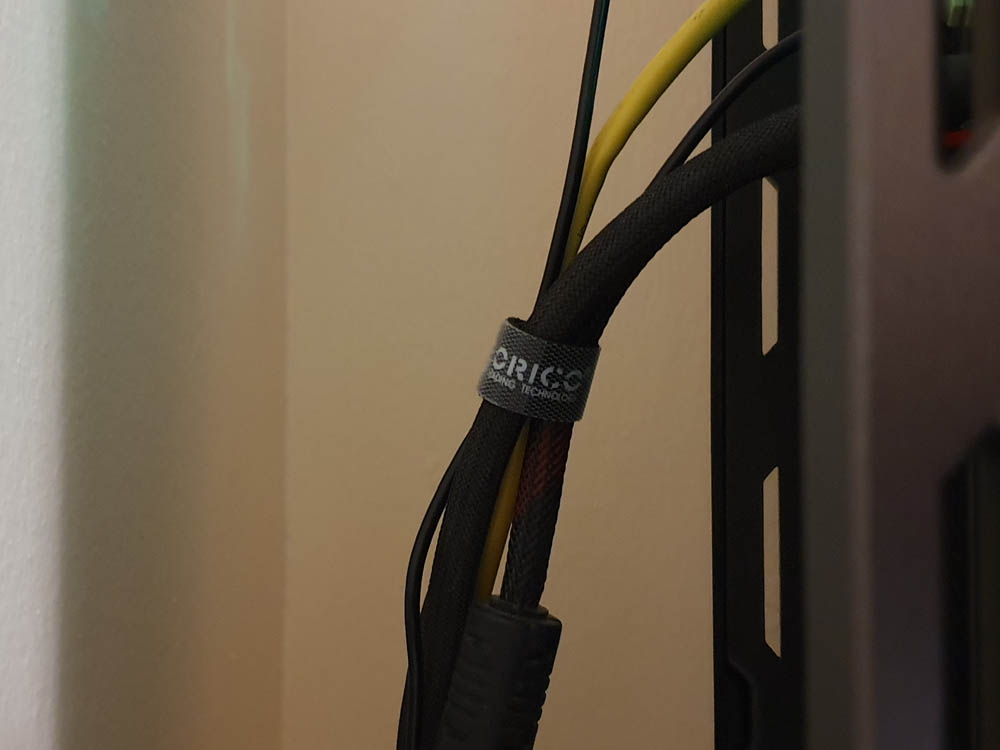
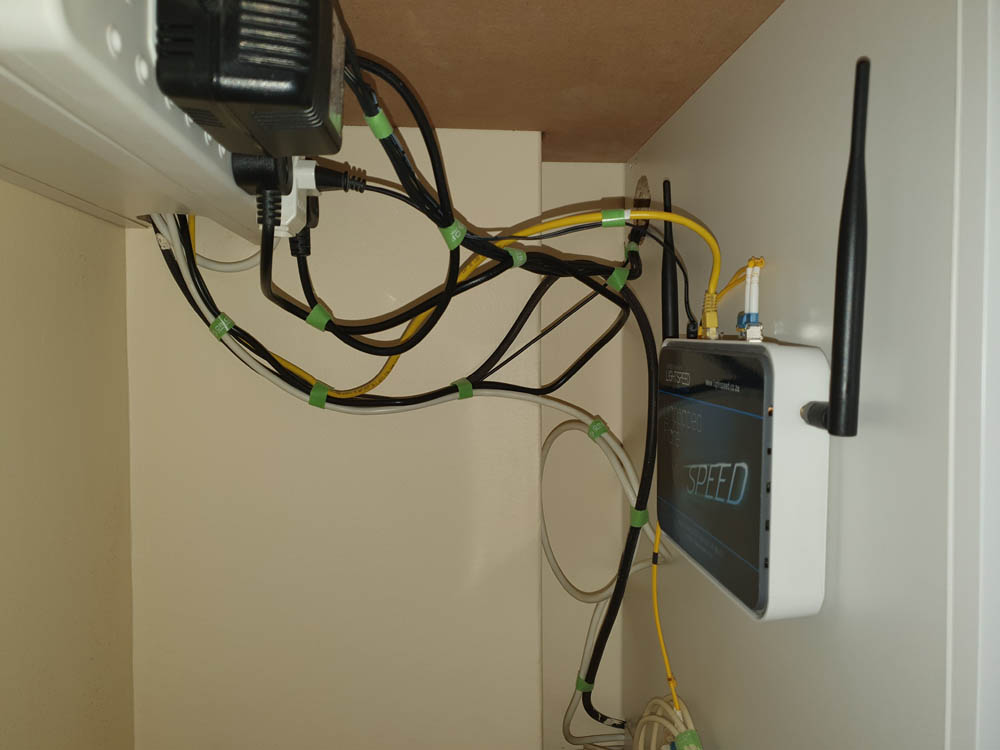
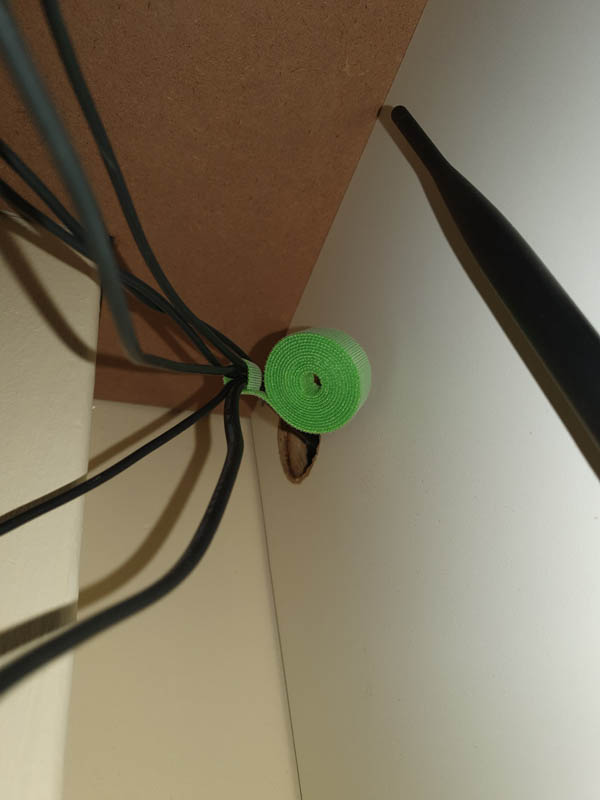
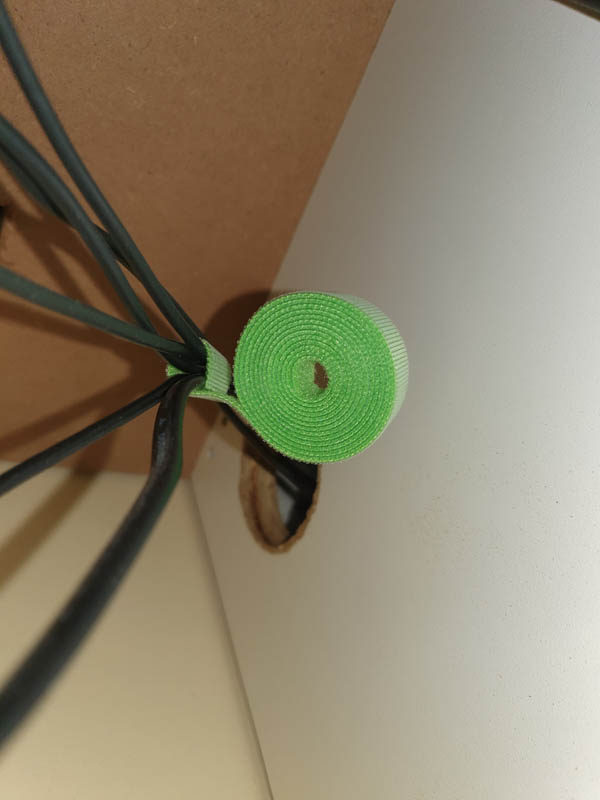
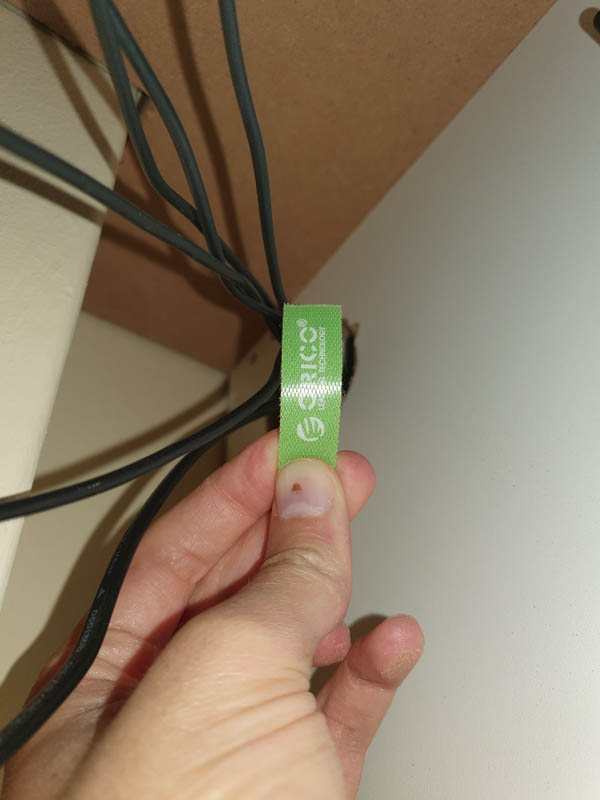
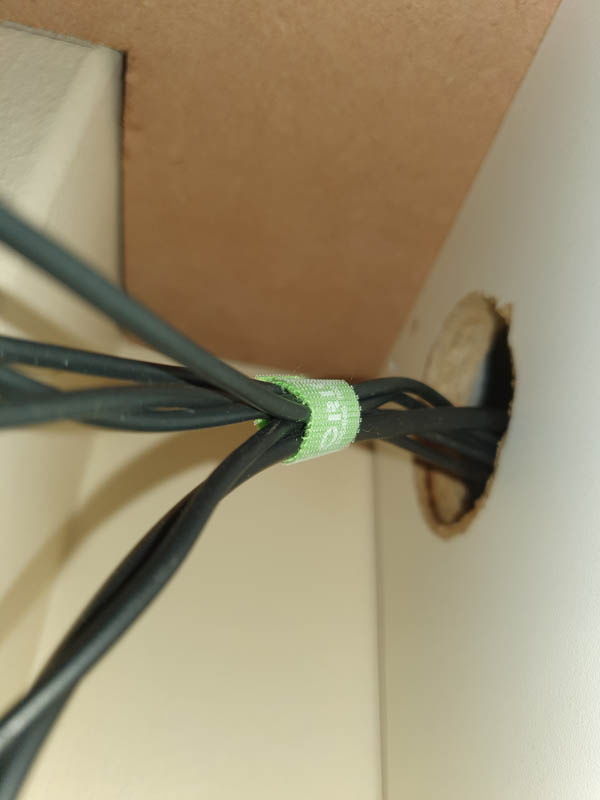
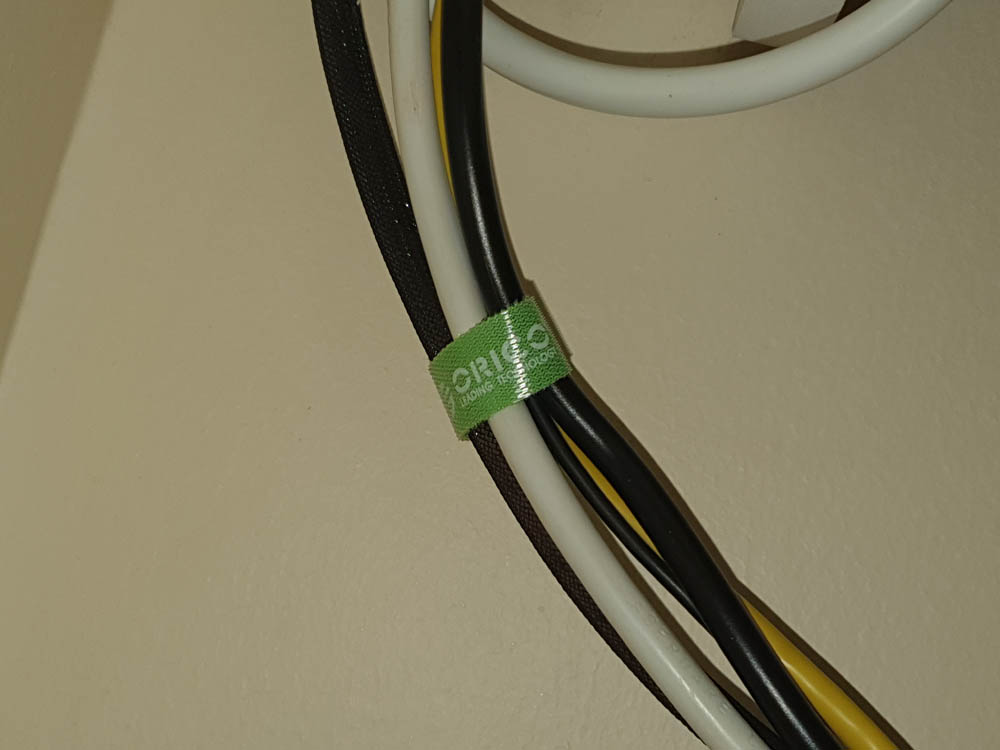
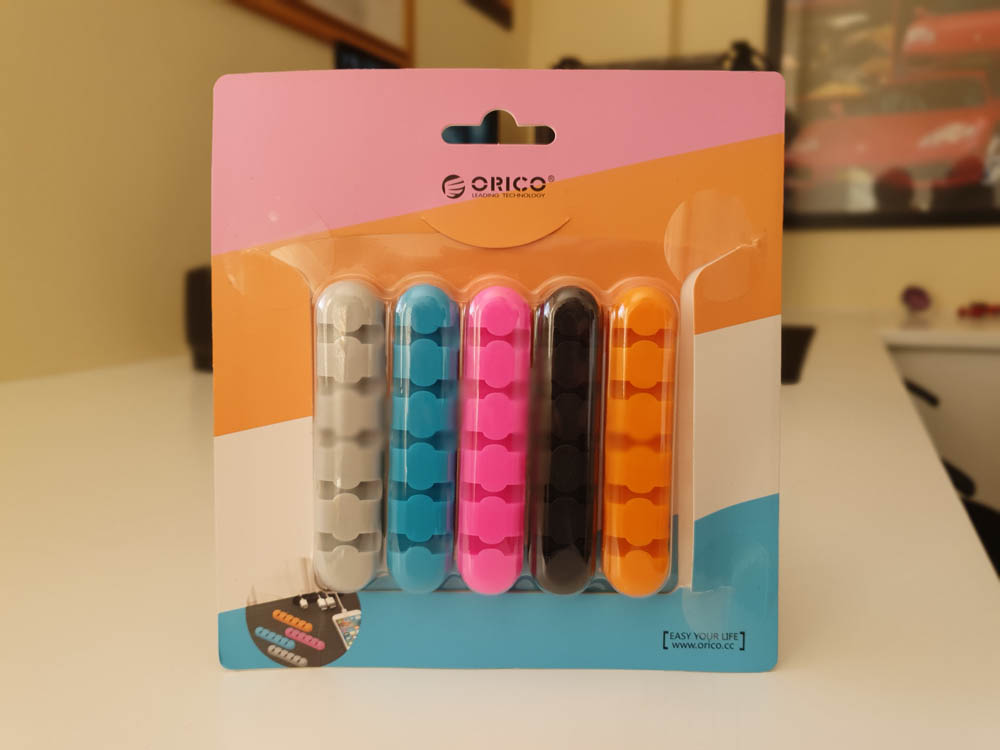
Orico Velcro Cable Ties:
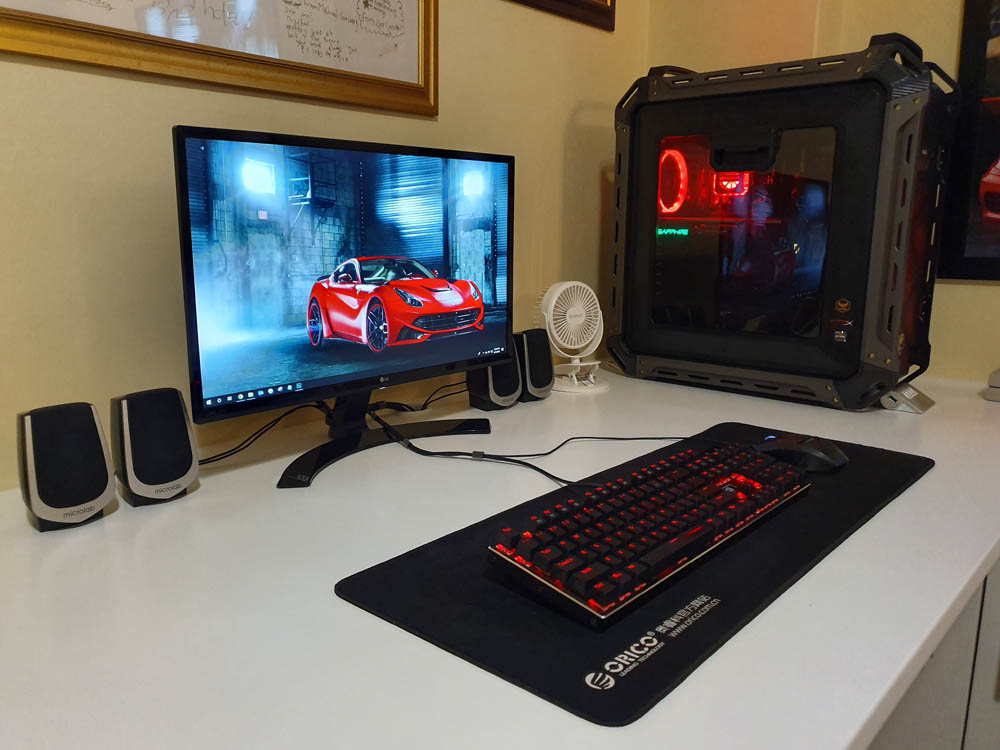
I hate messy cables so I wanted a way to easily tie my cables up as well as be able to untie them when necessary. The velcro cable ties from Orico are made from Nylon and are super handy. You can buy them individually or as a pack. They come in 5 colours so you can be creative. They can be cut depending on how thick your cabling gets. What I like about using these velcro straps instead of pieces of wire is that you can easily untie them and reuse! Find out more


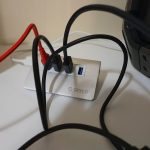
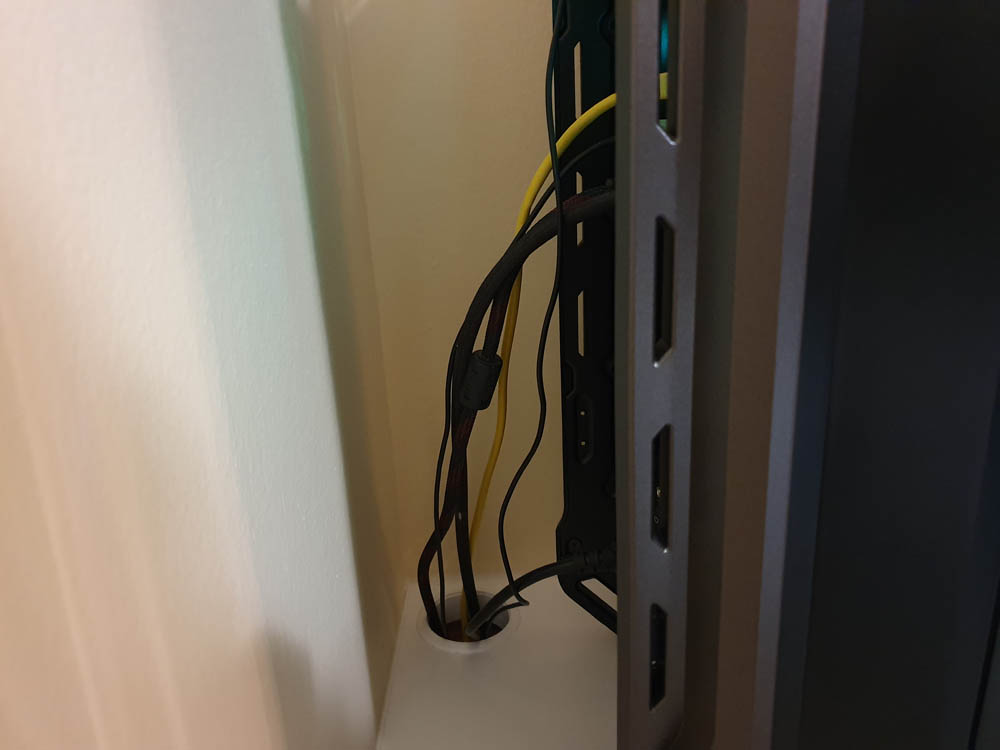
I used the cable ties to neaten up and organise the cables on and under my desk. The process was quick and simple. I recommend taking a rough measurement before you cut. Here are the results:


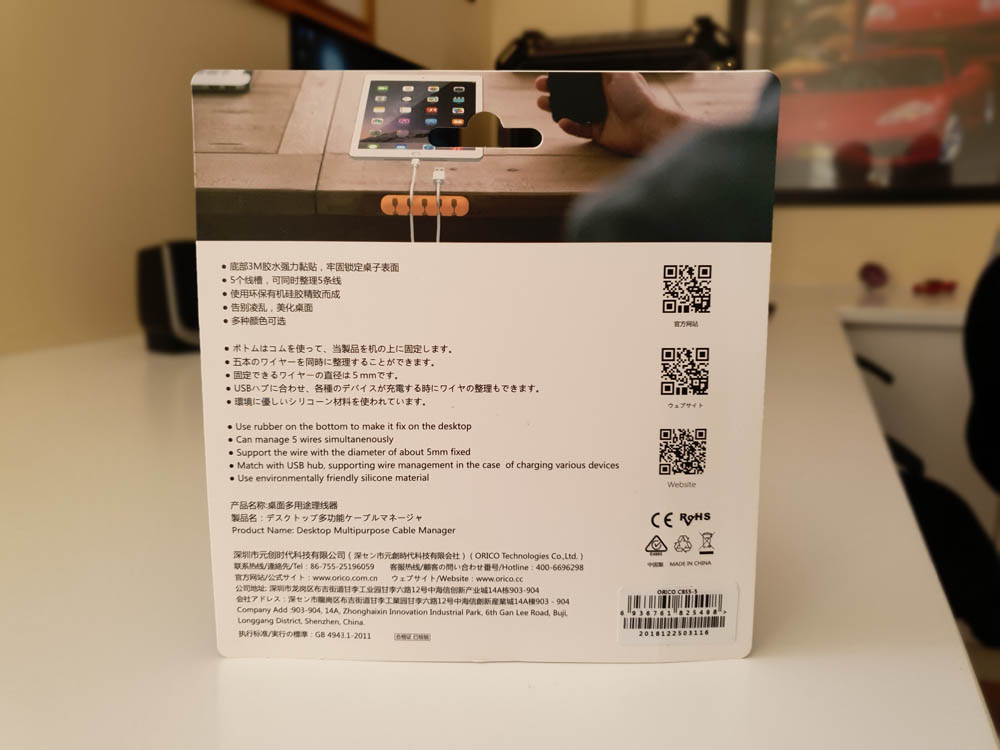
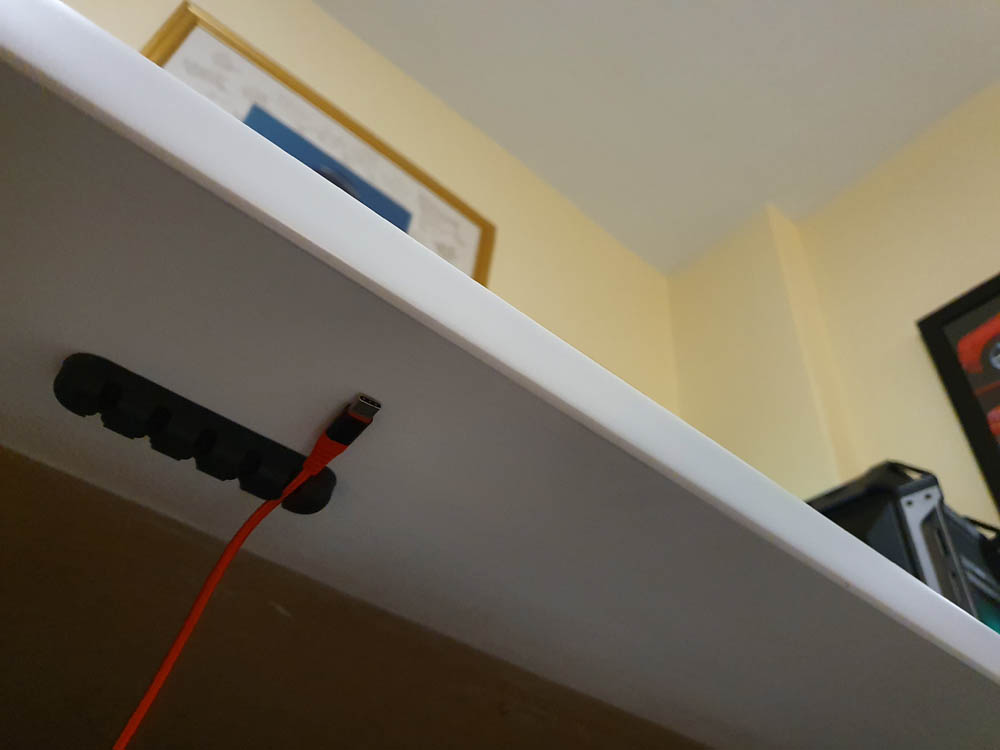
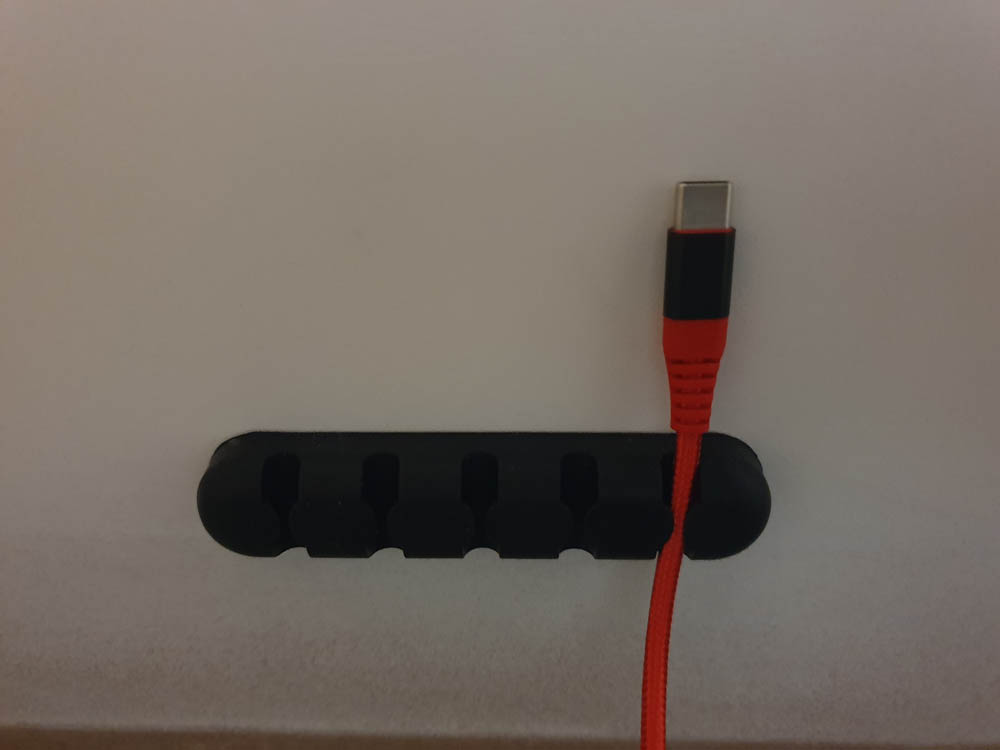
Orico 5 Slot Desktop Cable Manager:
I always need certain cables available such as a USB Type-C cable and a micro USB cable. If you leave the cables plugged into your computer permanently, they fall over the place. With the Orico cable manager, you can easily slot in 5 cables so they stay in place. Made out of durable silicone, the cable manager has flexible tabs for cables to easily slip into. With the double sided tape, you can mount the organiser anywhere. Simply pulling on the cable they easily pop out of the holder. I have run an Orico USB Type-C cable under my desk, so I always have one plugged in when I need it, but when I am not using it, it is hidden. The cable manager comes in either a pack of 5 or you can buy them individually in different colours. Get the details here.

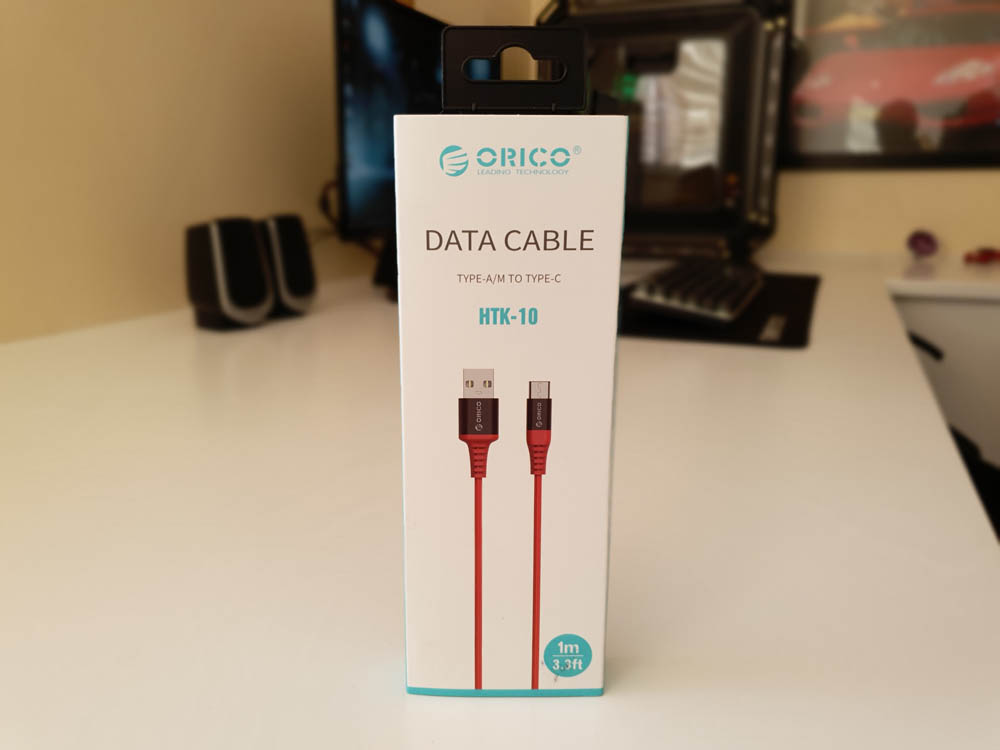
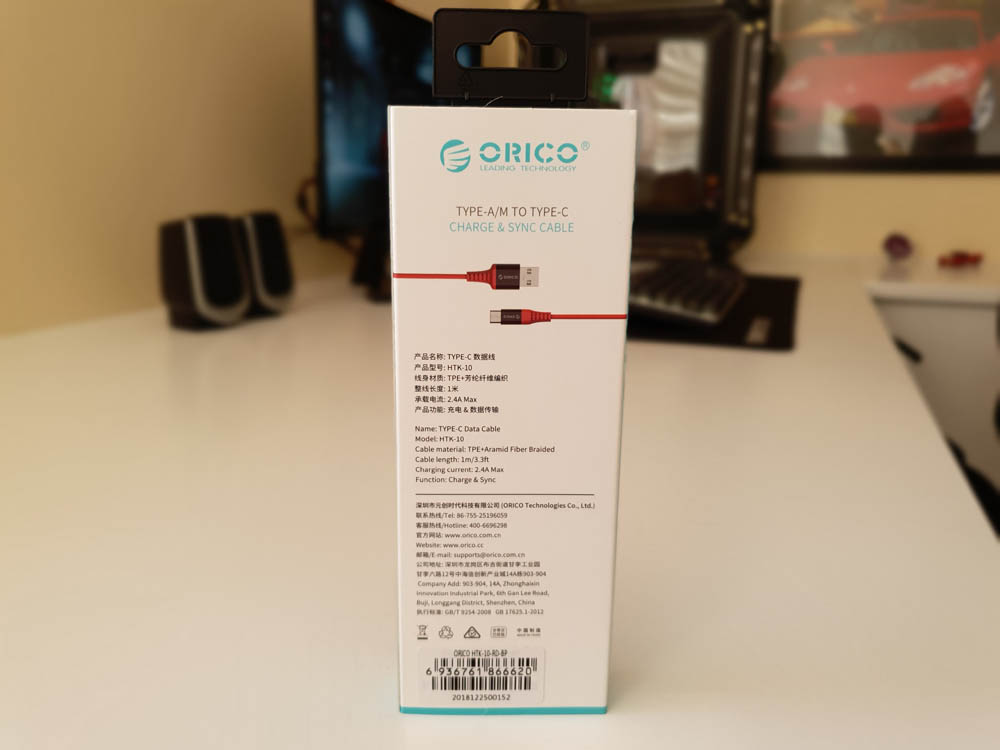
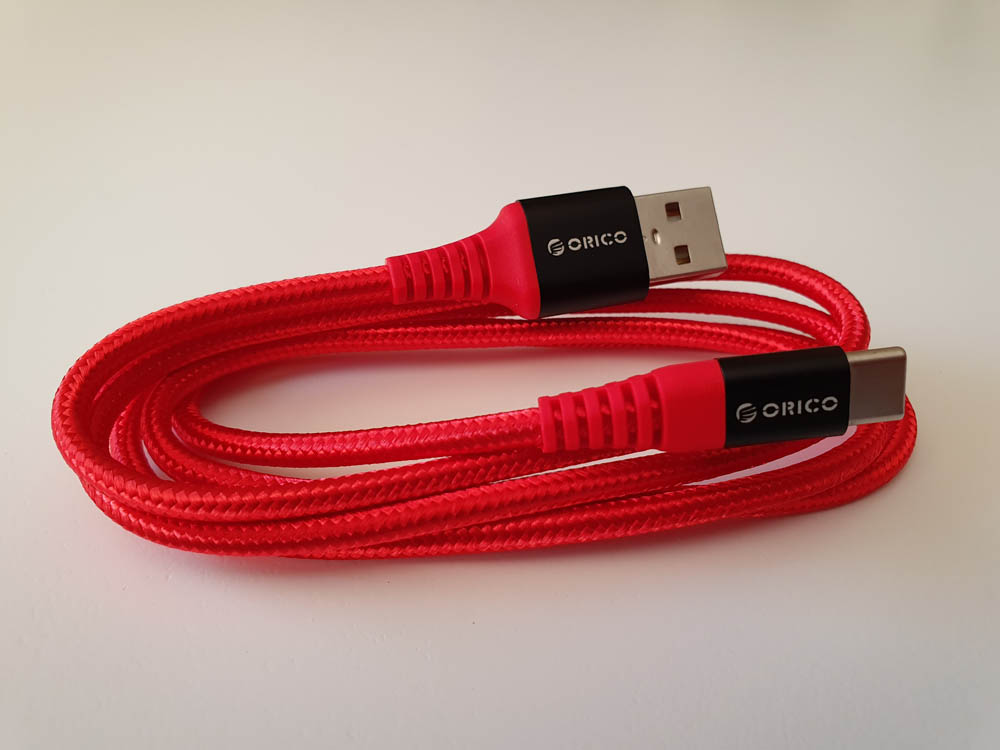
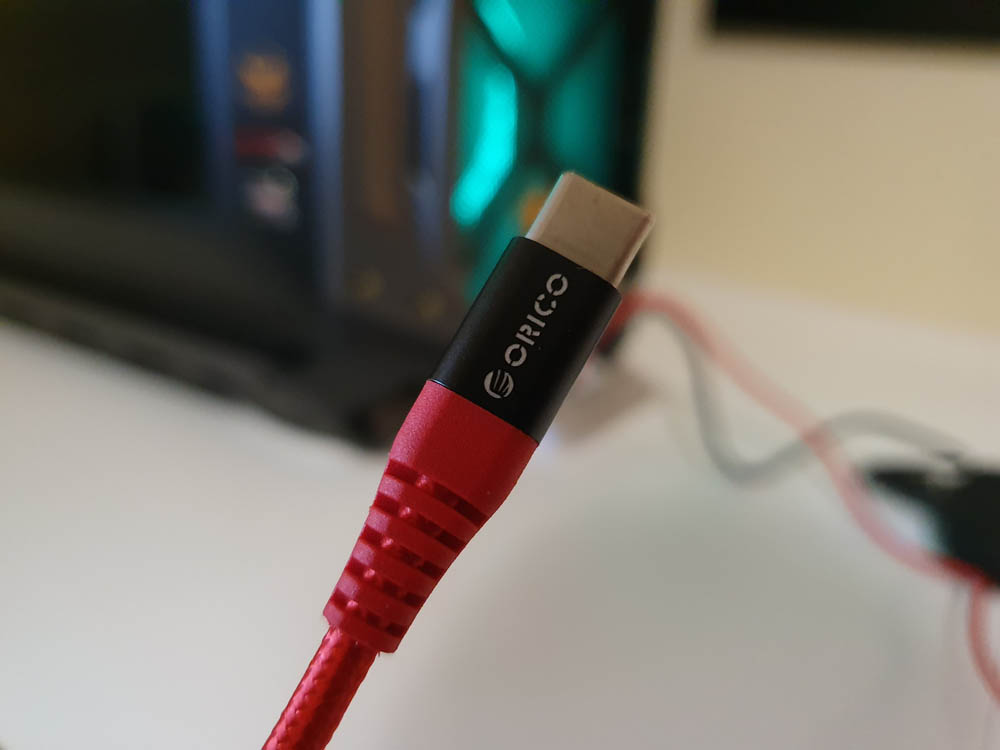
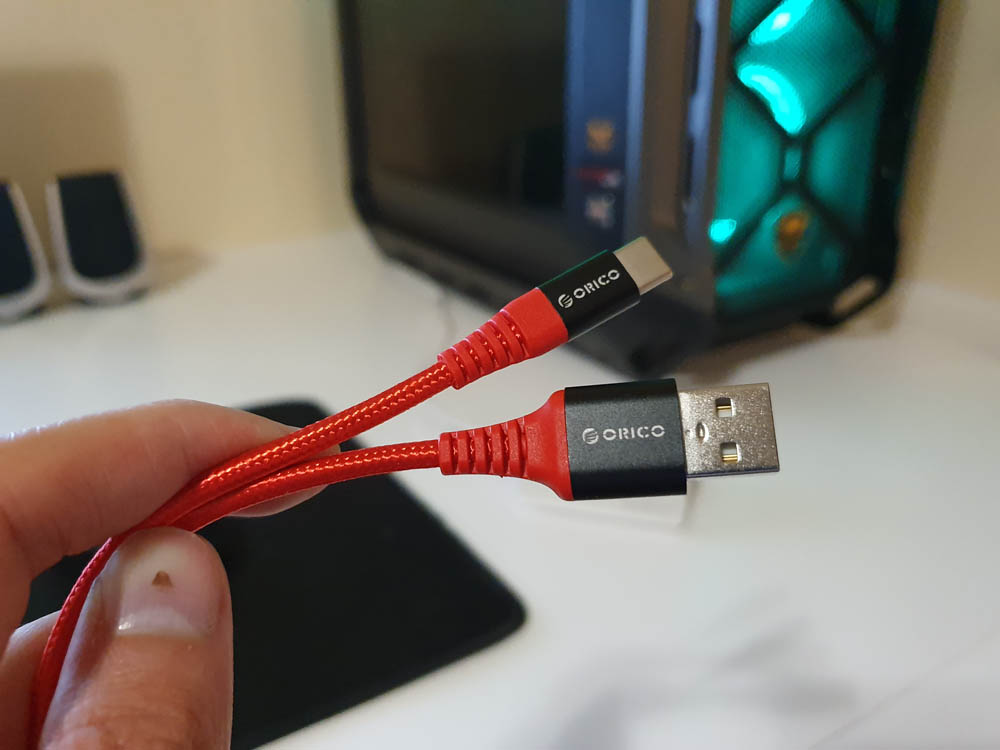
Orico USB-C Aramid 1m Cable
When it comes to USB cables, I always feel like I’m moving the same cable around. I decided to get a Type C cable from Orico that would be my dedicated cable under my desk. The braided aramid fibre makes it super durable. The connectors are nickel-plated with gold plated pins. The cable also supports ChargeSync, which lets you charge your device and transfer data simultaneously. Learn more
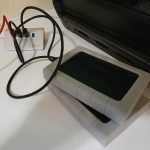
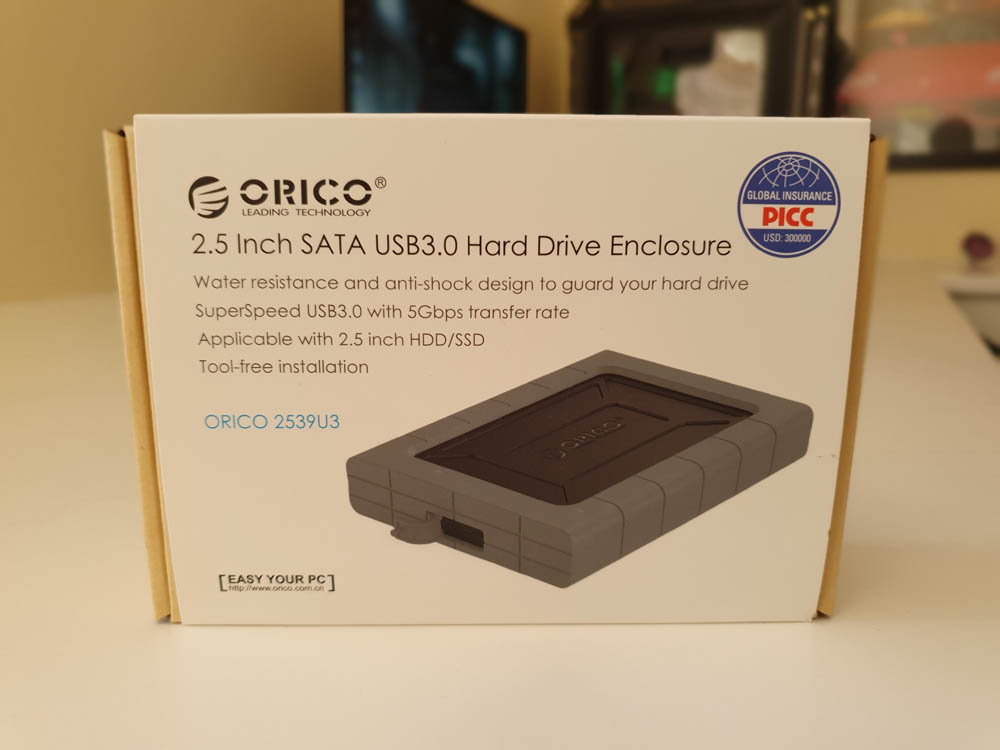
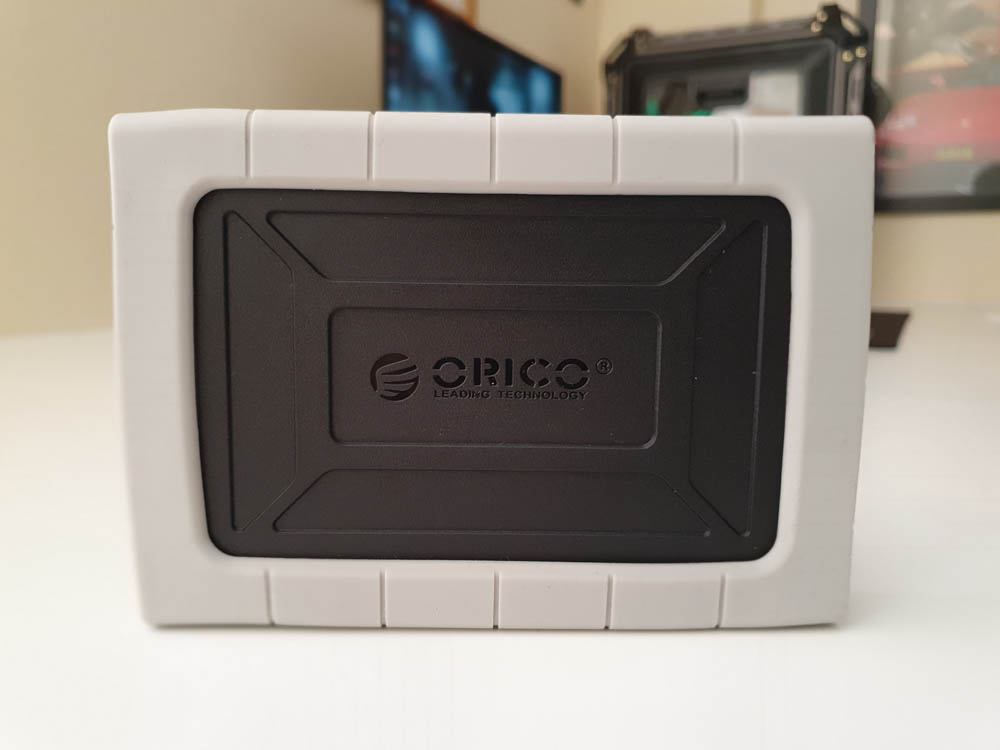
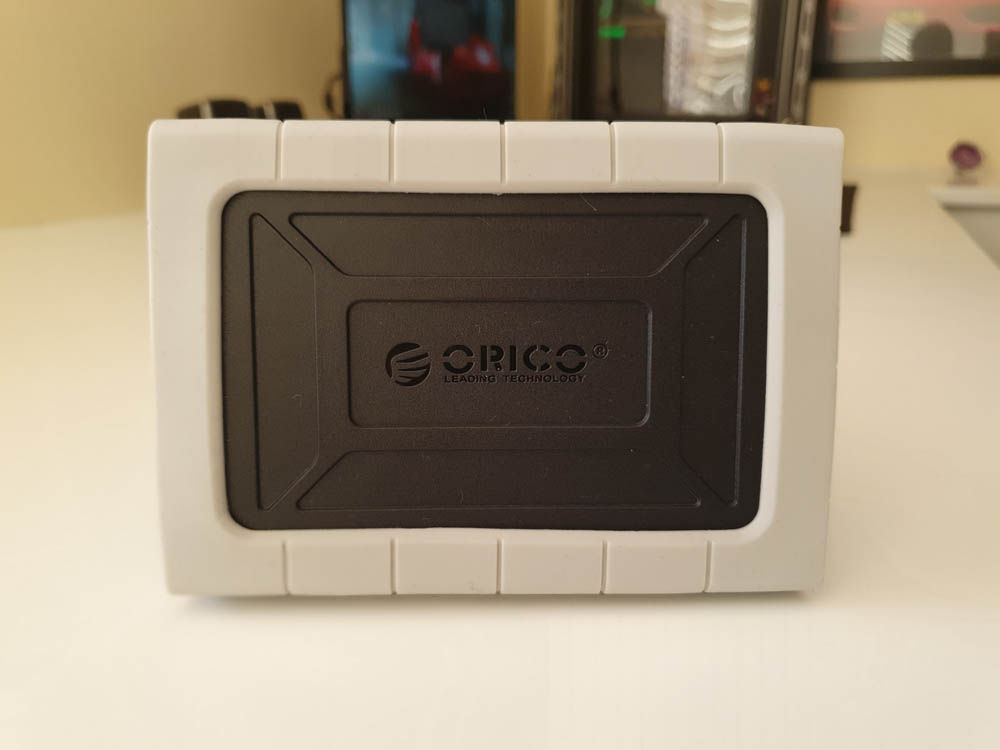
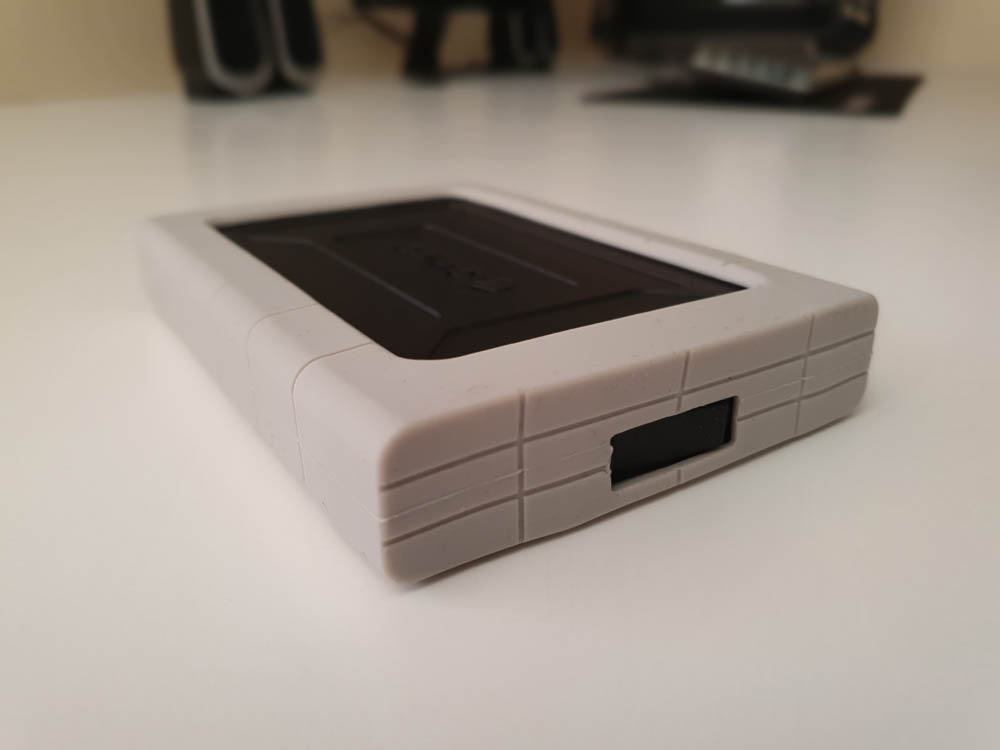
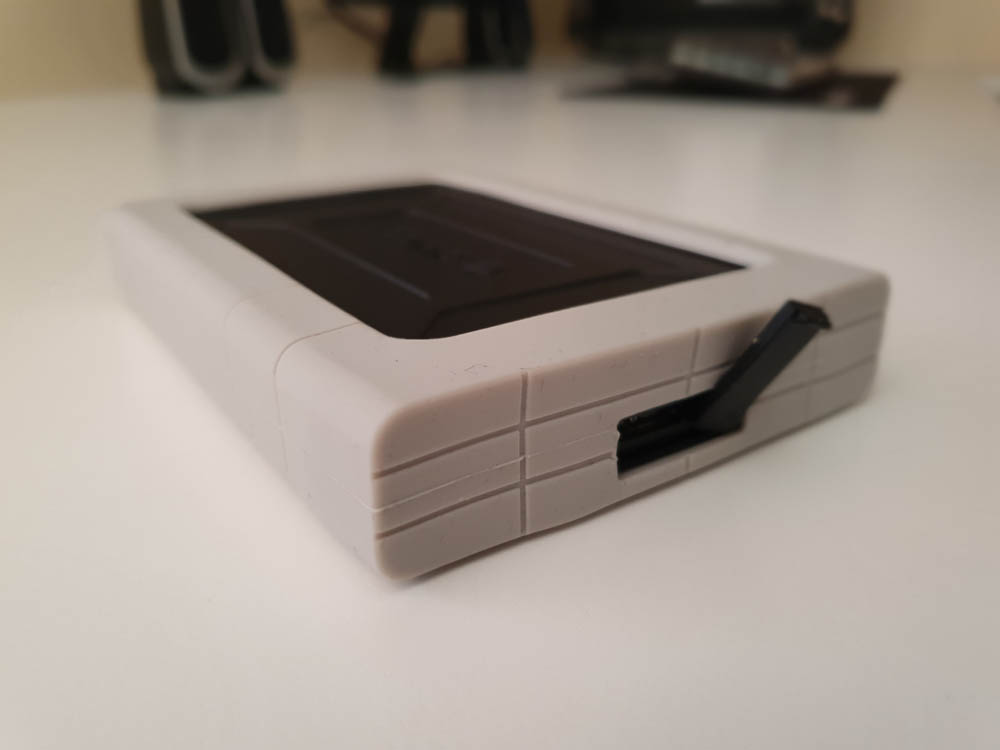
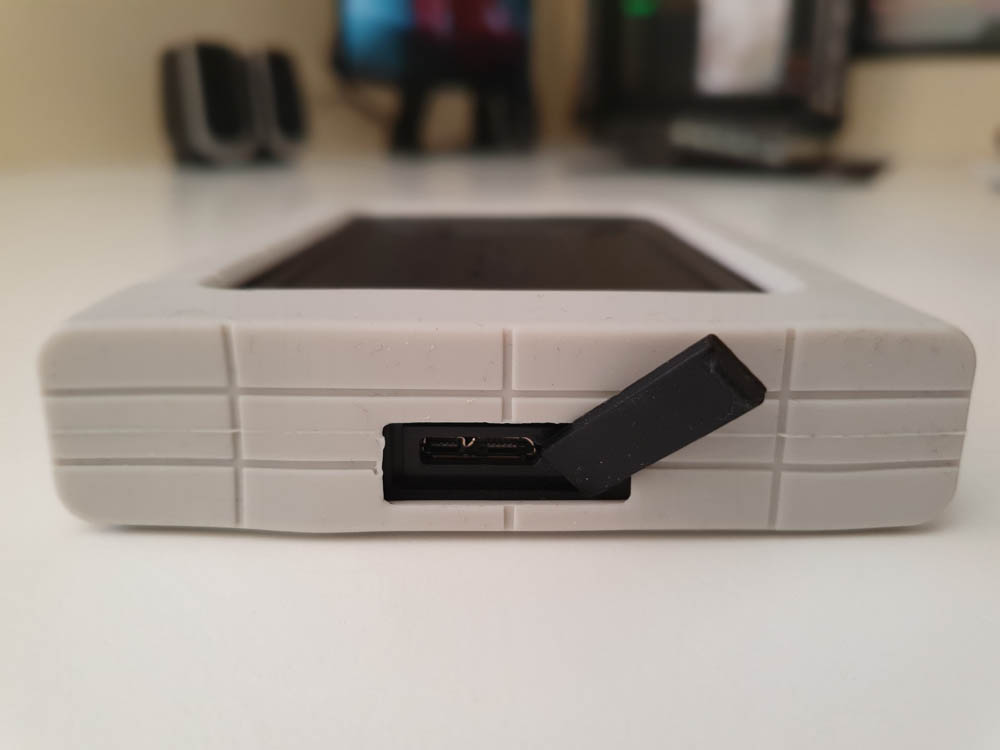
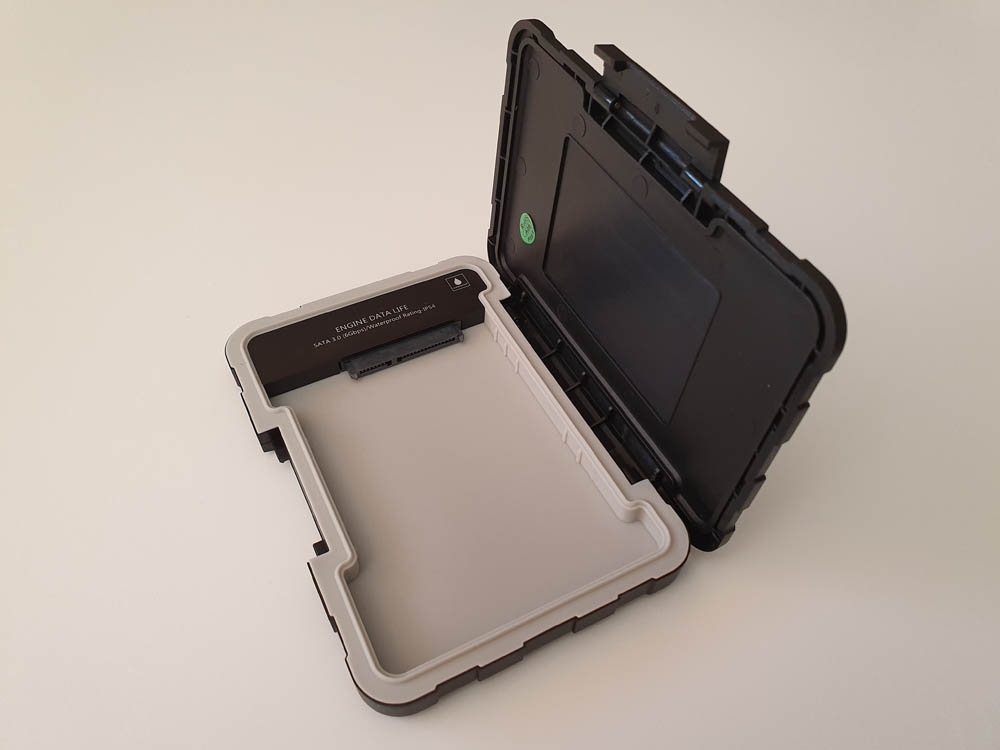
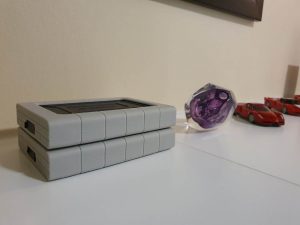
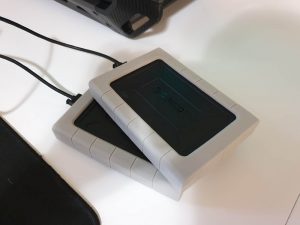
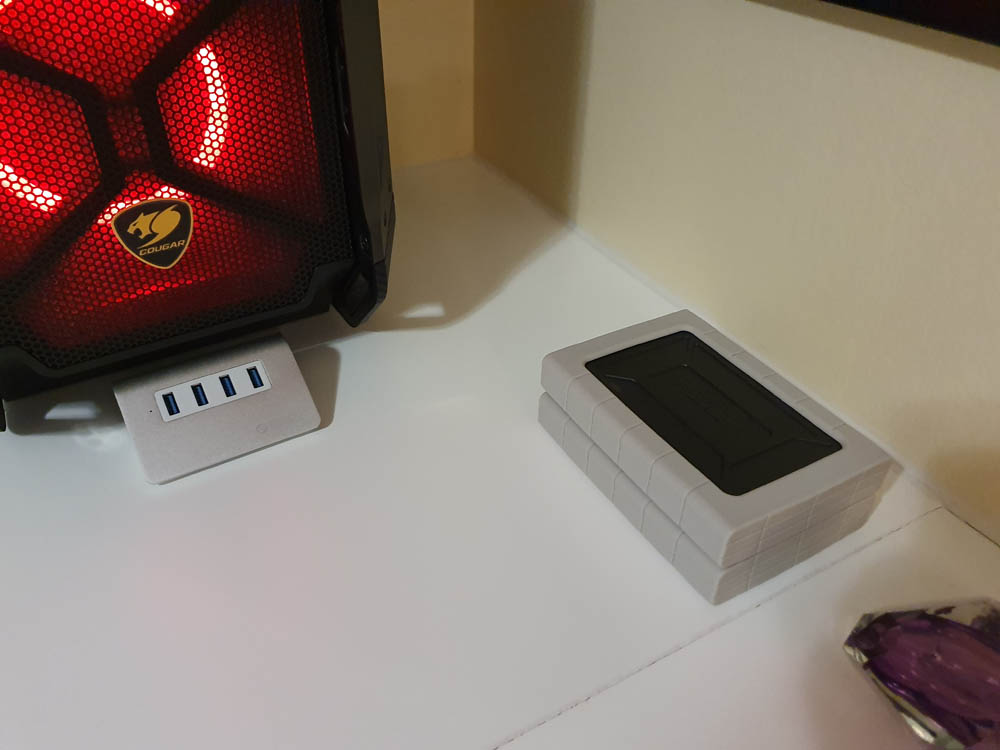
Orico 2.5 USB3.0 External Dust and Shock Resistant HDD Enclosure:
I am always looking for more external hard drives for storing files and backups. I had two laptop hard drives lying in my cupboard that had never been used. I decided to choose this rugged hard drive enclosure as it is drop and water resistant. The Orico HHD hub is designed to protect your data. Designed to withstand wear and tear, the body is dustproof, damp proof and shockproof. Supports up to a 2.5″ 2TB hard drive and a transmission speed of up to 5Gbps. Get protected.
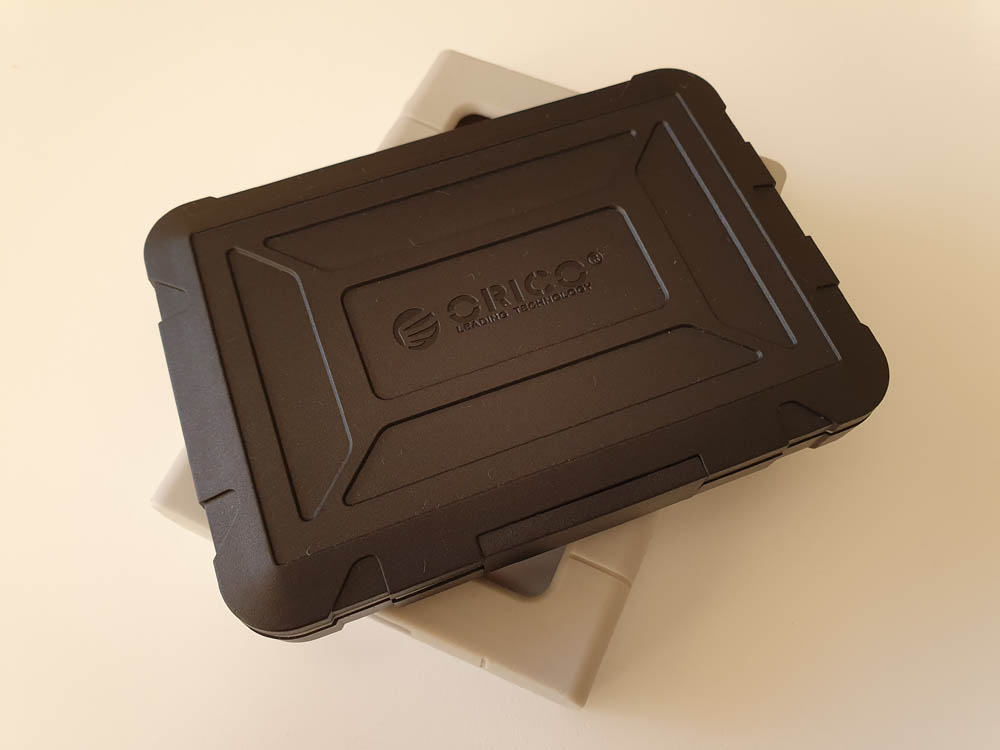
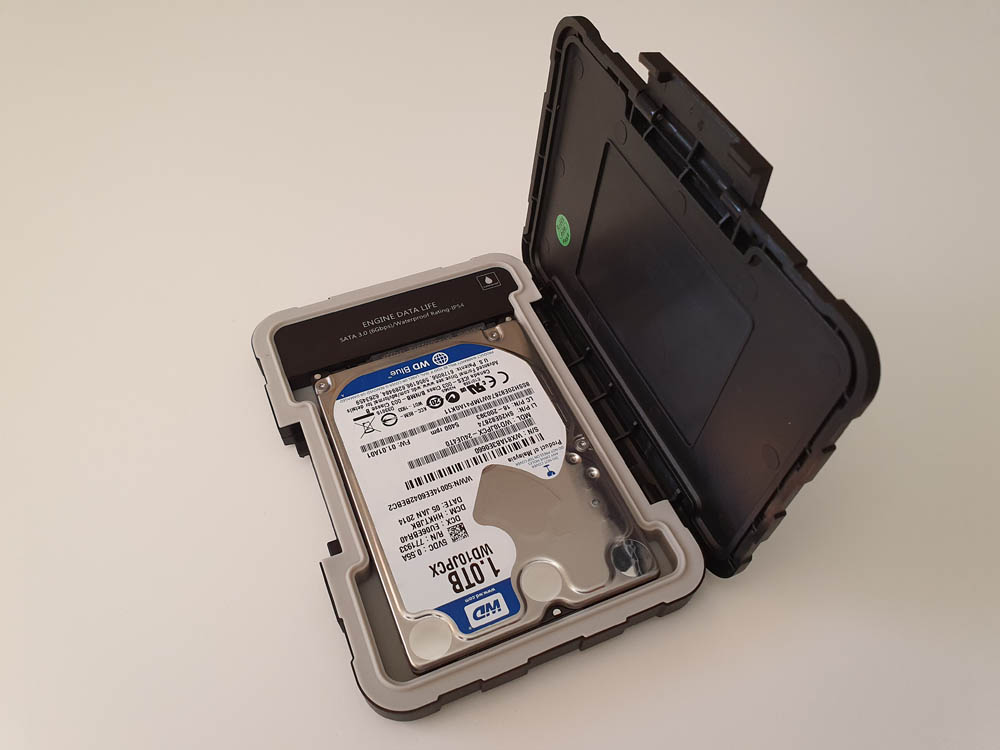
Now I have 2 portable hard drives ready to go!
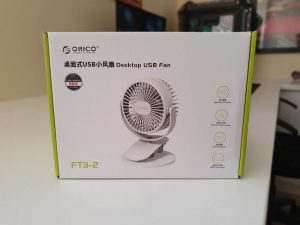
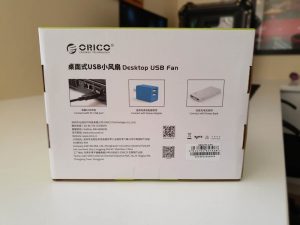
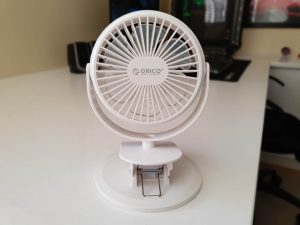
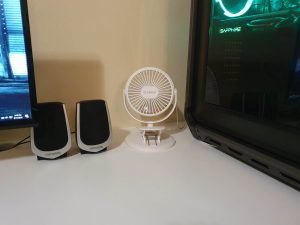
Orico Mini Clip Desktop USB Fan:
In summer it gets rather warm in my room as I don’t have Aircon. I chose the Orico clip fan to keep cool. I like that you can either let it sit on your desk or clip it, in any location or position you please. The fan is powered via a USB cable. This can either be plugged into a wall socket by using an adapter or it can be plugged straight into a computer USB port. The fan can rotate 360°. Find out more
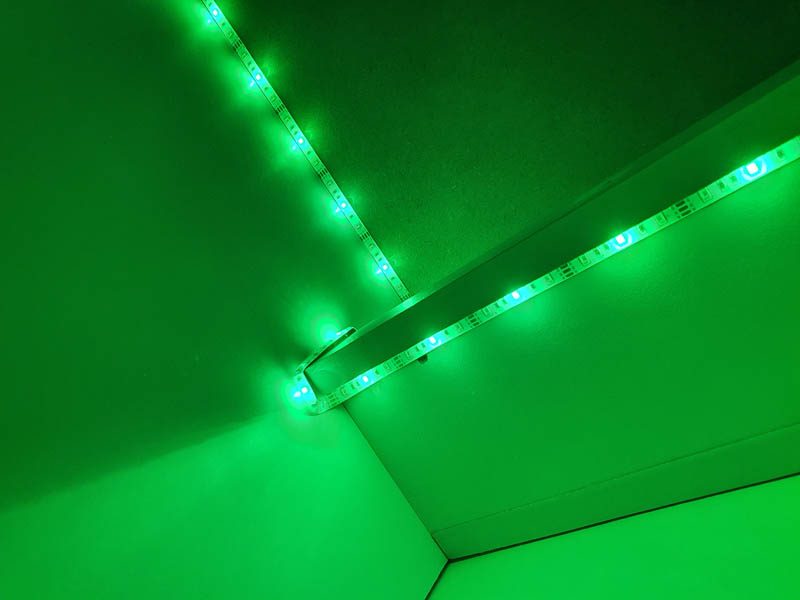
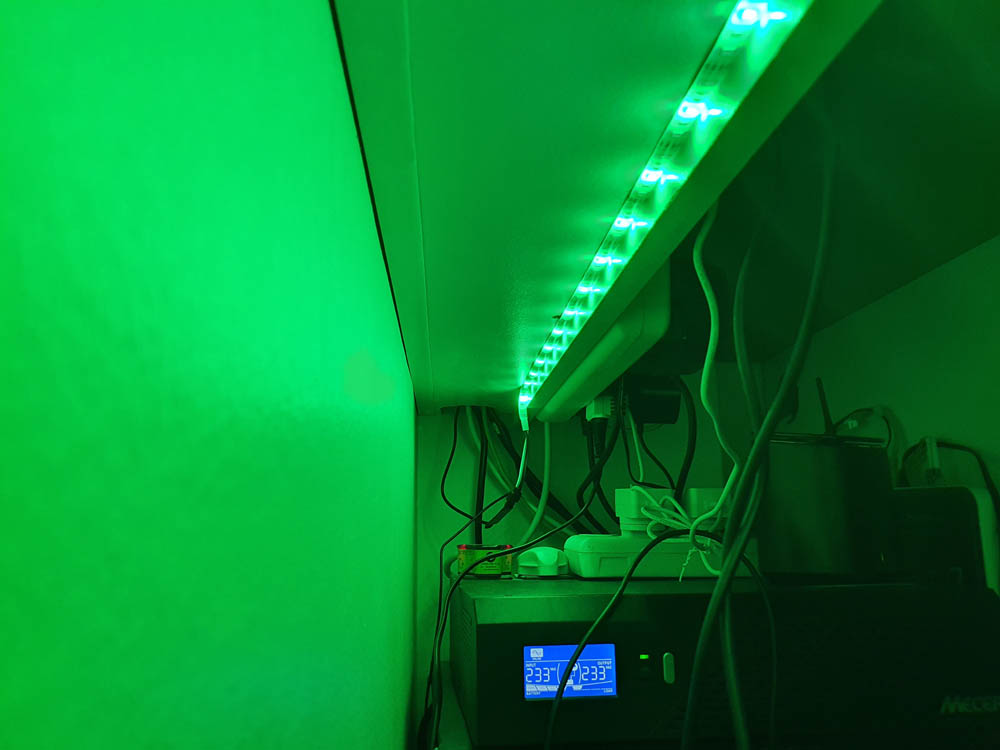
Lighting:
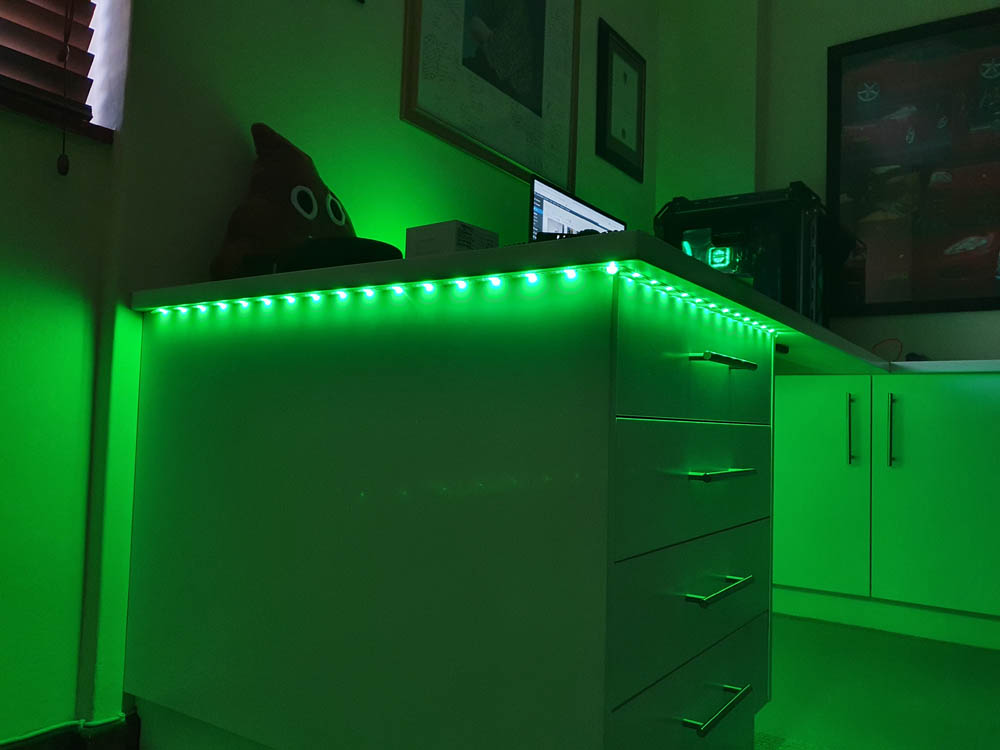
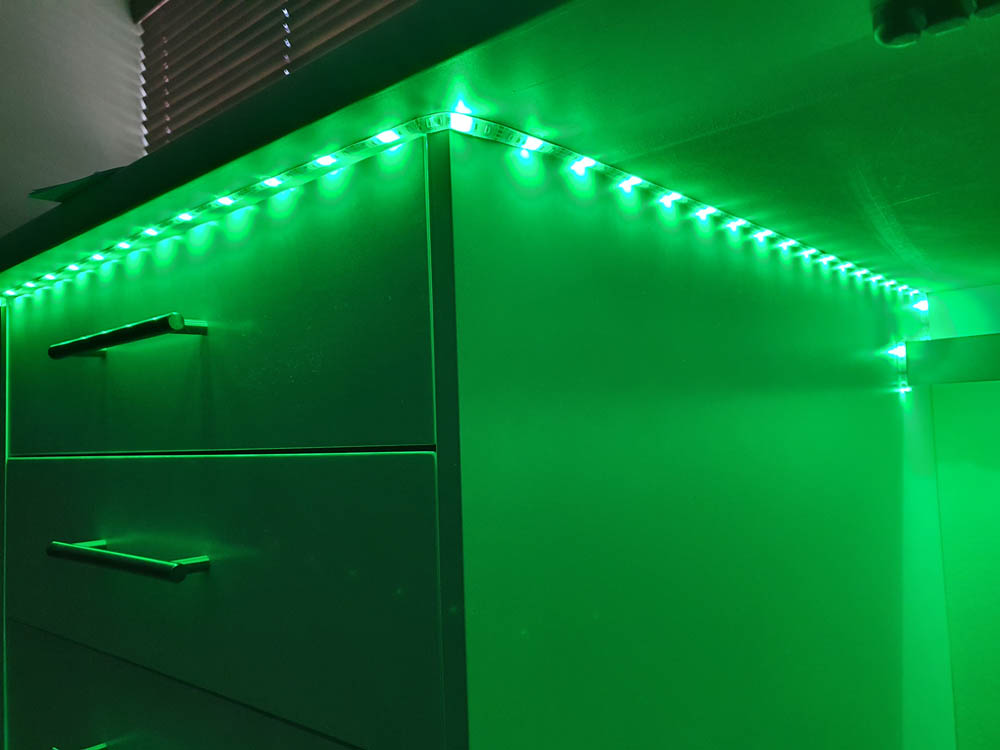
First thing I did was buy a strip of LED lights, which I got off AliExpres (was cheap!) and installed these under the desk. I would have liked to run the lights so they shine up at the back of my desk but my desk is flush against the wall and I don’t think I can even move it. I did sort this out with the next lights I bought.. The lights have a remote so I can change the colour as need be.
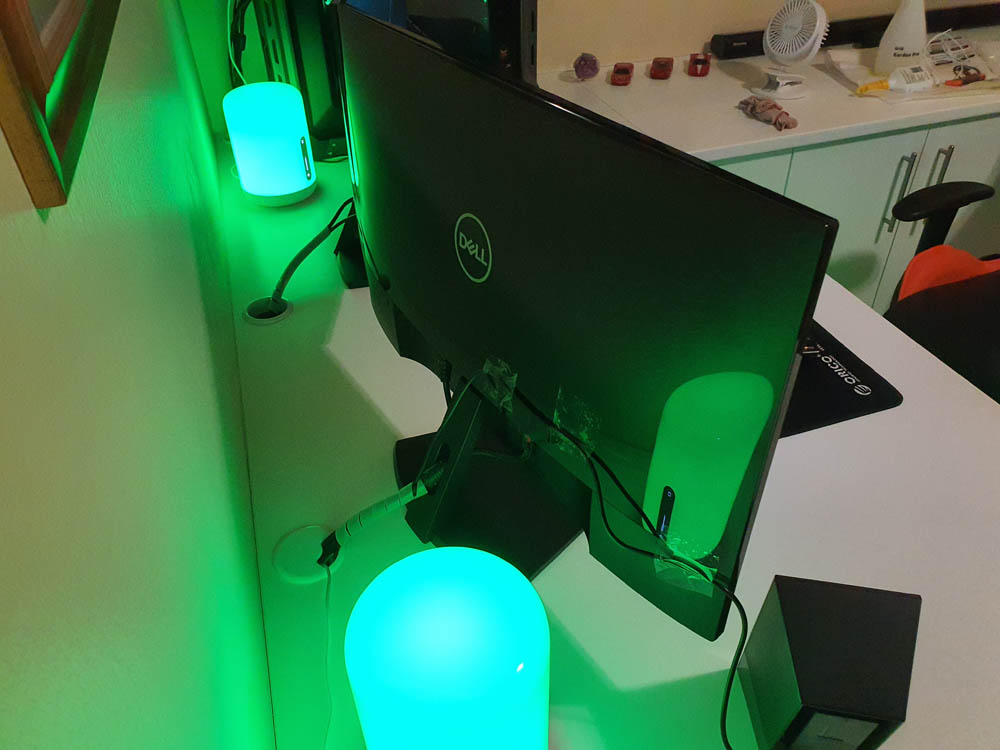
Then I bought two Xiaomi Mi Bedside Lamp 2s to sit on either side of my display:
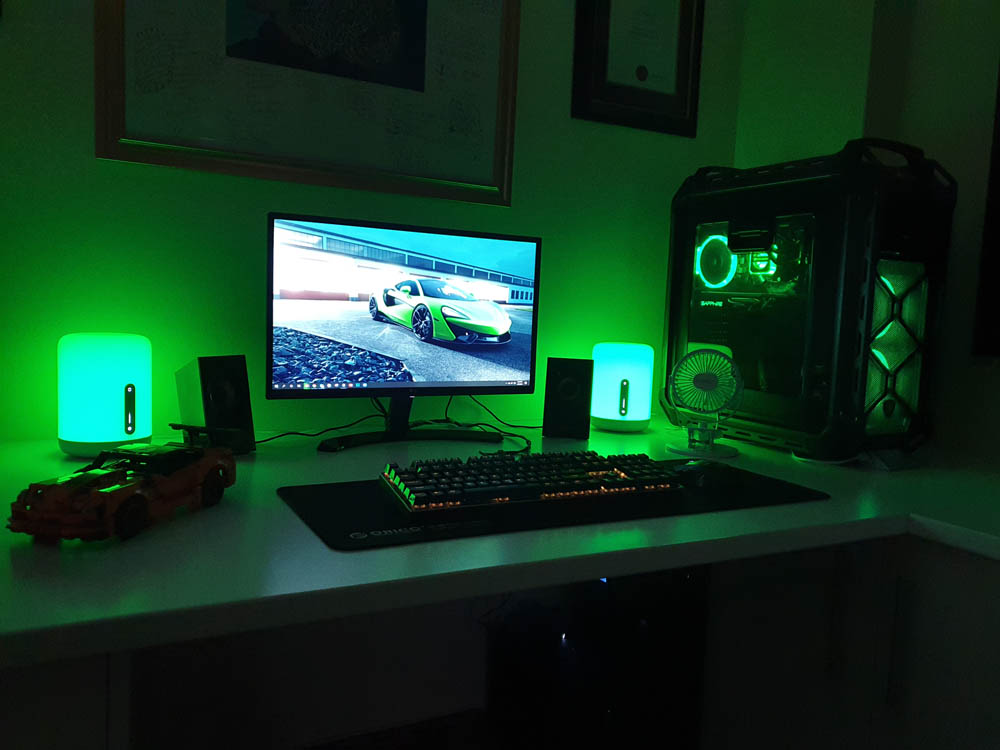
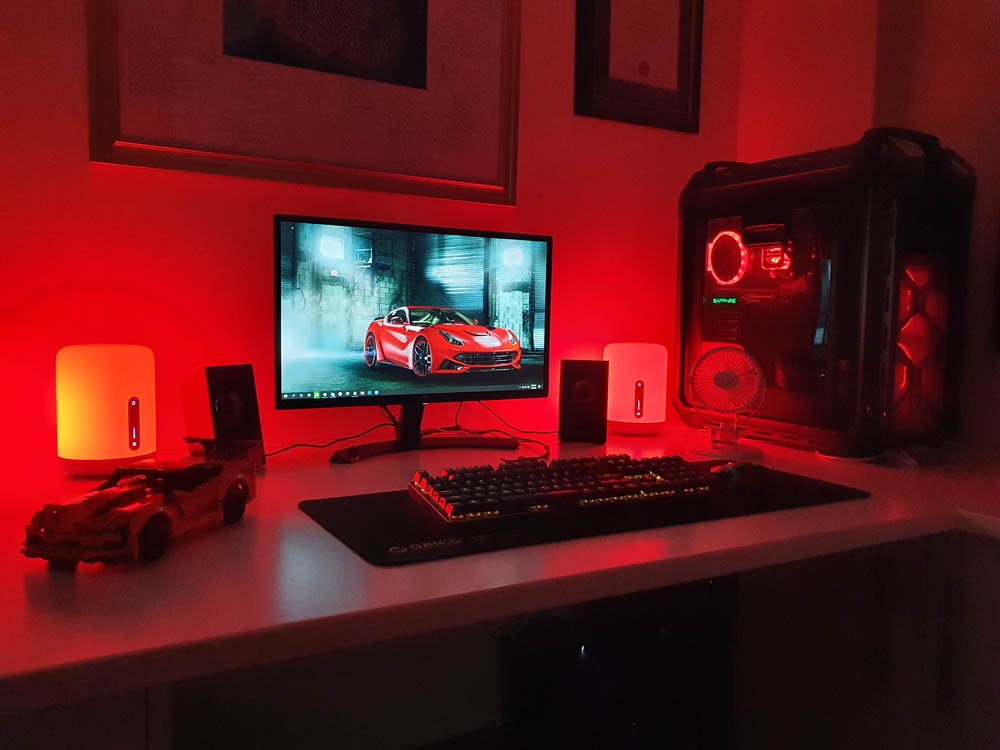
They connect to Wi-Fi and are compatible with my Google Home Mini so I can tell Google to turn on the lights:
And even to change the colour:
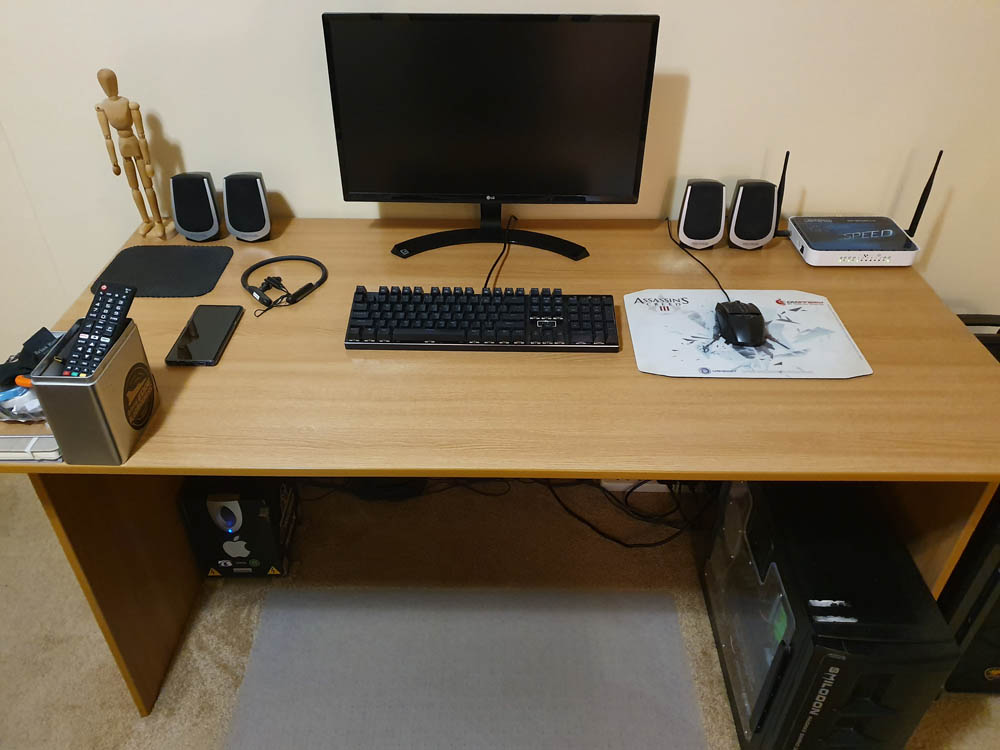
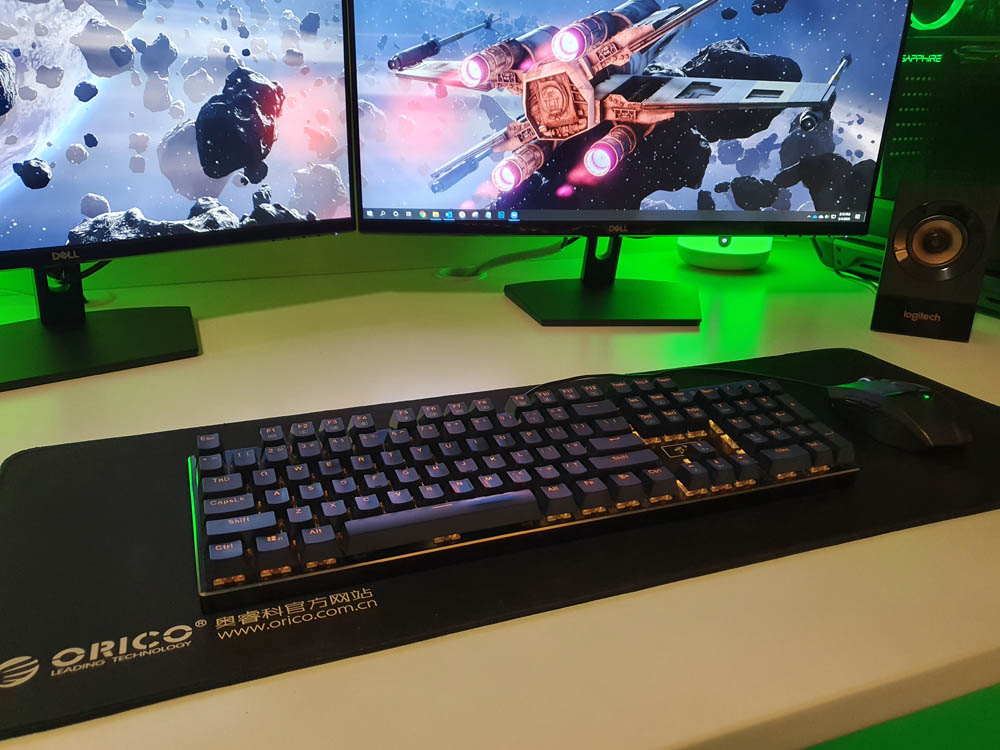
The final (Read: Until more products are added) look:
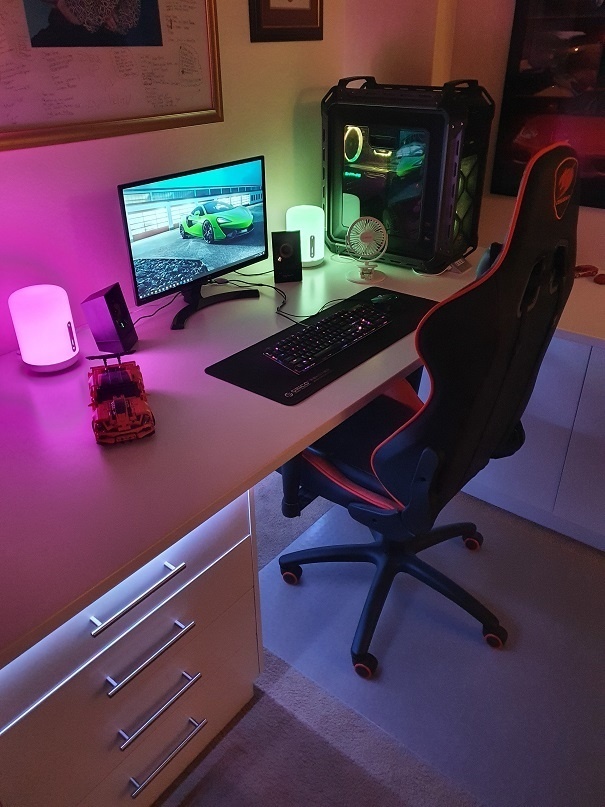
Picking a colour is not easy..
In 2023, I added in a new light strip from Xiaomi/Yeelight:
The Power:
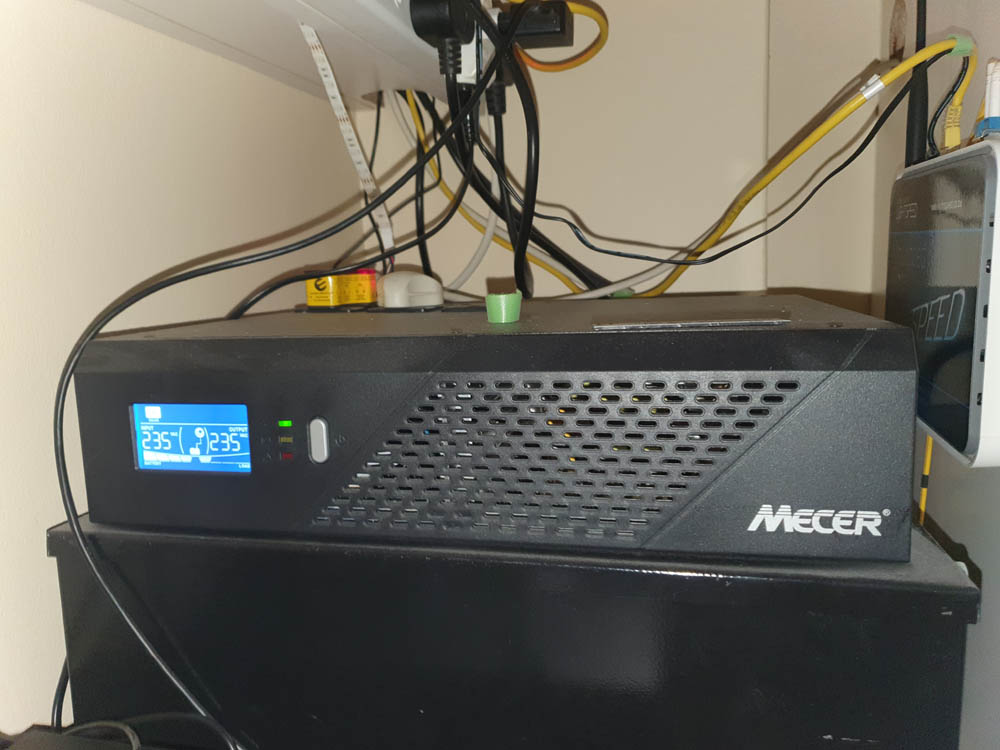
In South Africa, we have been having Load Shedding, which is when the electricity supplier turns off our power, to conserve it. This is not good when I am trying to either work, browse the internet, game, listen to music or watch TV. I got myself a battery and inverter. The inverter is a 2400 VA/1440Watt and I have two batteries. My whole setup is connected, so when the power goes off, I don’t 😉
The Complete* setup:
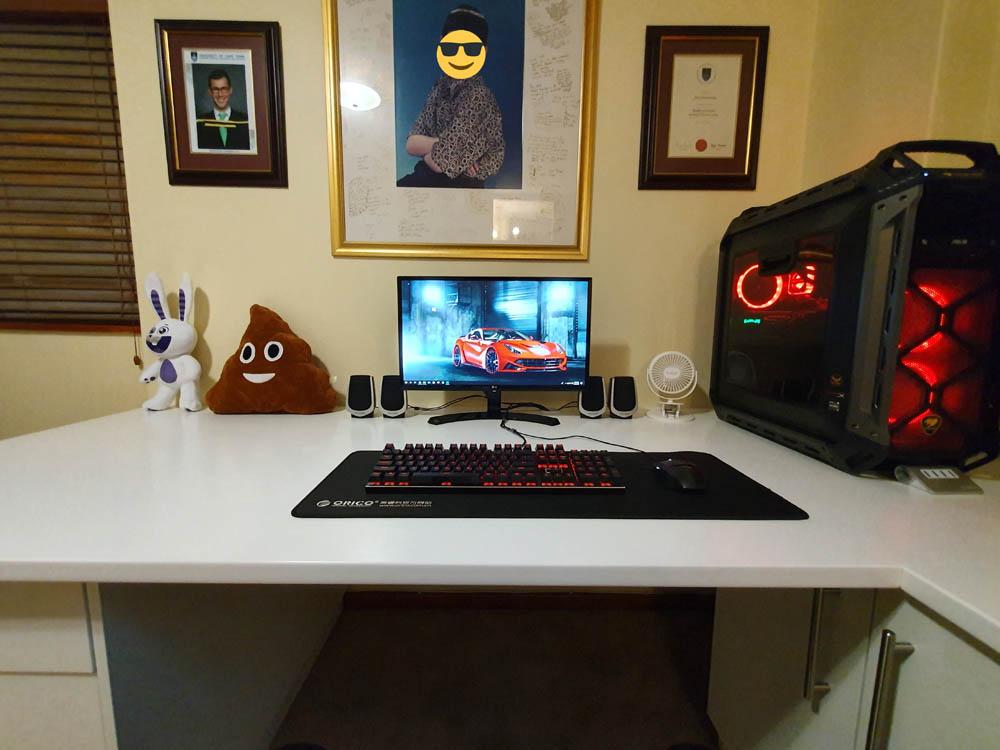


*I have updated my setup and will new photos to post in this gallery! I will be updating this post when that happens. I would like to thank the guys over at Cougar Gaming South Africa for their advice on which parts of theirs to purchase (Yes I paid for my parts) as well as a big thanks to Syntech for sending over some of their Orico products to make my desk functional! (These were a gift to me)
See the Cougar range of products here
View the Orico range of products here
Follow Syntech here:


